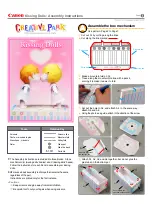
Assemble the box mechanism
Glue tab
Scissors line
Parts name
Parts No.
Attach to strengthen
the part you cut.
Do not attach the
glue tabs on the bottom.
Kissing Dolls : Assembly Instructions
Page
<Caution>
Keep scissors and glue away from small children.
Be careful not to cut your fingers when using scissors.
marks a basic assembly technique that remains the same
regardless of the part.
Instructions are printed only for the first instance.
The Assembly instructions are divided into three blocks: A (box
mechanism) ,B (kissing dolls' bodies) and C (kissing dolls' heads).
Follow the instructions for each block to assemble your kissing
dolls.
Use pattern: Page2 to Page7.
Cut along the line marked
.
Cut out A1 by cutting along the lines.
Make a mountain fold on A1.
Trace along the mountain fold line with a pencil,
scoring it to make it easier to fold.
Cut out the hole in A3, and attach A4. In the same way,
attach A5 and A6.
Using the photo as a guide, attach in the direction of the arrow.
A1 Box
Scissors
Paste, or woodwork glue
Stencil pen, or bodkin
Ruler
Scissors line
Mountain fold
Valley fold
Glue spot
Parts No.
Notation Key
Tools
Attach A1, A2, A3 and A5 together, but do not glue the
glue tabs on the bottom yet.
Glue the back


