Clean the matrix plate area
Introduction
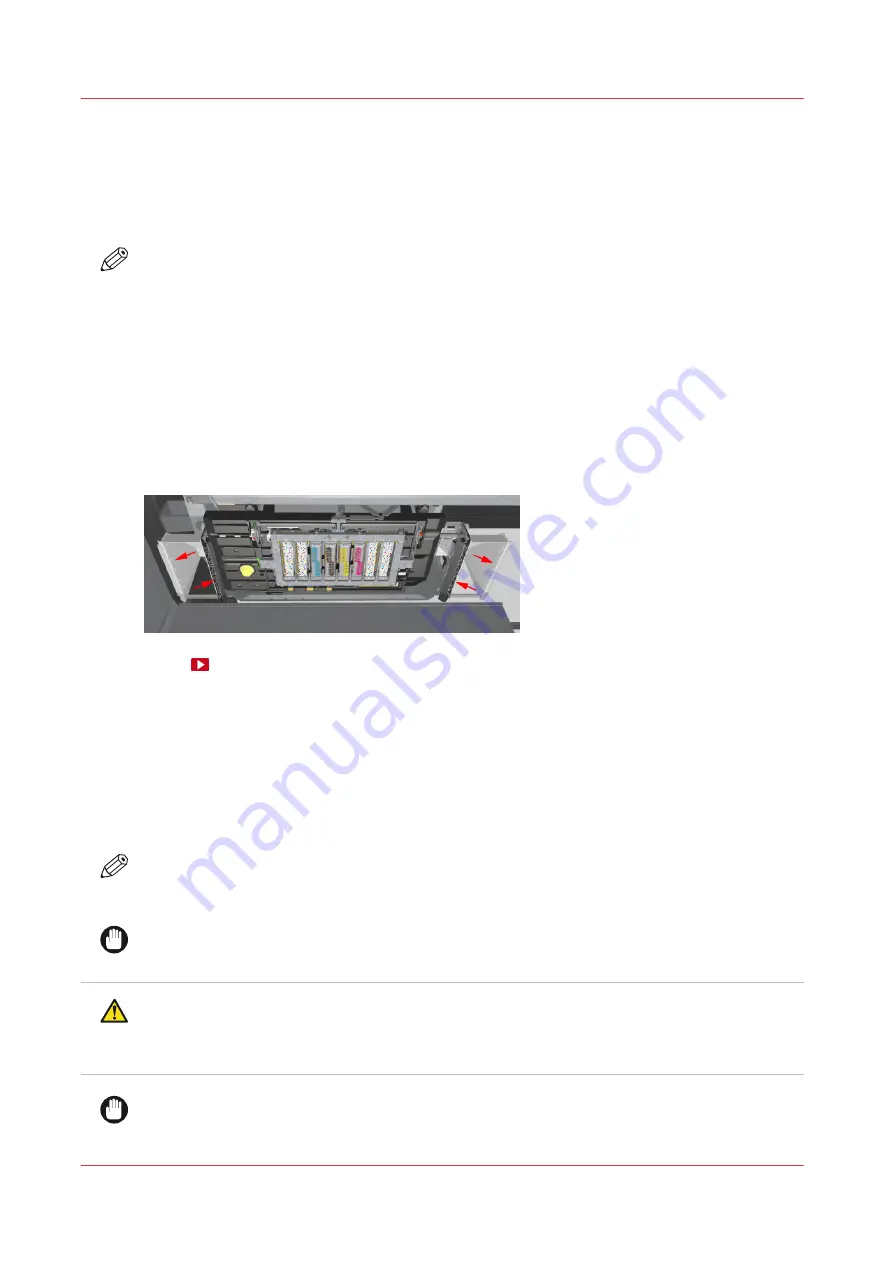
The printheads are located in the matrix plate. The printheads and the matrix plate area need to
be cleaned regularly. As well as the anti-reflective strips and mirror edges.
NOTE
The operator panel gives a warning to perform this procedure at least once a month, and
depending on the ink usage, between 7 and 30 days. To guarantee the print quality it is
recommended to clean the matrix plate once a week. Cleaning the matrix plate is the first part of
this procedure, step 1 to step 10.
During the use of the printer, dust and fibers from the media can accumulate on the edges of the
anti-reflective strips and mirrors of the printhead carriage. If these fibers touch the surface of the
paper during printing, they can wipe through the uncured ink and can cause print quality issues.
These print quality issues can easily be mistaken for printhead issues, as these fibers are stuck to
the carriage. To prevent unnecessary service calls or printhead replacements, the edges of the
anti-reflective strips and mirrors need to be cleaned regularly.
Before you begin
Use Colorado 1630 prescribed:
• Microflex gloves for handling ink
• Foams and swabs
• Matrix plate cleaning tool
• Cleaning liquid (Cleaner MB - methyl benzoate)
• Cleaner IPA
NOTE
For information on the prescribed maintenance materials, see
maintenance materials on page 255
IMPORTANT
There are 2 types of swabs. The cleaning procedure depends on the width of the swab.
CAUTION
Wear the prescribed gloves when contact with ink or maintenance materials is possible. Gloves
should always overlap sleeves. Follow the Safety Data Sheets (SDS) guidelines carefully in
order to ensure maximum safety.
IMPORTANT
Use the prescribed cleaning liquid. Do not use any other cleaners.
Clean the matrix plate area
182
Chapter 6 - Maintain the system
Summary of Contents for Colorado 1630
Page 1: ...Colorado 1630 Extended operation guide 2021 2022 Canon Production Printing ...
Page 9: ...Chapter 1 Introduction ...
Page 18: ...Optional features 18 Chapter 1 Introduction ...
Page 19: ...Chapter 2 Safety information ...
Page 30: ...Safety System 30 Chapter 2 Safety information ...
Page 31: ...Chapter 3 Explore the system ...
Page 38: ...The components of the printer top cover open 38 Chapter 3 Explore the system ...
Page 39: ...Chapter 4 Handle the media ...
Page 81: ...FLXfinish in the RIP Chapter 4 Handle the media 81 ...
Page 157: ...Chapter 5 Print a job ...
Page 166: ...Use the PRISMAsync Remote Control app 166 Chapter 5 Print a job ...
Page 167: ...Chapter 6 Maintain the system ...
Page 257: ...Chapter 7 Improve quality ...
Page 267: ...Chapter 8 Configure the network and security settings ...
Page 298: ...Enable system installation from USB 298 Chapter 8 Configure the network and security settings ...
Page 299: ...Chapter 9 Troubleshooting and support ...
Page 318: ...Install a license via ORS 318 Chapter 9 Troubleshooting and support ...
Page 372: ...Error codes overview 372 Chapter 9 Troubleshooting and support ...
Page 373: ...Appendix A Regulation Notices ...
Page 387: ......


