
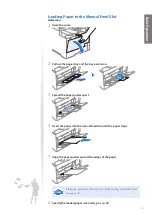


32
3
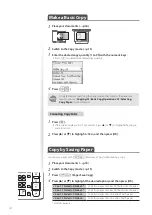
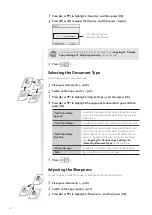
Press [
▲
] or [
▼
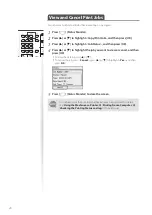
] to highlight <Density>, and then press [OK].
4
Press [
◄
] or [
►
] to adjust the density , and then press <Apply>.
– : Less density (lighter)
+ : More density (darker)
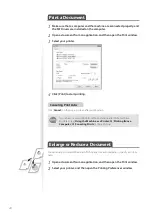
You can adjust the background color. For details, see [
Copying
]
[
Various
Copy Settings
]
[
Adjusting Density
] in the e-Manual.
5
Press [
].
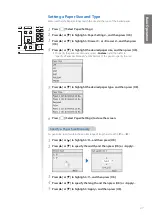
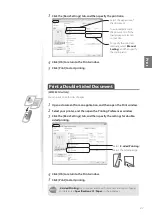
Selecting the Document Type
Select the appropriate document type.
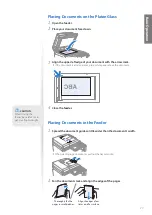
1
Place your documents (
→
p.18).
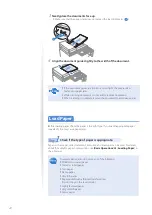
2
Switch to the Copy mode (
→
p.15).
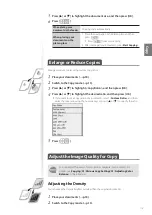
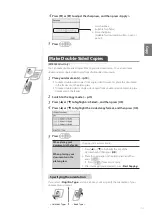
3
Press [
▲
] or [
▼
] to highlight <Original Type>, and then press [OK].
4
Press [
▲
] or [
▼
] to highlight the appropriate document type, and then
press [OK].
<Text/Photo/Map
(Speed)>
Suitable for documents that contain text, photos, and
maps. (Scanned documents are at a low resolution at
high speed.)
<Text/Photo/Map>
Suitable for documents that contain text, photos, and maps.
<Text/Photo/Map
(Quality)>
Suitable for documents that contain text, photos, and
maps. (Scanned documents are at a high resolution
at low speed.) You can also adjust the level of priority
given to the quality of the text or photos. For details,
see [
Copying
]
[
Various Copy Settings
]
[
Selecting Document Type
] in the e-Manual.
<Printed Image>
Suitable for documents that contain printed photos.
<Text>
Best suited for text-only documents.
5
Press [
].
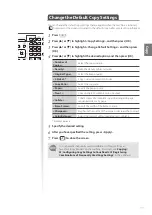
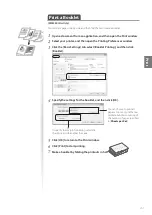
Adjusting the Sharpness
You can sharpen or soften the edges of images by adjusting the sharpness.
1
Place your documents (
→
p.18).
2
Switch to the Copy mode (
→
p.15).
3
Press [
▲
] or [
▼
] to highlight <Sharpness>, and then press [OK].
Summary of Contents for Color imageCLASS MF8580Cdw
Page 38: ...38 38 Memo...
Page 72: ...72 72 Memo...
Page 92: ...92 92 Memo...
Page 119: ...119 119 Memo...