;
Organizing Images by Category (My Category)
120
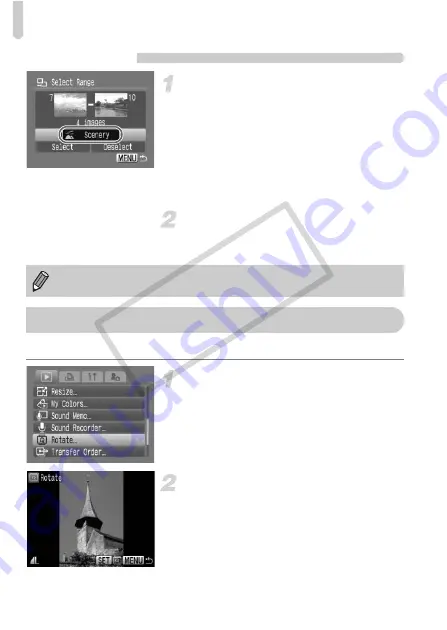
Select Range
Select [Select Range].
●
Follow Step 2 on p. 119 to select [Select
Range] and press the
m
button.
●
Follow Steps 2 and 3 on p. 114 to select
images.
●
Press the
p
button, select the item and
press the
qr
buttons, or turn the
Â
dial,
and select a type.
Make the setting.
●
Press the
p
button to select [Select] then
press the
m
button.
You can change the orientation of an image and save it.
Select [Rotate].
●
Press the
n
button and select the
1
tab, then select [Rotate] and press the
m
button.
Rotate the image.
●
Press the
qr
buttons or turn the
Â
dial
to select an image to rotate.
●
Cycle through the 90°/270°/original
orientations with each press of the
m
button.
●
Pressing the
n
button will return you
to the menu screen.
If you select [Deselect] in Step 2, you can deselect all of the images in the
[Select Range] category.
\
Rotating Images
COP
Y
Summary of Contents for 2669B001
Page 159: ...Menus 159 K E V H U O P w t y S Z R T Y v x X z 1 1 1 1 2 Selectable Not selectable COPY ...
Page 171: ...171 MEMO COPY ...
Page 172: ...172 MEMO COPY ...
Page 173: ...173 MEMO COPY ...
Page 174: ...174 MEMO COPY ...
Page 175: ...175 MEMO COPY ...
Page 176: ...176 MEMO COPY ...
Page 177: ...177 MEMO COPY ...
Page 178: ...178 MEMO COPY ...
Page 179: ...179 MEMO COPY ...


