


Starting Remote UI
2357-03L
To operate remotely, you need to input the IP address of the machine into a Web browser and start the Remote UI.
Check the IP address set to the machine in advance ( Viewing Network Settings(P. 43) ). If you have any questions,
ask your Network Administrator.
1
Start the Web browser.
2
Enter "http://<the IP address of the machine>/" in the address field, and press the
[ENTER] key.
●
If you want to use an IPv6 address, enclose the IPv6 address with brackets (example: http://
[fe80::2e9e:fcff:fe4e:dbce]/).
If a security alert is displayed
●
A security alert may be displayed when the Remote UI communication is encrypted ( Configuring the
Key and Certificate for TLS(P. 144) ). When certificate settings or TLS settings have no errors, continue
browsing the Web site.
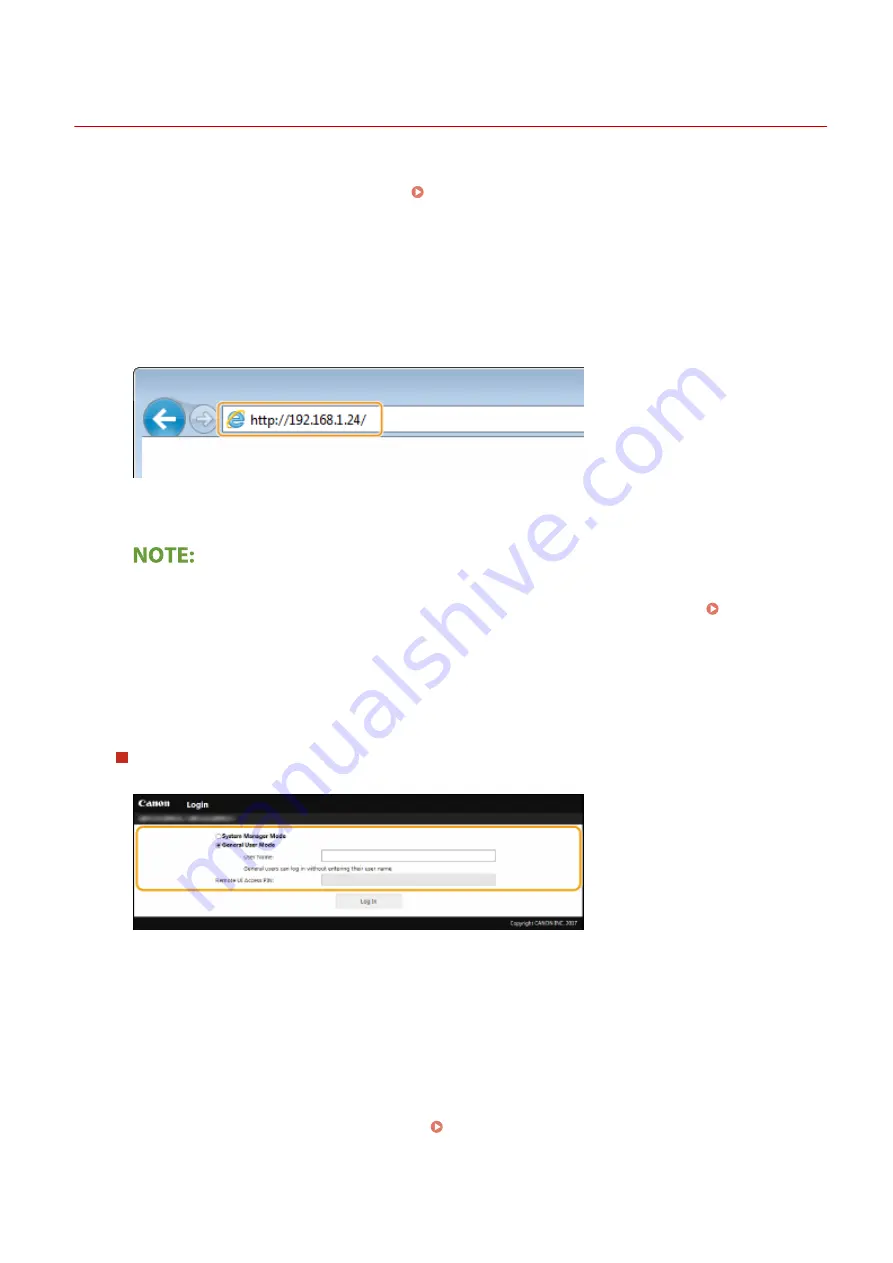
3
Log in to the Remote UI.
When a System Manager PIN is not set
Select [System Manager Mode] or [General User Mode].
[System Manager Mode]
You can perform all the Remote UI operations and settings.
[General User Mode]
You can check the status of documents or the machine, and you can also change some of the settings. When
you want to check if a specific document of yours is in the print queue or cancel the printing of a document
of yours in the print queue, enter the user name of the document in [User Name]. The user name is
automatically set to print documents based on information such as your computer name or computer login
name.
[Remote UI Access PIN]
If [Remote UI Access PIN] is set, enter the PIN. Setting a Remote UI PIN(P. 133)
Managing the Machine
159
Summary of Contents for 2207C001
Page 1: ...LBP113w User s Guide USRMA 2446 00 2018 08 en Copyright CANON INC 2018 ...
Page 44: ...LINKS Setting IPv6 Addresses P 40 Viewing Network Settings P 43 Setting Up 39 ...
Page 59: ...Printing from a Computer P 102 Setting Up 54 ...
Page 87: ...Basic Operations 82 ...
Page 141: ...Managing the Machine 136 ...
Page 217: ...7 Close the toner cover 8 Replace the output cover LINKS Consumables P 223 Maintenance 212 ...
Page 221: ...8 Close the toner cover 9 Replace the output cover LINKS Consumables P 223 Maintenance 216 ...
Page 230: ... When replacing drum cartridges see Replacing the Drum Cartridge P 213 Maintenance 225 ...
Page 233: ...Troubleshooting 228 ...
Page 320: ... 12 JPEG this software is based in part on the work of the Independent JPEG Group ...


