


Manufacturers N°
Model Type
Gas Council N°
3650007.31
Minima HE 24 Nat
47 - 980 - 33
3650008.31
Minima HE 30 Nat
47 - 980 - 34
3650009.31
Minima HE 35 Nat
47 - 980 - 35
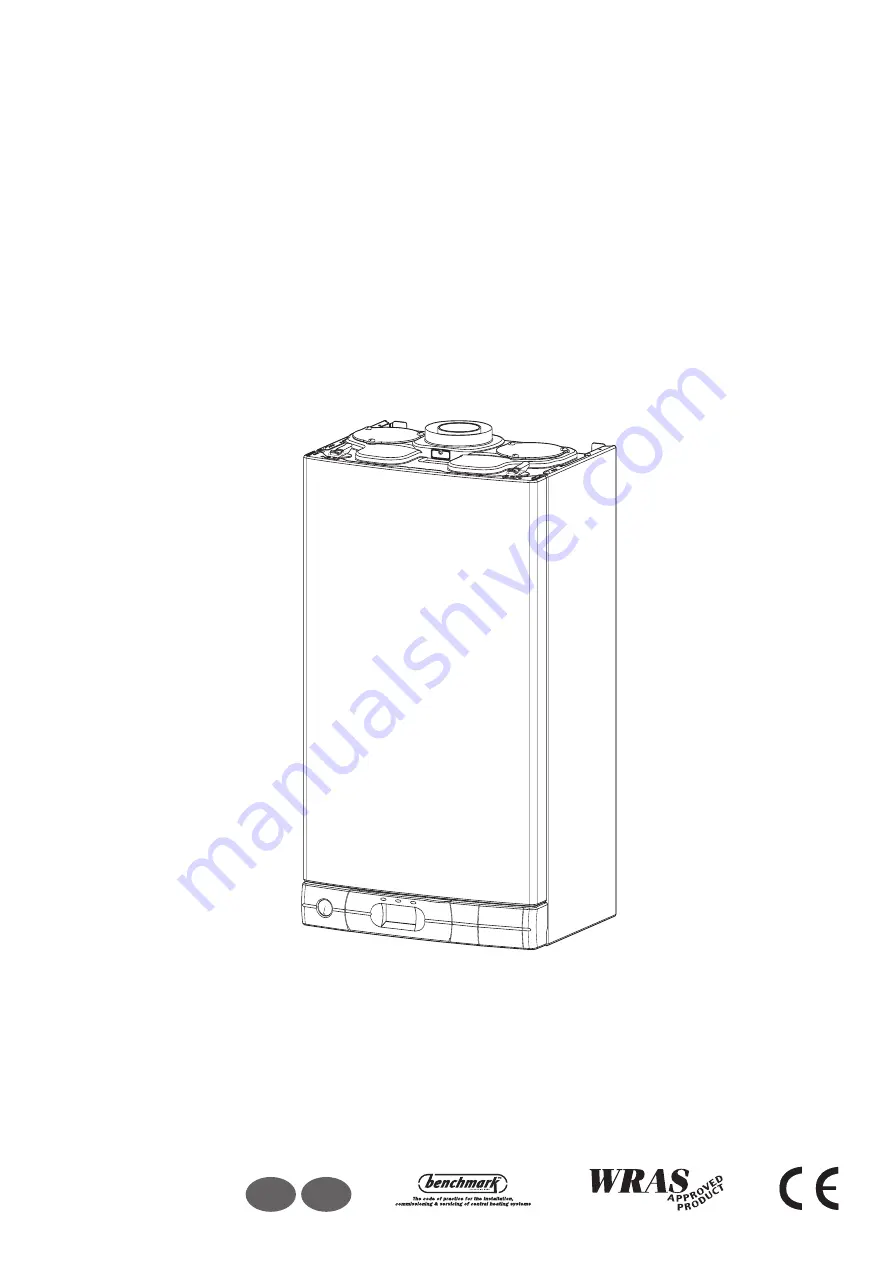
CONDENSING WALL HUNG COMBINATION BOILER
Heating and Instantaneous Domestic Hot Water - Fanned Flue system
Installation, Servicing and Operating Instructions
Country of destination
GB
IE
c
M
Miin
niim
ma
a H
HE
E
Summary of Contents for Minima HE
Page 18: ...18 1 2 A A Fig 19 Fig 16 11 Installing the boiler continued Fig 17 P P Fig 18...
Page 21: ...Fig 24 Fig 25 Fig 26...
Page 55: ...55 22 Notes...
Page 59: ...24 Benchmark Commissioning Checklist 59...
Page 60: ...23 Service Interval Record 60...
Page 61: ...61...
Page 62: ...62...
Page 63: ...63...


