Chapter 5: Installation
266
2
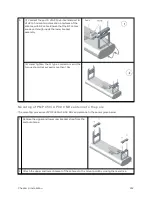
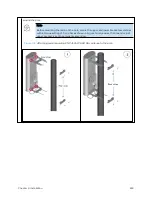
Choose the best mounting location for your particular application. Modules need not be mounted
next to each other. They can be distributed throughout a given site. However, the 60° offset must be
maintained. Mounting can be done with supplied clamps.
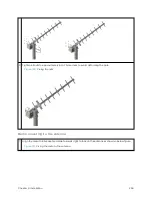
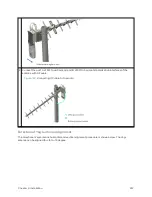
See Installing external antennas to a connectorized ODU for connecting an external antenna to PMP
450i Series, PMP 450 Series, PMP 450m Series – 5 GHz AP, PMP 450m Series – 3 GHz AP, and PMP
450 Series SM 900 MHz
See Installing an integrated ODU
3
Align the AP as follows:
1. Move the module to where the link will be unobstructed by the radio horizon and no objects
penetrate the Fresnel zone.
2. Use a local map, compass, and/or GPS device as needed to determine the direction that one
or more APs require to each cover the intended 60° sector.
3. Apply the appropriate degree of downward tilt.
4. Ensure that the nearest and furthest SMs that must register to this AP are within the beam
coverage area.
4
Adjust the azimuth to achieve visual alignment, lock the AP in the proper direction and downward tilt.
5
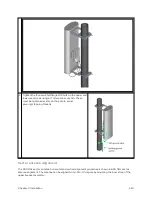
Attach the cables to the AP (See Powering the AP/SM/BH for test configuration)
6
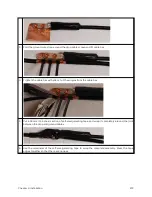
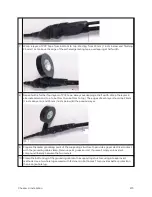
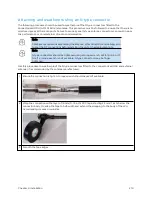
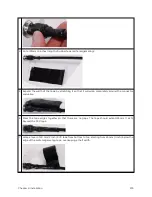
Waterproof the cables (See section Attaching and weatherproofing an N type connector).
Inst alling a 4 50 Plat f or m Fam ily SM
Installing a 450 Platform Family SM consists of two procedures:
l
Physically installing the SM on a residence or other location and performing a coarse alignment
using the alignment tool or alignment tone.
l
Verifying the AP to SM link and finalizing alignment using review of power level, link tests, and
review of registration and session counts.
Procedure 6 Installing an SM
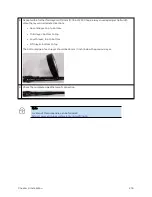
1
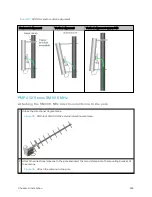
Choose the best mounting location for the SM based on section ODU and external antenna location.
2
Use stainless steel hose clamps or equivalent fasteners to lock the SM into position.
See Installing external antennas to a connectorized ODU for connecting external antenna
See Installing an integrated ODU
3
Remove the base cover of the SM.
4
Terminate the UV outside grade Category 5 Ethernet cable with an RJ-45 connector, and connect
the cable to the SM.
5
Wrap a drip loop in the cable.
6
For Connectorized Models, Install the external antenna according to the manufacturer’s
instructions.
Summary of Contents for PMP 450 Series
Page 92: ...Chapter 2 System hardware 92 Figure 29 MicroPoP Omni antenna implementation pattern Vertical...
Page 134: ...Chapter 3 System planning 134 Figure 51 Mast or tower installation...
Page 135: ...Chapter 3 System planning 135 Figure 52 Wall installation...
Page 136: ...Chapter 3 System planning 136 Figure 53 Roof installation...
Page 137: ...Chapter 3 System planning 137 Figure 54 GPS receiver wall installation...
Page 158: ...Chapter 3 System planning 158 Figure 61 cnMedusa Antenna...

