Installation Guide
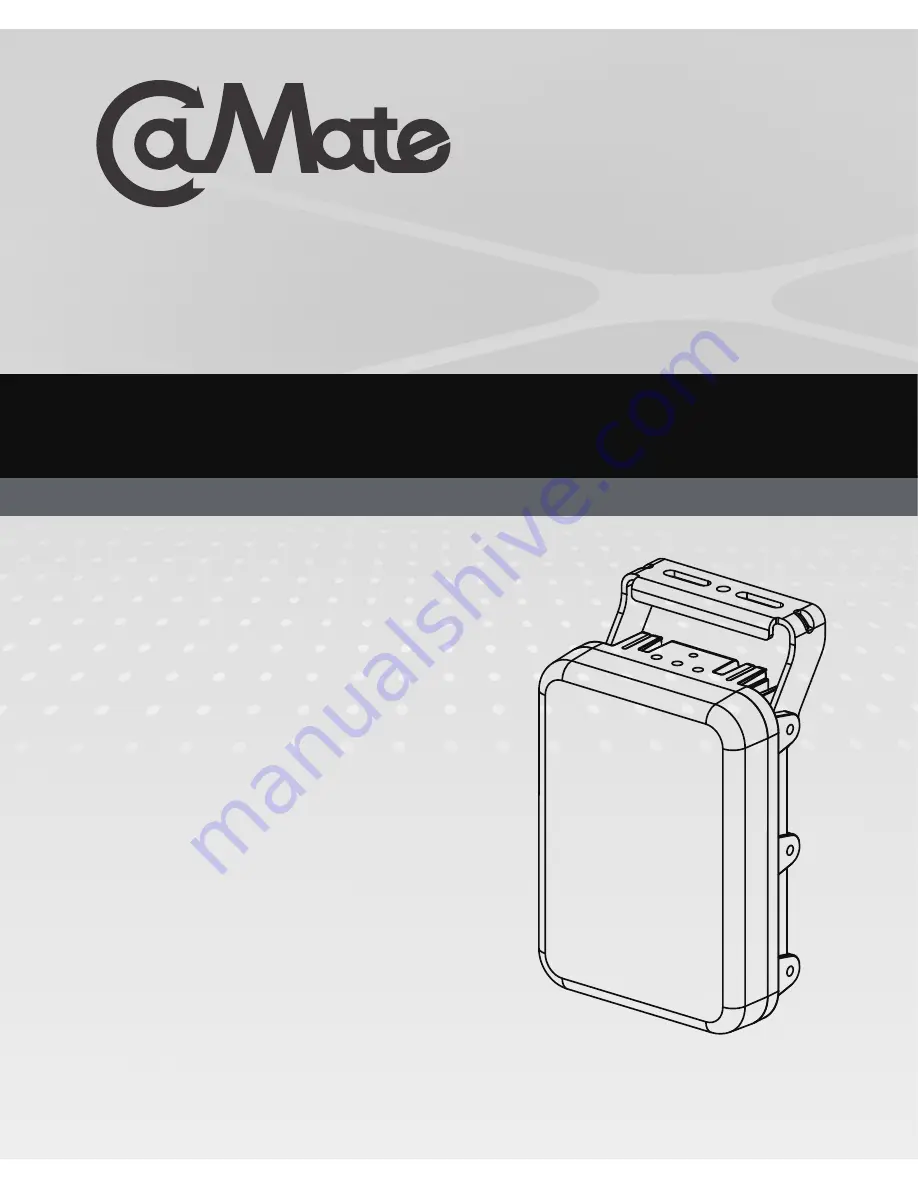
CA80 Series
Vari-Angle IR Illuminator
Rev. 1.0
QIG Part no.: L625000100G
Page 1: ...Installation Guide CA80 Series Vari Angle IR Illuminator Rev 1 0 QIG Part no L625000100G...
Page 2: ...olonged staring into the luminaire at a distance closer than 2 5 m is not expected The external flexible cable or cord of this luminaire cannot be replaced if the cord is damaged the luminaire shall b...
Page 3: ...ing temperature Do not touch the Illuminator during a lightning storm IMPORTANT Class III luminaires Do not stare at the operating light source This marking indicates that this product should not be d...
Page 4: ...4 160mm 6 3 220mm 8 7 73mm 2 9 103 8mm 4 1 134 6mm 5 3 61 5mm 2 4 164 6mm 6 5 59 5mm 2 3 43mm 1 7 43mm 1 7 59mm 2 3 32mm 1 3 Mechanical Drawings 134 M6x1 4 64 29 3 8 2 30 82 Standard Small U bracket...
Page 5: ...mounting holes for external camera housing U bracket Optional mounting points for U bracket Light sensor Combo cable Dehumidifier membrane Reserved Mounting holes Unit Weight 2 1KG Max Project Area 3...
Page 6: ...isabled by default Unlock the remote control by pressing this button for 2 seconds The control is automatically locked after being idle for 5 mins LED status The button toggles the LED indicators on o...
Page 7: ...ientation Use the included allen wrench to attach and adjust the U bracket to your needs at the installation site It is highly recommended that the illuminator should be installed at a position higher...
Page 8: ...factory default for the beam angle selector is always at the Widest angle Refer to the tables below for the configurable IR light beam angles and the definitions of the remote controller buttons Each...
Page 9: ...9 Select a position at the installation site e g under a hanging roof You can use the alignment sticker and start drilling a hole on the roof Apply the included grip sticker to the U bracket...
Page 10: ...hor Hammer the anchor in user supplied M6 anchors are recommended Secure the U bracket to it such as securing it using the bolt on a threaded pole Secure the illuminator to bracket using the hex socke...
Page 11: ...r to precisely match the illuminated area with the camera s field of view If necessary adjust the beam angle again Turn the illuminator toward the FOV of the partner camera shift the tilt angle and th...
Page 12: ...tact Logic level 1 Open LED off Logic level 0 Close to GND LED on Wet contact Logic level 1 4V 40 V LED off Logic level 0 0 8V MAX LED on DI Yellow 26AWG Ground DO Purple 26AWG Light sensor status out...
Page 13: ...reen Yellow wires This mode means that CaMate illuminator On Off control is triggered by camera or other alarm system Users can decide using the appropriate dry wet contacts depending on wiring condit...
Page 14: ...ent must be under 100mA DO Bule GND Light sensor status output 1 Open Day 2 Short Night lower than 300 lux for IR to turn ON Stand alone illuminator mode This mode means that the illuminator s On Off...
Page 15: ...15 This page is intentionally left blank...
Page 16: ...16 This page is intentionally left blank...