23
Install Guide
Proprietary Information: Not for use or disclosure except by written agreement with Calix.
.
Wall Mounting the GigaSpire BLAST
The Calix GigaSpire BLAST u6 and u12 series can be wall mounted using the optional wall
mount bracket. These GigaSpire BLAST models includes a 6mm captive receptacle built into
the base for attaching to the captive M6 screw assembled into the wall mount bracket.
Keep the following information in mind when considering wall mounting:
Locate the BLAST on the wall in a location that is unlikely to be bumped or jostled.
Make sure that the Ethernet cable(s) (if used) and power supply wiring attached to the
GigaSpire are secured properly and out of harms way.
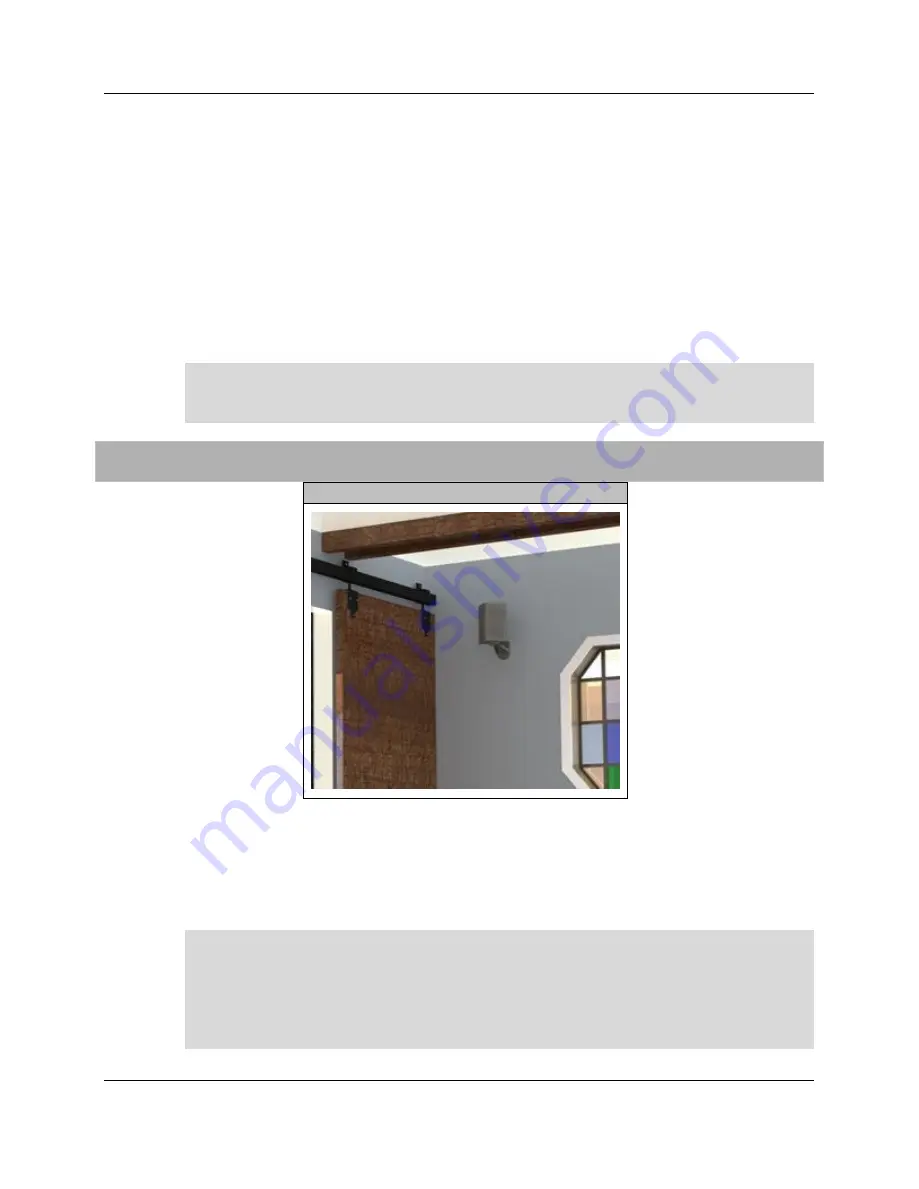
Typical Wall Mount Location
1.
Find a suitable location for attaching the wall mount bracket to the wall. Be mindful of
the power source and Ethernet cable requirements then determining a mounting
location.
2.
Using the wall mount bracket as a template, mark the two screw locations on the wall,
making sure the bracket is level.
Note:
Once the GigaSpire is connected and turned up, Wi-Fi network parameters are
persisted in memory. For this reason, if power is lost to the GigaSpire, it will be re-
discovered on the network automatically, without operator intervention.
To wall mount the GigaSpire BLAST
Note:
The holes of the bracket are designed to accommodate a #8 screw (not
provided). Depending on the material you are attaching to, use a screw of sufficient
length and strength to support the GigaSpire once attached to the bracket.
Note:
If attaching to sheet rock or gypsum board, Calix recommends using a wall
anchoring system to ensure the bracket is securely attached to the wall.
Summary of Contents for GigaSpire BLAST u12 GS202xE
Page 1: ...GigaSpire BLAST Installation Guide March 2020 220 01209 Rev 11...
Page 2: ......
Page 4: ......


