Viper SC+™ IP Router for Licensed Spectrum PN 001-5008-000 Rev. C
| Page 132
6.
USING CALAMP-PROVIDED AND CLONED VIPER CONFIGURATIONS
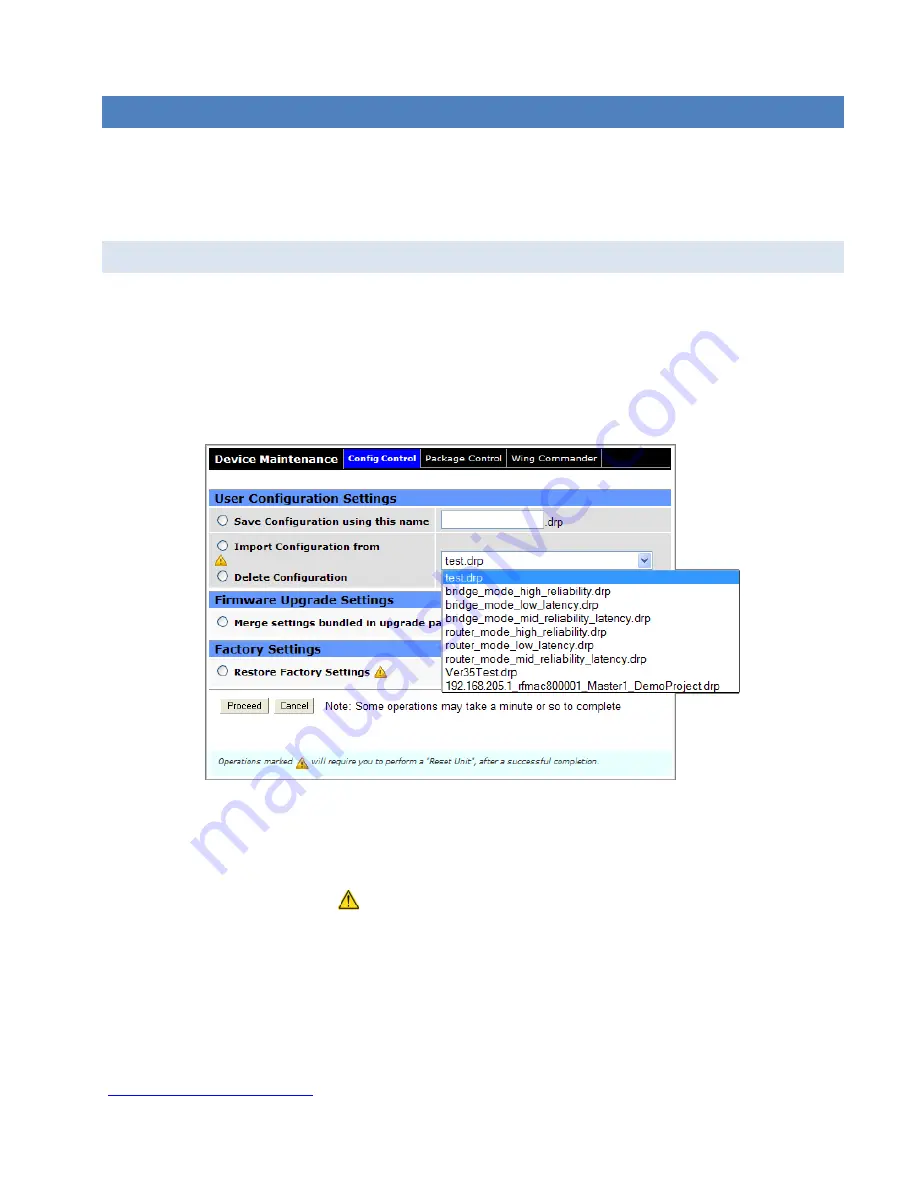
Several configuration files are provided pre-installed, saved in the Viper as shipped. These configuration files can be
seen using the drop-down menu in the Config Control tab of the Device Maintenance page of the Viper Web Interface.
See the following figure, which shows the list of the sample files.
6.1.
USING CALAMP PRE-PROVIDED (“CANNED”) CONFIGURATIONS
The following figure shows several CalAmp pre-provided or “canned” configurations. The list you see may differ slightly
from the list available at the time of this writing, but the file names should give some insight into the function and
purpose for the configuration.
To try any of these pre-installed configurations, select
Device Maintenance
from the Main Menu and then select
Config Control
to navigate to the Config Control tab.
Figure 76 – Drop-down list in Device Maintenance » Config Control Showing Available Sample Configurations
Click the
down-arrow
at the right of the list box to expand the drop-down menu and select the desired canned
configuration from the list, and then click
Proceed
near the bottom of the tab.
Note:
A reset of the Viper is required before the setting from the imported canned configuration will take effect, as
indicated by the yellow alert symbol (
).
If desired, you can go through other page tabs to see how the Viper will be configured when restarted.
Important:
If you select a configuration that changes the LAN IP Address from the LAN IP Address you entered in your
computer’s browser address bar, or changes User Names and Passwords to access the device, you will need to know
these to reconnect via the browser after rebooting the Viper.
For assistance with using CalAmp-provided configurations or cloned configurations (the following topic) contact
CalAmp technical support. Or check the CalAmp Support website for information updates at


