


new RIVER IDRO T2 - TESIS Airtight T2 - MIRA T2 - MAYA idroT2
28
Fig. 24 - Shutter with fuses to remove
When not in use the appliance must be disconnected from the mains power supply. It is recommended to remove
the power cable for additional safety, especially in the presence of children.
The service fuse may have to be replaced if the control panel display does not switch on.
There is a fusebox on the back of the product, near the power socket.
After removing the plugs from the power socket, open the fusebox cover with a screwdriver and replace the fuses if necessary (3.15
A delayed) - seek assistance from an authorised and qualified technician.
11.15 CHECKING THE INNER COMPONENTS
ATTENTION!
Only qualified personnel with technical knowledge of combustion and electricity can check the inner electri-
cal-mechanical components.
.
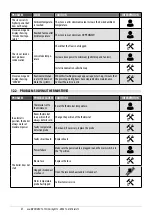
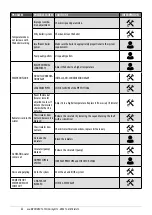
PARTS/FREQUENCY
2-3 DAYS
7 DAYS
1 YEAR
UNDER THE USER'S
RESPONSIBILITY
Brazier*
Ash pan
Glass
Lower compartment
Turbulators
BY THE QUALIFIED TECHNICIAN
Complete heat exchanger
Smoke duct
Door gasket
Internal parts
Flue
Circulation pump
Plate heat exchanger
Plumbing components
Electro-mechanical components
Overpressure silicon damper for combustion
chamber
Door closure operation
* THE FREQUENCY OF CLEANING SHOULD BE INCREASED IF THE PELLETS ARE OF POOR QUALITY.
We recommend this maintenance be done annually (with a scheduled service contract), which focuses on a visual and functional
check of the inner components. Below is a summary of the checks and/or service that are essential for proper product operation.
• Gear motor
• Smoke extraction fan
• Smoke probe
• Ignition spark plug
• Pellet/water automatically rearming thermostat
• Room/water probe
• Motherboard
• Panel-board protective fuses
• Wiring


