16
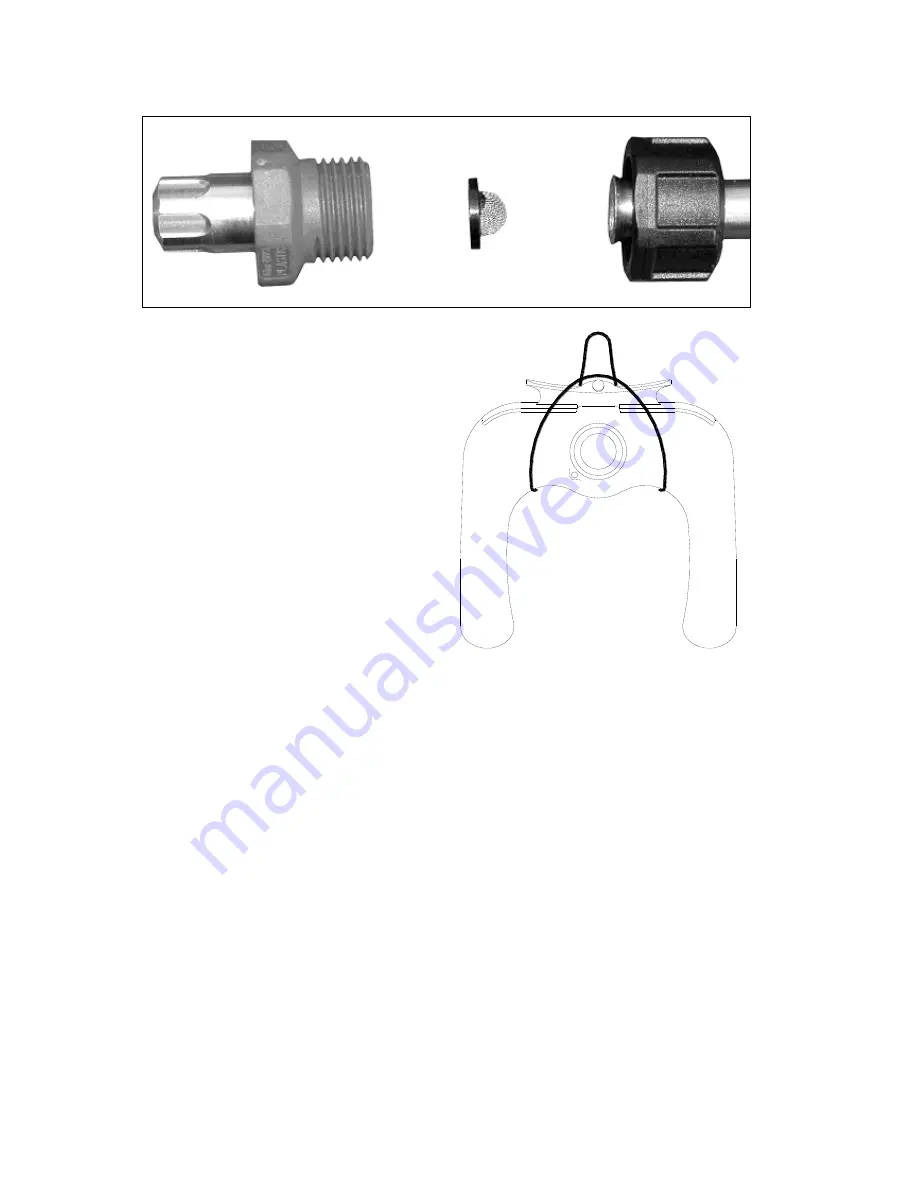
Each HGSR spray gun has a built-in filter in the spray tip. Unscrew the red spray tip holder from the lance nut to
expose the tip filter. Pull the lance nut back to reveal the filter. Rinse under a hose and replace the filter element
in the spray tip (the dished side faces toward the trigger).
Removal of the Sprayrider™
1.
Unplug the switch/battery cable at the
tank connector.
2.
Release the ratchet strap.
3.
Lift the Sprayrider™ off the vehicle.
4.
Place the tank on a suitable support so
that the legs do not have to support the
weight of the tank. The tank can be
conveniently hung on a wall using a loop
of string around the center of the tank.
Lubrication of the Spray Lance
For trouble-free operation of the spray lance it is recommended that the trigger valve be lubricated with rubber
grease (lanolin) at regular intervals. Unscrewing the black knob on the topside of the spray gun handle
accesses the trigger valve. The interval should reflect the usage of the lance.
Care of Protective Clothing
Protective clothing should be properly cared for. Rinse heavily contaminated clothes in the open before washing
in the laundry. Wash and dry these clothes every day and keep them separate from other washing.
Respirators need special care. Clean the respirator after spraying. Use soapy water then rinse and allow to dry
completely before storing in a clean plastic bag. Replace canisters in respirator after eight hours use. Never
store used canisters with the respirator.
The minimum requirements for personal safety are that the operator avoids spray inhalation and does
not allow chemicals or spray mixture to contaminate the eyes or skin.
Summary of Contents for SPRAYRIDER Generation 2
Page 19: ...19 SR50 80 PARTS DIAGRAM...
Page 22: ...22 SR35 PARTS DIAGRAM...


