Name
Description
LinkStation or
TeraStation Name
Browse Shares
Opens the selected LinkStation's or TeraStation's shared
folders.
Open Remote Desktop
Opens Windows Storage Server in remote desktop.
Properties
Opens the selected LinkStation's or TeraStation's properties
page.
Create Shortcut
Creates a desktop shortcut to the selected LinkStation's or
TeraStation's shared folders.
Refresh
Refreshes list of NAS devices.
Open NAS Navigator2
Opens the NAS Navigator2 window.
Exit
Exits NAS Navigator2.
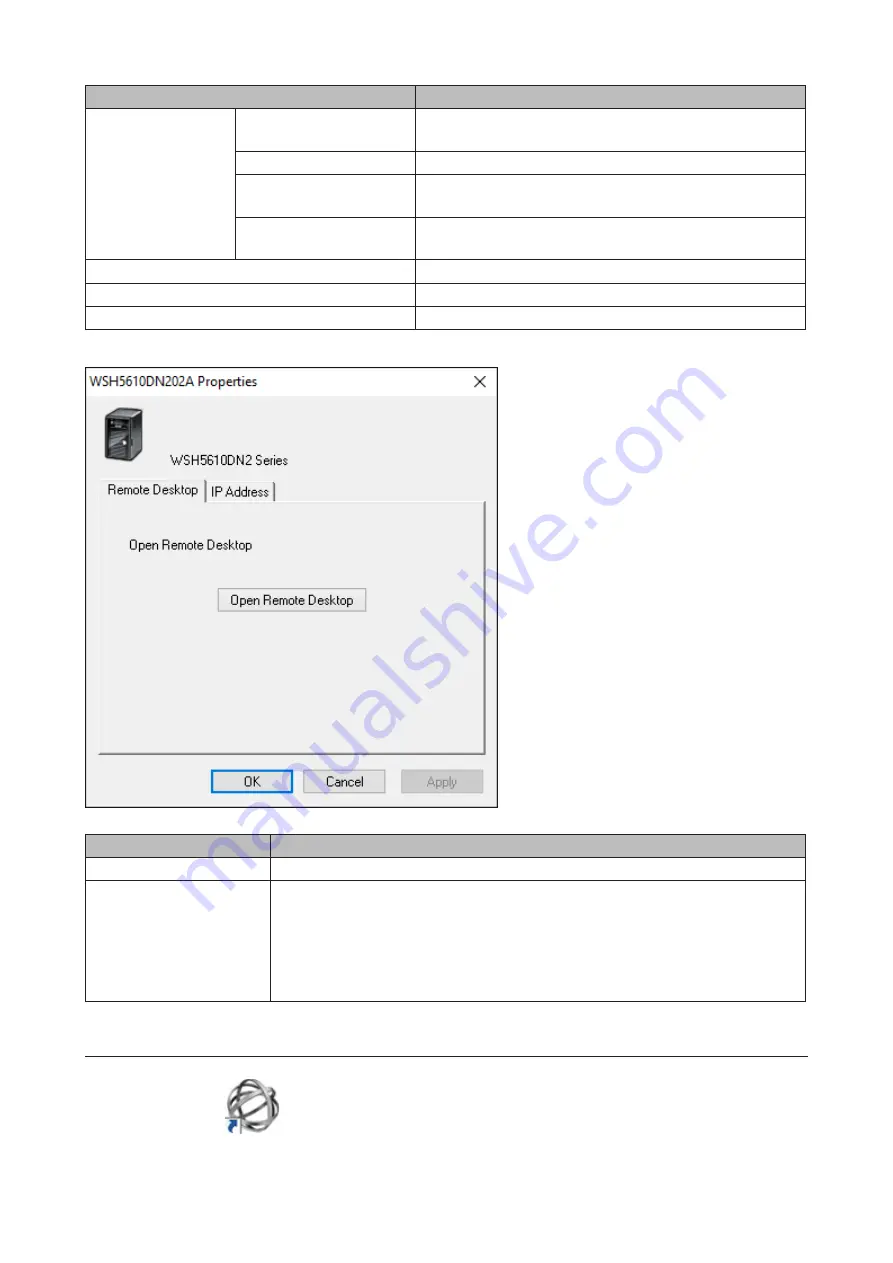
The following tasks may be performed from the LinkStation's or TeraStation's properties page.
Name
Description
Remote Desktop
Click
Open Remote Desktop
to open Windows Storage Server.
IP Address
Select the "Use DHCP" checkbox to assign an IP address from the DHCP server
automatically. If there is no DHCP server on the network, you cannot use this
function.
Select the "Renew IP address" checkbox to obtain an IP address from the DHCP
server.
You can manually enter an IP address, subnet mask, and default gateway.
Changing the IP Address
1
Double-click the
icon to start NAS Navigator2.
2
Right-click on your TeraStation's icon and choose
Properties
-
IP Address
.
96
Summary of Contents for TeraStation WSH5610
Page 26: ...6 Click Add Items 7 Select the backup source folders or drives and click OK 25...
Page 27: ...8 Click Next 26...
Page 28: ...9 Specify the schedule to run the backup and click Next 27...
Page 32: ...5 Select the date when a data backup occurred and click Next 31...
Page 38: ...2 Click Change 3 Select Domain enter a domain name and click OK 37...
Page 40: ...7 Click Close 8 Click Restart Now and restart your computer to apply settings 39...
Page 41: ...Installing DFS 1 In Server Manager click Dashboard Add roles and features 2 Click Next 40...
Page 42: ...3 Select Role based or feature based installation and click Next 4 Click Next 41...
Page 44: ...7 Click Next 8 Click Install 43...
Page 45: ...9 Click Close to finish Creating Namespaces 1 In Server Manager click Tools DFS Management 44...
Page 46: ...2 Click Namespaces New Namespace 3 Enter a hostname for the namespace server and click Next 45...
Page 47: ...4 Enter a name for the namespace and click Next 46...
Page 51: ...4 Select the type of replication group and click Next 50...
Page 52: ...5 Enter a name for the replication group and click Next 51...
Page 53: ...6 Enter the hostname of the file server for the replication source and click Next 52...
Page 54: ...7 Click Add 53...
Page 55: ...8 Enter the path of the replication source and click OK 54...
Page 56: ...9 Click Next 55...
Page 57: ...10Enter the hostname of the file server for the replication target and click Next 56...
Page 66: ...3 Right click Users and click New User 65...
Page 68: ...3 Double click Remote Desktop Users 4 Click Add 67...
Page 69: ...5 Click Advanced 6 Click Find Now 68...
Page 71: ...3 Right click Groups and choose New Group 4 Enter a group name and click Add 70...
Page 72: ...5 Click Advanced 6 Click Find Now 71...
Page 73: ...7 Select the users to be registered to the group then click OK 8 Click OK 72...


