7
Press the Down Arrow key and select the SD card beginning from "UEFI:", then press the Enter key.
8
The recovery process proceeds automatically.
9
When the recovery process finishes, the TeraStation shuts down automatically.
10
Turn on the TeraStation. If it boots up properly, recovery is completed.
Errors on the LCD Panel
The unit indicates errors on the LCD panel. The LCD panel can help you troubleshoot problems. Refer to the
"Diagrams" section in chapter 1 to locate where the LCD panel is.
If an error occurs, the unit will beep. You can stop the beeping by pressing the mode button.
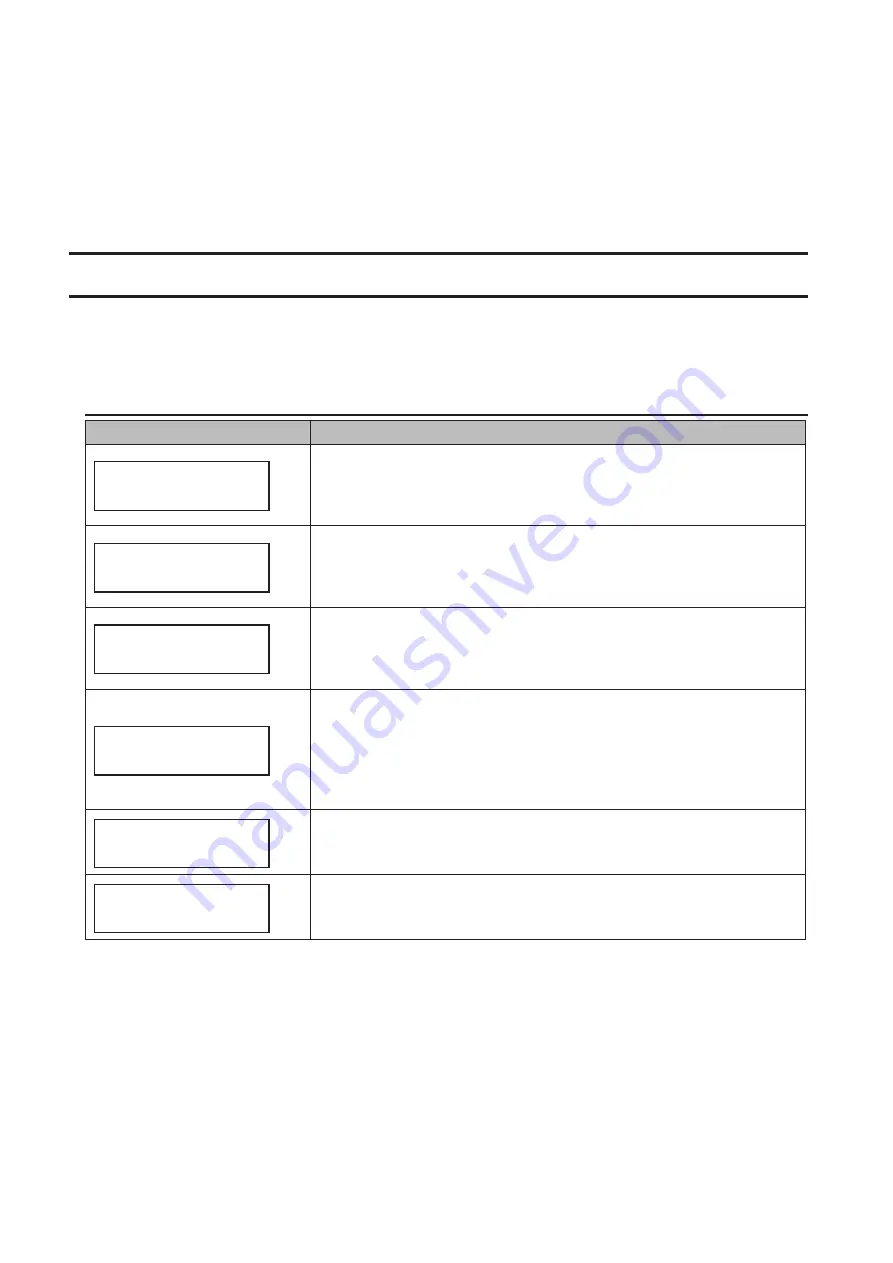
Error Messages
LCD Panel
Corrective Action
RAID-6
ONE DRIVE DOWN
One hard drive failed. Check the LED in front for the defective drive. Refer to
the "Hard Drive Replacement Procedure" section in chapter 6 and replace
the failed drive with a new drive.
You can stop the beeping by pressing the mode button.
RAID-6
TWO DRIVE DOWN
Two hard drives failed. Check the LED in front for the defective drive. Refer
to the "Hard Drive Replacement Procedure" section in chapter 6 and replace
the failed drive with a new drive.
You can stop the beeping by pressing the mode button.
SYSTEM
DOWN
Three or more hard drives failed. Check the LED in front for the defective
drive. Refer to the "Hard Drive Replacement Procedure" section in chapter 6
and replace the failed drive with a new drive.
You can stop the beeping by pressing the mode button.
FAN STOP
NORMAL
The fan is stopped. If you continue to use the unit while the fan is stopped,
the temperature of the drive will increase and a malfunction may occur.
Turn off the unit and check if dust has accumulated on the fan. If removing
dust does not solve the problem, the fan may be broken. Contact Buffalo
technical support.
You can stop the beeping by pressing the mode button.
Code ROM Error
System Halted
Program ROM cannot be read. Shut off the unit, wait 10 seconds, then turn it
back on. If the error still remains, contact Buffalo technical support.
Work RAM Error
System Halted
A work memory error occurred on the array controller. Shut off the unit, wait
10 seconds, then turn it back on. If the error still remains, contact Buffalo
technical support.
102
Summary of Contents for TeraStation WSH5610
Page 26: ...6 Click Add Items 7 Select the backup source folders or drives and click OK 25...
Page 27: ...8 Click Next 26...
Page 28: ...9 Specify the schedule to run the backup and click Next 27...
Page 32: ...5 Select the date when a data backup occurred and click Next 31...
Page 38: ...2 Click Change 3 Select Domain enter a domain name and click OK 37...
Page 40: ...7 Click Close 8 Click Restart Now and restart your computer to apply settings 39...
Page 41: ...Installing DFS 1 In Server Manager click Dashboard Add roles and features 2 Click Next 40...
Page 42: ...3 Select Role based or feature based installation and click Next 4 Click Next 41...
Page 44: ...7 Click Next 8 Click Install 43...
Page 45: ...9 Click Close to finish Creating Namespaces 1 In Server Manager click Tools DFS Management 44...
Page 46: ...2 Click Namespaces New Namespace 3 Enter a hostname for the namespace server and click Next 45...
Page 47: ...4 Enter a name for the namespace and click Next 46...
Page 51: ...4 Select the type of replication group and click Next 50...
Page 52: ...5 Enter a name for the replication group and click Next 51...
Page 53: ...6 Enter the hostname of the file server for the replication source and click Next 52...
Page 54: ...7 Click Add 53...
Page 55: ...8 Enter the path of the replication source and click OK 54...
Page 56: ...9 Click Next 55...
Page 57: ...10Enter the hostname of the file server for the replication target and click Next 56...
Page 66: ...3 Right click Users and click New User 65...
Page 68: ...3 Double click Remote Desktop Users 4 Click Add 67...
Page 69: ...5 Click Advanced 6 Click Find Now 68...
Page 71: ...3 Right click Groups and choose New Group 4 Enter a group name and click Add 70...
Page 72: ...5 Click Advanced 6 Click Find Now 71...
Page 73: ...7 Select the users to be registered to the group then click OK 8 Click OK 72...


