94
Chapter 5 Backup
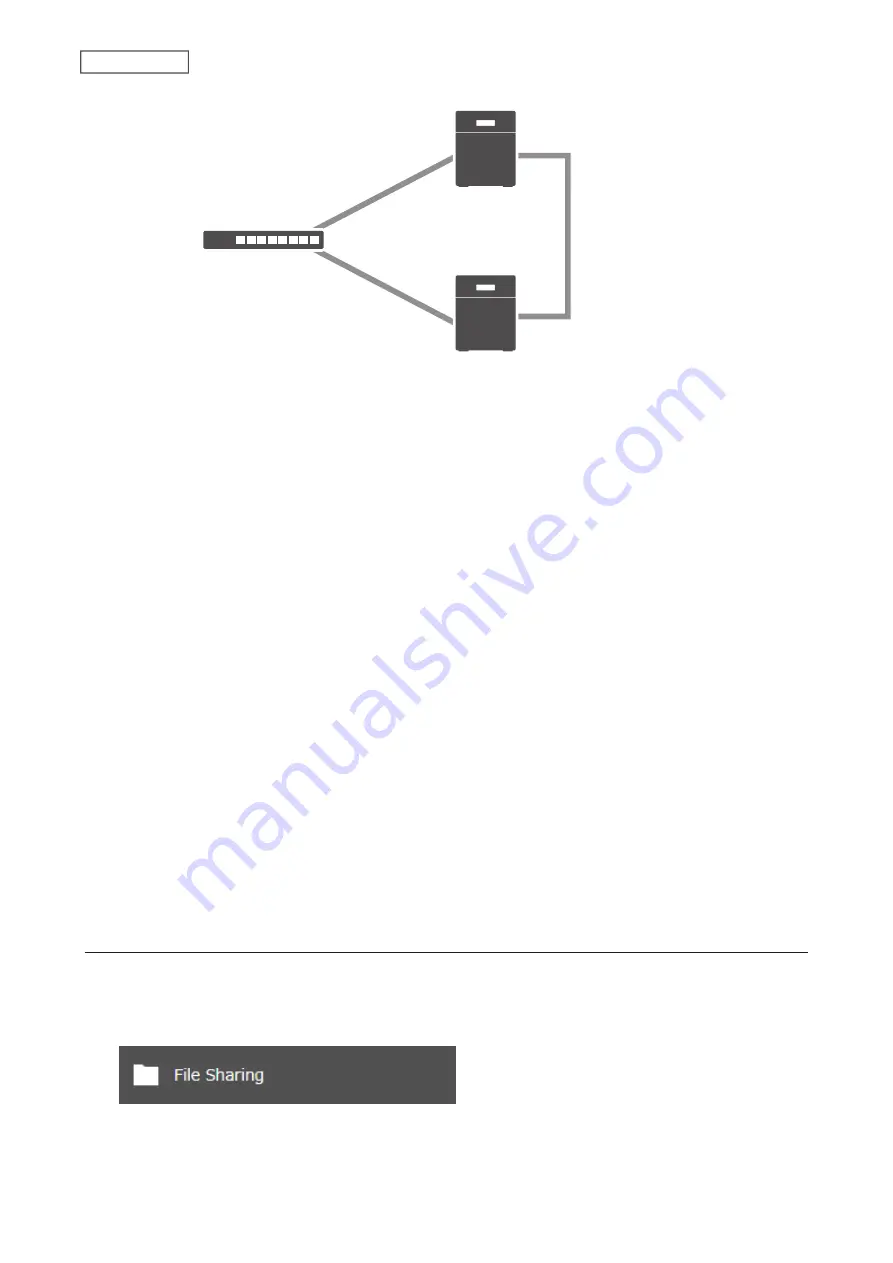
LAN port 2
(Static IP)
LAN port 2
(Static IP)
Replication Source
Replication Destination
Network
LAN port 1
(Static IP)
LAN port 1
(Static IP)
Note:
Replication source data is copied to the replication destination folder with a differential overwrite. Any data
not on the replication source will be overwritten.
The following describes what can be configured as replication sources and replication destinations.
Folders Available as Replication Sources
• Shared folder on the replication source TeraStation (excluding the “info” folder)
*1
• USB drive connected to the replication source TeraStation
Folders Available as Replication Destinations
*2
• Shared folder on the replication source TeraStation (excluding the “info” folder)
• USB drive connected to the replication source TeraStation
*3
• Shared folder on another Buffalo NAS device
*4
*1 You can select up to the second level of folders. However, if the folder name of a second level folder contains “@”,
that folder may not appear as the target folder.
*2 The folder should have the “Backup” checkbox selected under “LAN Protocol Support” on the shared folder
settings.
*3 If the “Inherit subfolders' access restrictions” option is selected when creating a replication job, use XFS or ext3 file
systems.
*4 If the “Inherit subfolders' access restrictions” option is selected when creating a replication job, the device should
be a Buffalo NAS device whose subfolders’ access restrictions is available.
Preparing a Replication Destination
Configure a folder as a replication destination. Follow the procedure below to prepare a Buffalo NAS device as a
replication destination.
1
From Settings, click
File Sharing
.
Summary of Contents for TeraStation 3010
Page 29: ...28 Chapter 3 File Sharing 3 Click Create User...
Page 32: ...31 Chapter 3 File Sharing 3 Click Add Group...
Page 71: ...70 Chapter 4 Storage Management 6 Click Edit under NAS Volume 7 Click Create Volume...
Page 88: ...87 Chapter 5 Backup 4 Enter the backup device access key and click OK 5 Click Add...
Page 111: ...110 Chapter 5 Backup 3 Click Select Backup Disk 4 Select the shared folder then click Use Disk...
Page 113: ...112 Chapter 5 Backup 7 Time Machine will count down from 120 seconds then backup will begin...
Page 125: ...124 Chapter 6 Cloud Services and Remote Access 5 Click Edit...
Page 137: ...136 Chapter 6 Cloud Services and Remote Access 4 Click the Options tab 5 Click Edit...
Page 147: ...146 Chapter 6 Cloud Services and Remote Access 4 Click the Options tab...
Page 148: ...147 Chapter 6 Cloud Services and Remote Access 5 Click Edit...
Page 176: ...175 Chapter 7 Advanced Features 11Click the NFS Rules tab 12Click Add...
Page 205: ...204 Chapter 7 Advanced Features 3 Click FQDN Mapping 4 Click Add...


