167
Chapter 7 Advanced Features
◦
Example 2:
If running at a current time of 10:00 a.m. Wednesday
Timer 1: Daily 9:00–18:00
Timer 2: Wednesday 10:00–20:00
Timer 3: Not used
On days other than Wednesday, normal operation begins at 9:00 a.m. and the unit enters sleep mode at 6:00
p.m. On Wednesday, the unit enters sleep mode at 8:00 p.m.
◦
Example 3:
If running at a current time of 10:00 a.m. Wednesday
Timer 1: Daily 9:00–18:00
Timer 2: Wednesday 10:00–1:00 a.m. of the next day
Timer 3: Not used
On days other than Wednesday, normal operation begins at 9:00 a.m. and the unit enters sleep mode at 6:00
p.m. On Wednesday, normal operation begins at 10:00 a.m. and the unit enters sleep mode at 1:00 a.m. of
the next day.
◦
Example 4:
If running at a current time of 10:00 a.m. Wednesday
Timer 1: Daily 9:00–18:00
Timer 2: Wednesday 7:30–22:00
Timer 3: Not used
On days other than Wednesday, normal operation begins at 9:00 a.m. and the unit enters sleep mode at 6:00
p.m. On Wednesday, normal operation begins at 7:30 a.m. and the unit enters sleep mode at 10:00 p.m.
• To wake the TeraStation from sleep mode before the wake-up time, press and hold down the power button for
three seconds.
Wake-on-LAN
The TeraStation supports Wake-on-LAN, which allows it to be turned on remotely. The TeraStation will be turned
on automatically in the following situations: receiving a Wake-on-LAN packet, recovering from a power outage,
disconnecting and reconnecting the power cable.
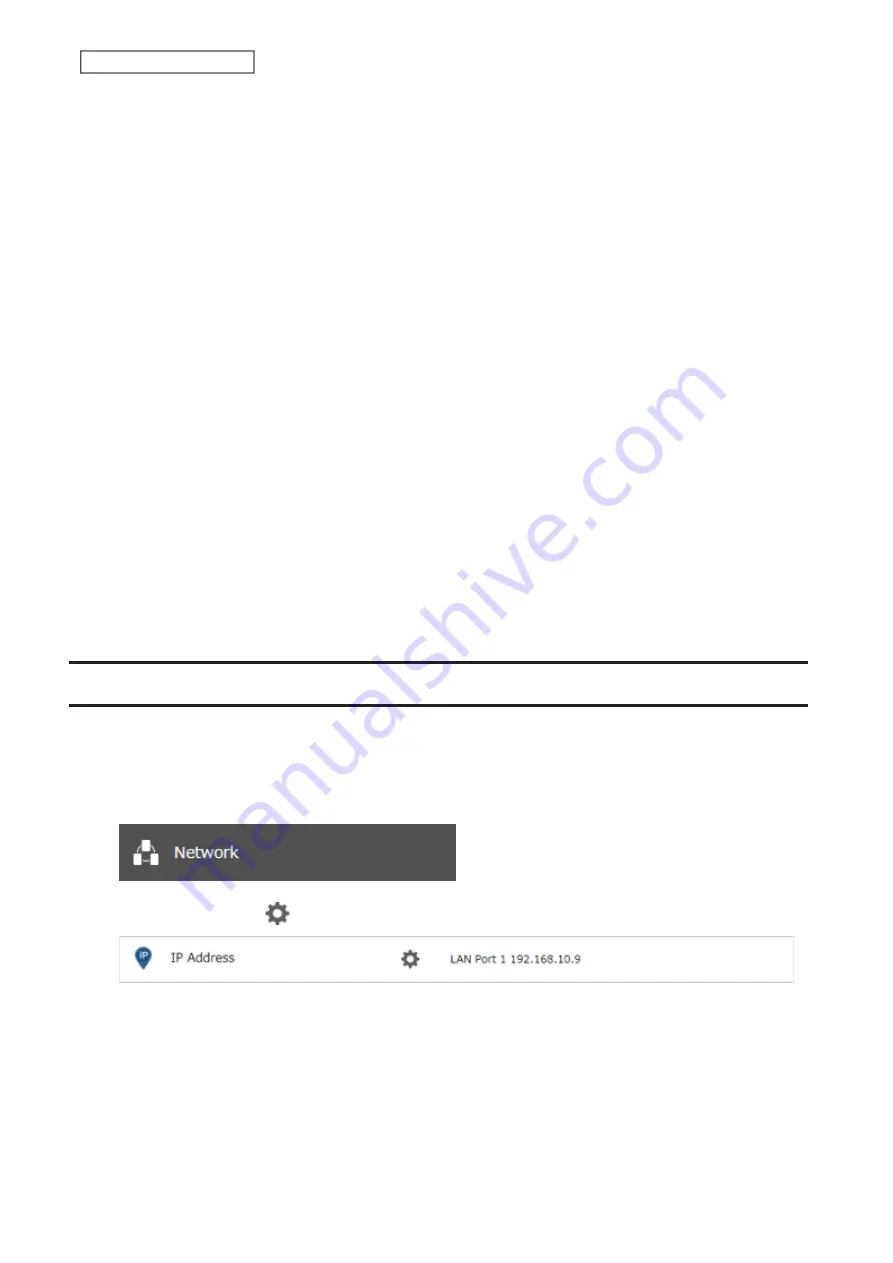
1
From Settings, click
Network
.
2
Click the settings icon (
) to the right of “IP Address”.
3
Click
Edit
.
Summary of Contents for TeraStation 3010
Page 29: ...28 Chapter 3 File Sharing 3 Click Create User...
Page 32: ...31 Chapter 3 File Sharing 3 Click Add Group...
Page 71: ...70 Chapter 4 Storage Management 6 Click Edit under NAS Volume 7 Click Create Volume...
Page 88: ...87 Chapter 5 Backup 4 Enter the backup device access key and click OK 5 Click Add...
Page 111: ...110 Chapter 5 Backup 3 Click Select Backup Disk 4 Select the shared folder then click Use Disk...
Page 113: ...112 Chapter 5 Backup 7 Time Machine will count down from 120 seconds then backup will begin...
Page 125: ...124 Chapter 6 Cloud Services and Remote Access 5 Click Edit...
Page 137: ...136 Chapter 6 Cloud Services and Remote Access 4 Click the Options tab 5 Click Edit...
Page 147: ...146 Chapter 6 Cloud Services and Remote Access 4 Click the Options tab...
Page 148: ...147 Chapter 6 Cloud Services and Remote Access 5 Click Edit...
Page 176: ...175 Chapter 7 Advanced Features 11Click the NFS Rules tab 12Click Add...
Page 205: ...204 Chapter 7 Advanced Features 3 Click FQDN Mapping 4 Click Add...


