Chapter 7 Advanced Features
Antivirus Software
Trend Micro NAS Security can protect your network and data from software viruses, malware, and spyware. Virus
scan by Trend Micro NAS Security is available for files in the TeraStation’s shared folders, except for the “usbdisk”
folder.
To use the Trend Micro NAS Security software, purchase an OP-TSVC license pack (sold separately). If your
TeraStation is already running an activated antivirus software, no license registration is necessary.
Notes:
• If LVM is enabled on the TeraStation, the antivirus software may not work properly. For best results, disable LVM
before use.
• To use the antivirus software effectively, the TeraStation should be connected to the Internet. The connection can
be routed through a proxy server if the appropriate settings are configured in
Administration
>
Proxy Settings
from
the left-side menu of the Trend Micro NAS Security settings page.
• Trend Micro is a trademark of Trend Micro Incorporated.
Activating Virus Scanning
Follow the procedure below to activate virus scanning.
1
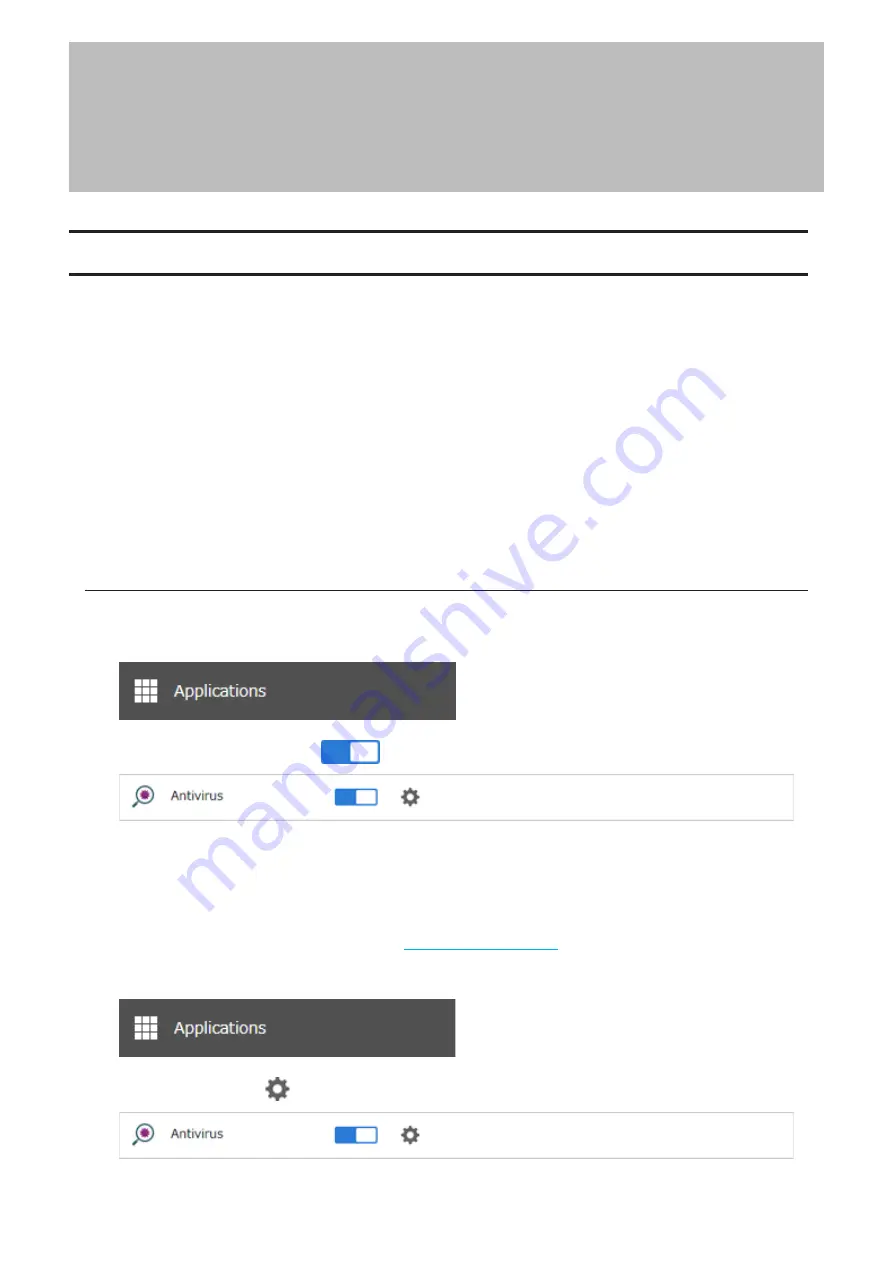
From Settings, click
Applications
.
2
Move the antivirus switch to the
position to enable antivirus.
A quarantine folder named “TMNAS” is automatically created on the TeraStation. If a virus is detected, it is moved to
this folder.
If you want to configure a specific shared folder as a quarantine folder, follow the procedure below.
1
Create a new shared folder by referring to the
section in chapter 3.
2
From Settings, click
Applications
.
3
Click the settings icon (
) to the right of “Antivirus”.
154
Chapter 7 Advanced Features
Summary of Contents for TeraStation 3010
Page 29: ...28 Chapter 3 File Sharing 3 Click Create User...
Page 32: ...31 Chapter 3 File Sharing 3 Click Add Group...
Page 71: ...70 Chapter 4 Storage Management 6 Click Edit under NAS Volume 7 Click Create Volume...
Page 88: ...87 Chapter 5 Backup 4 Enter the backup device access key and click OK 5 Click Add...
Page 111: ...110 Chapter 5 Backup 3 Click Select Backup Disk 4 Select the shared folder then click Use Disk...
Page 113: ...112 Chapter 5 Backup 7 Time Machine will count down from 120 seconds then backup will begin...
Page 125: ...124 Chapter 6 Cloud Services and Remote Access 5 Click Edit...
Page 137: ...136 Chapter 6 Cloud Services and Remote Access 4 Click the Options tab 5 Click Edit...
Page 147: ...146 Chapter 6 Cloud Services and Remote Access 4 Click the Options tab...
Page 148: ...147 Chapter 6 Cloud Services and Remote Access 5 Click Edit...
Page 176: ...175 Chapter 7 Advanced Features 11Click the NFS Rules tab 12Click Add...
Page 205: ...204 Chapter 7 Advanced Features 3 Click FQDN Mapping 4 Click Add...


