


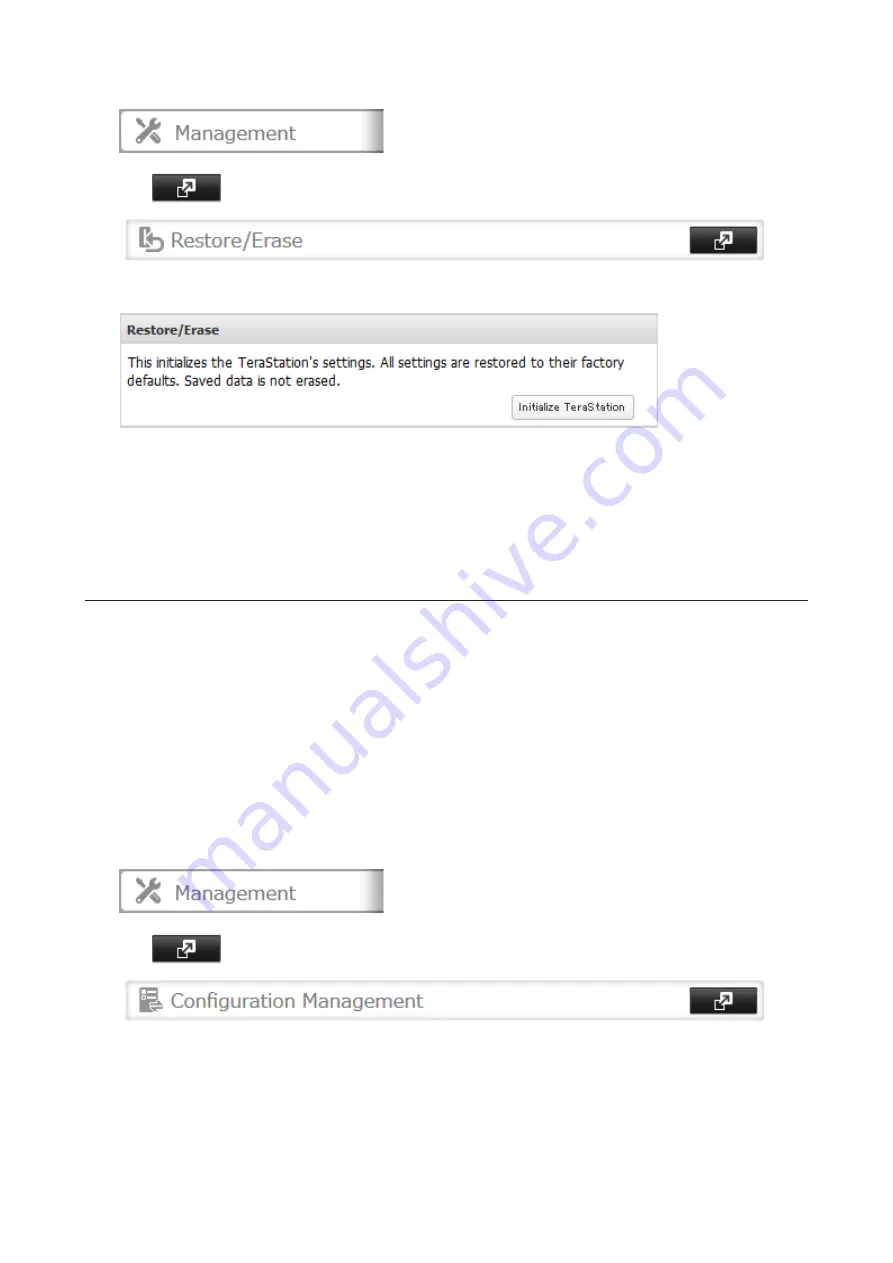
1
From Settings, click
Management
.
2
Click
to the right of “Restore/Erase”.
3
Click
Initialize TeraStation
.
4
The “Confirm Operation” screen will open. Enter the confirmation number, then click
OK
.
5
The TeraStation will restore its factory default settings. When restoring settings is completed, click
OK
.
Dismount the USB drive before unplugging it. See the “Dismounting Drives” section in chapter 4 for the procedure
on dismounting drives.
Creating a Recovery Drive
A recovery drive will restore the settings on your TeraStation to their factory defaults. You can initialize them without
logging in to Settings. Follow the procedure below to create a recovery drive.
Notes:
• Normally, making and using a recovery drive will not affect data on the TeraStation. However, always back up
your data regularly!
• This USB drive can be used to recover the system if your TeraStation doesn’t boot at all. In this case, if the data
partition is damaged, then all your data will be deleted by the recovery process.
1
Insert a 1 GB or larger USB drive (not included) into a USB 2.0 port on the TeraStation.
Note:
All data on the USB drive will be erased!
2
From Settings, click
Management
.
3
Click
to the right of “Configuration Management”.
198
Summary of Contents for terastation 3000
Page 23: ...4 Configure the desired settings then click OK 22...
Page 26: ...3 Click Create User 25...
Page 29: ...3 Click Add Group 28...
Page 109: ...6 Click Time Machine 108...
Page 110: ...7 Click Select Backup Disk 8 Select the shared folder and click Use Disk 109...
Page 134: ...4 Open the License tab then click Activate Free License To deactivate the license click 133...
Page 136: ...3 Click Next 4 Click Find Cameras 135...
Page 142: ...2 Select the search criteria on the left side of the search screen then click Search 141...
Page 143: ...3 The search results are displayed Click a thumbnail to start the media viewer 142...


