


http://(IP address of your TeraStation):3000/
15
Enter your TeraStation’s username and password, then click
Login
.
16
Enter a keyword into the “Search Text” field. To search by other parameters such as filename or file size, check
“Advanced Search”.
17
Click
Search
. The search results are displayed. Click the filename in the results to open the file.
Offline Files
The “offline files” feature that is included with many versions of Windows can be used with files on the TeraStation.
You will be able to work on files stored on the TeraStation even when your PC is disconnected from the network.
When you next connect to the network, the updated files are written and synchronized. Follow the procedure below
to configure offline files.
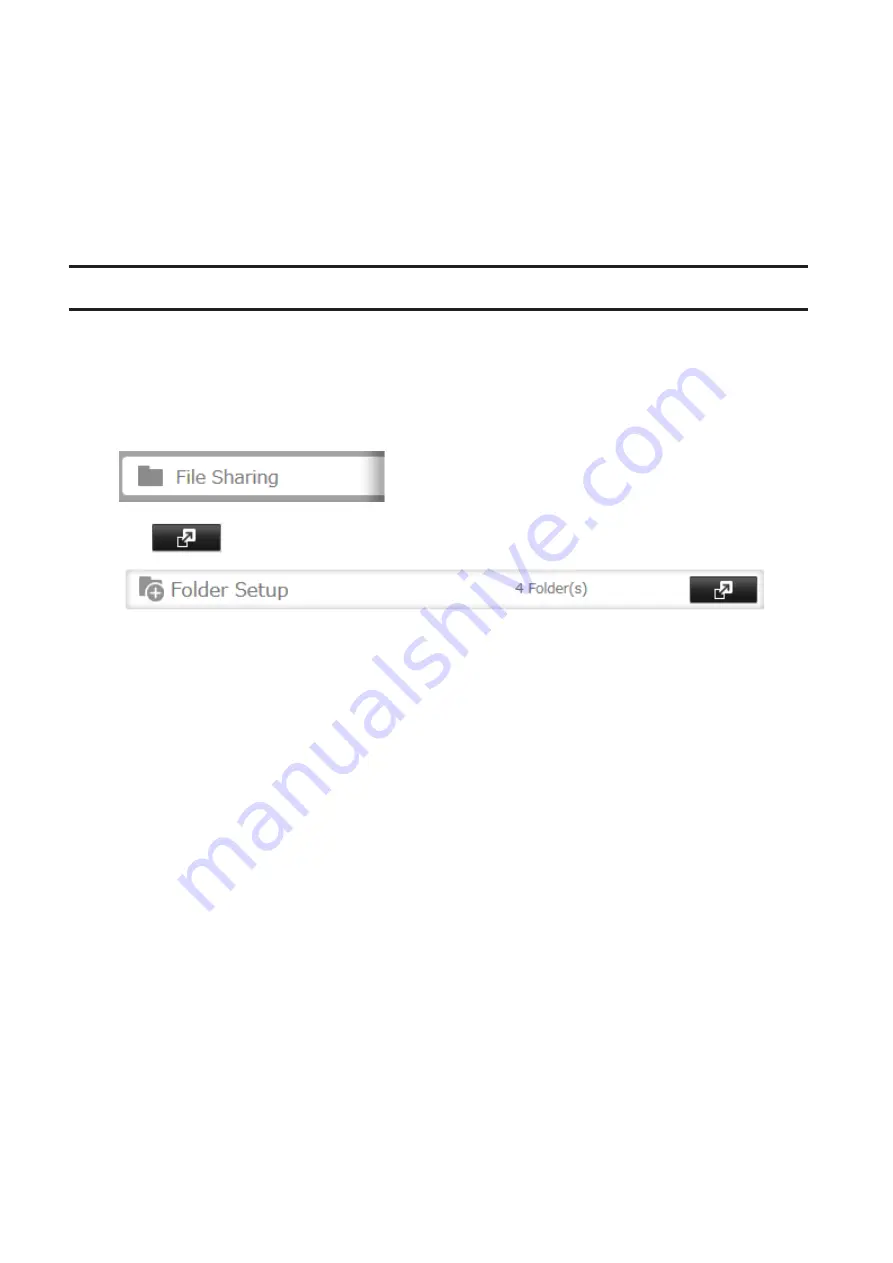
1
From Settings, click
File Sharing
.
2
Click
to the right of “Folder Setup”.
3
Click the shared folder for offline files.
4
Click
Edit
.
5
Choose either “Manual File Caching”, “Automatic File Caching”, or “Automatic Program and File Caching”, then
click
OK
.
•
Manual File Caching
: User selects files that are cached.
•
Automatic File Caching
: Opened files can be cached locally for offline use. Previous versions of files that are
not synchronized are automatically replaced by the latest versions.
•
Automatic Program and File Caching
: Opened files can be cached locally for use offline. Previous versions
of files and applications executed on the network that are not synchronized are automatically replaced by
the latest version of the files and applications.
6
From Windows, navigate to
Folder options
(for users who are using Windows Vista or later, skip to step 9).
7
Check “Enable Offline Files”, then click
OK
.
Note:
Offline files cannot be enabled if “Use Fast User Switching” is enabled. To change the setting, open “User
Accounts” in Control Panel and select “Change the way users log on or off”.
181
Summary of Contents for terastation 3000
Page 23: ...4 Configure the desired settings then click OK 22...
Page 26: ...3 Click Create User 25...
Page 29: ...3 Click Add Group 28...
Page 109: ...6 Click Time Machine 108...
Page 110: ...7 Click Select Backup Disk 8 Select the shared folder and click Use Disk 109...
Page 134: ...4 Open the License tab then click Activate Free License To deactivate the license click 133...
Page 136: ...3 Click Next 4 Click Find Cameras 135...
Page 142: ...2 Select the search criteria on the left side of the search screen then click Search 141...
Page 143: ...3 The search results are displayed Click a thumbnail to start the media viewer 142...


