


Virus Scanning
Three types of virus scans are available:
•
Real-time scan
The virus scan runs in the background, scanning every file that you read or write. This is the default type of
scanning. Your TeraStation may run slower if real-time scanning is enabled.
•
Scheduled scan
A scheduled scan is executed at specific regular intervals, such as every Tuesday at 3 a.m.
•
Manual scan
A manual scan runs once when initiated. Initiate a manual scan as described below.
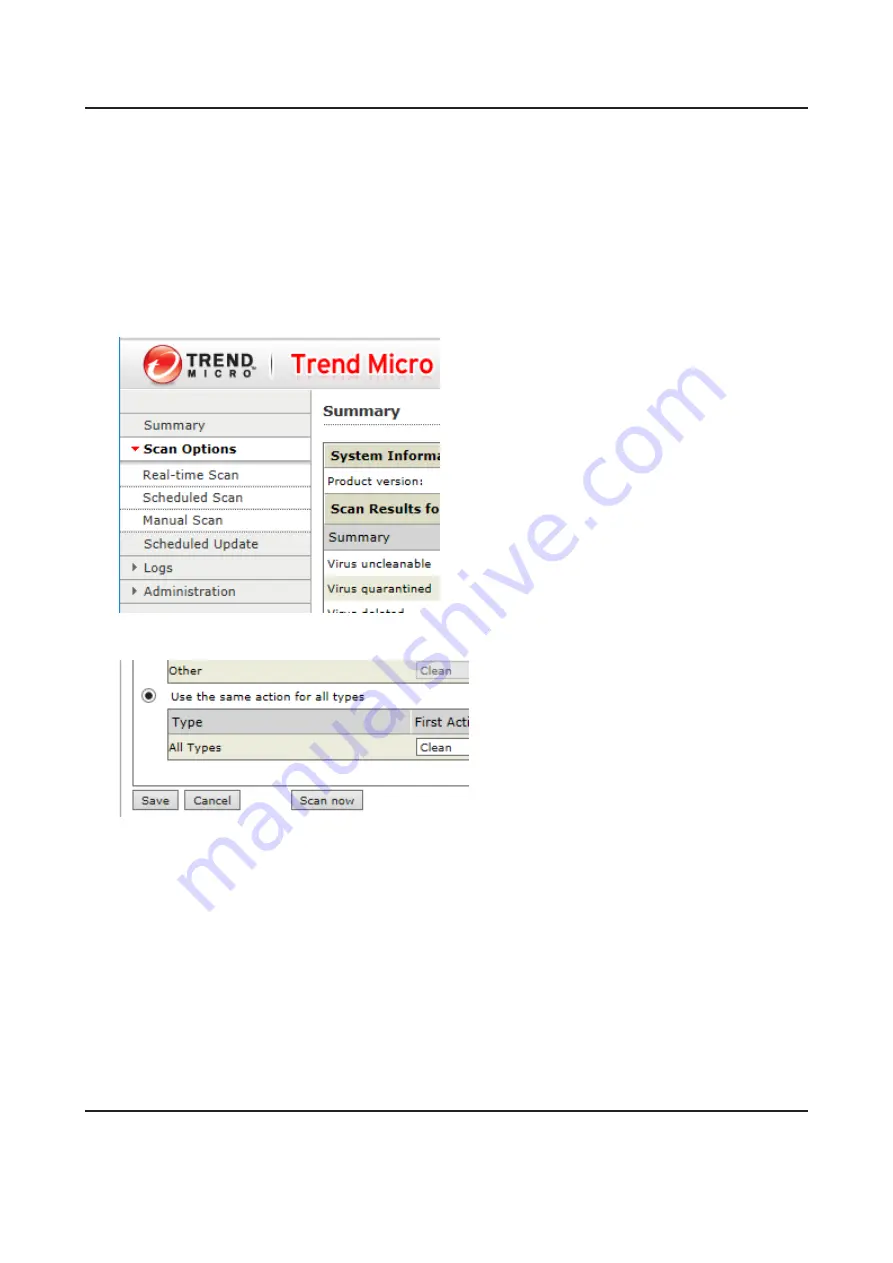
1
From the left-side menu of the Trend Micro NAS Security settings page, choose
Scan Options
>
Manual Scan
.
2
Click
Scan now
. This starts the virus scan.
If the scan finds a virus, the user can be notified in two ways:
• The I34 virus alert message is normally shown on the LCD panel. Once the virus is removed from the quarantine
folder, the message is no longer displayed. If the antivirus software is configured to delete viruses from the
quarantine folder automatically, then the I34 virus alert message will not be displayed.
• If email notification is enabled in Settings, then the antivirus software notifies the user by email if a virus is found.
Enabling email notifications is recommended.
Depending on how many files are on your TeraStation, a virus scan may take several hours. Estimated scanning
times are shown below.
10,000 files: ~ 30 minutes
100,000 files: ~ 5 hours
1,000,000 files: ~ 50 hours
Checking the Log
Follow the procedure below to check the virus scan log.
169
Summary of Contents for terastation 3000
Page 23: ...4 Configure the desired settings then click OK 22...
Page 26: ...3 Click Create User 25...
Page 29: ...3 Click Add Group 28...
Page 109: ...6 Click Time Machine 108...
Page 110: ...7 Click Select Backup Disk 8 Select the shared folder and click Use Disk 109...
Page 134: ...4 Open the License tab then click Activate Free License To deactivate the license click 133...
Page 136: ...3 Click Next 4 Click Find Cameras 135...
Page 142: ...2 Select the search criteria on the left side of the search screen then click Search 141...
Page 143: ...3 The search results are displayed Click a thumbnail to start the media viewer 142...


