The Diverse 2000 Pocket Phone is not compatible with the Diverse 1000
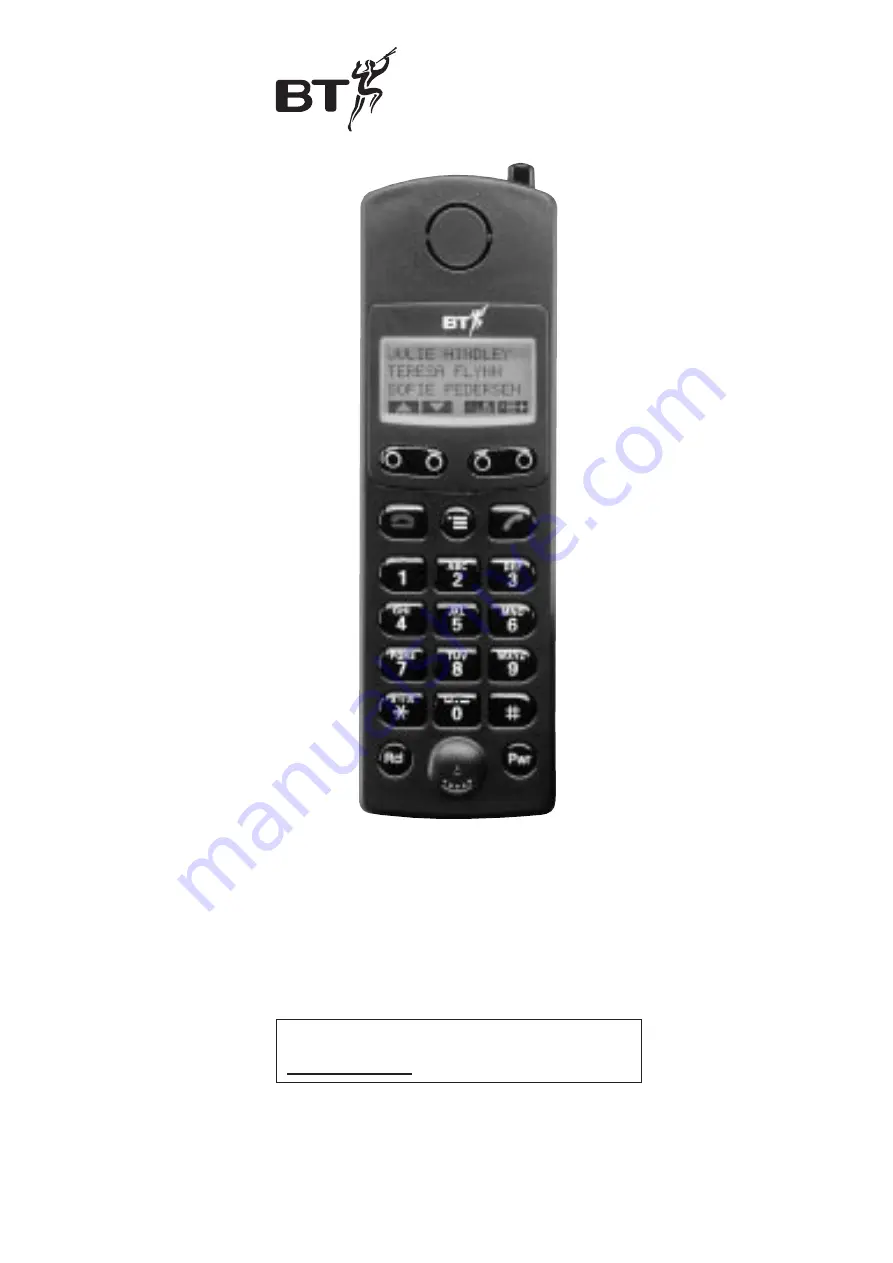
Diverse 2000 Pocket Phoneuser guide
All manuals and user guides at all-guides.com
all-guides.com
Page 1: ...The Diverse 2000 Pocket Phone is not compatible with the Diverse 1000 Diverse 2000 Pocket Phone user guide All manuals and user guides at all guides com a l l g u i d e s c o m...
Page 2: ...t cover For your records For warranty purposes proof of purchase is required so please keep your receipt See page 41 for more information about your handset PIN Please open this page for an at a glanc...
Page 3: ...m the menu options on the display Phone Used to make and answer calls End Call red Lets you end calls and cancel procedures Menu Brings up the menu on the display Power For switching the hand set ON a...
Page 4: ...Phone with the base station 12 Changing the settings of your Diverse 2000 Pocket Phone 36 Additional Features 41 Maintenance 49 Help 50 Technical information 54 Index 56 3 Hints and tips boxes In this...
Page 5: ...to build up a comprehensive and easy to use cordless telephone system Up to 6 separate handsets 8 with Diverse 2 line and Diverse ISDN can be used with each Diverse base station and each handset can...
Page 6: ...es 4 Research has shown that in certain cases medical equipment can be affected by cordless telephones A distance of at least one metre should therefore be observed between the telephone and medical e...
Page 7: ...bish and do not place in water or a fire Please dispose carefully 11 When scrolling through the handset lock menu you will see the display DSS NUMBER Under no circumstances should you try to amend or...
Page 8: ...eable battery pack in the handset Slide off the battery compartment cover Insert the battery pack C39153 Z7 C3 Item code 871459 Slide the battery compartment cover shut 2 Fit the handset belt clip Fit...
Page 9: ...or charging it until you hear the battery warning beep This makes sure that the battery pack and handset are correctly adjusted to each other 8 Battery display when inserting or replacing a battery W...
Page 10: ...ase note that the lifespan of rechargeable batteries depends on how heavily they are used However over time their capacity to recharge will begin to diminish and they will eventually need replacing 9...
Page 11: ...base stations Each new handset you purchase must be registered at the base station Each handset has a range of up to 300 metres outside in ideal conditions and up to 50 metres in buildings depending...
Page 12: ...d when carrying it around You can receive calls but cannot make calls Press the PWR button briefly To unlock the keypad Press the PWR button briefly You can now use the keypad again To switch off Pres...
Page 13: ...tments to their settings The options shown on the display are indicated by symbols as follows 12 Display Option buttons Menu button DIRECTORY UP DOWN LEFT RIGHT GO BACK ONE STEP INTERNAL CALLS LAST NU...
Page 14: ...xt minute Press the OK button Enter the base station code default setting 0000 Display shows BASE1 Press the OK button Display shows all available internal numbers Enter the internal number you want f...
Page 15: ...call Press the END CALL button or Simply replace the handset on the base station or charger To answer a call Press the PHONE button or Lift the handset off the base station or charger 14 The default...
Page 16: ...L The number is automatically dialled Making internal calls To make an internal call Press the INT button Your own extension number is displayed Dial the handset number you want To call all other hand...
Page 17: ...tton then the DOWN button until Internal call is highlighted Dial the internal extension number required the extension called will ring Press the END CALL button or replace the handset on the base sta...
Page 18: ...the DIRECTORY button Display shows if the phone book is empty otherwise the names in alphabetical order Press the MORE OPTIONS button Press the DOWN button to highlight NEW ENTRY Press the OK button...
Page 19: ...ht and left When you have entered the name move the cursor to the right until it goes to the next line where the number can be entered Letters are entered by pressing the relevant button repeatedly Fo...
Page 20: ...using the keypad to enter the first letter of the name Press the PHONE button to dial the number To change an entry Press the DIRECTORY button Press the UP DOWN buttons to scroll to the entry you want...
Page 21: ...do a quick delete by pressing the GO BACK button to show the options again then highlight DELETE ENTRY and press the OK button To delete an entry Press the DIRECTORY button Press the UP DOWN buttons t...
Page 22: ...information entered so far is saved in the phone book Insert a function pause Using INSERT FUNCTION allows you to insert a pause This is generally required when your Diverse base station is connected...
Page 23: ...on Press the DIRECTORY button Press the DOWN button to highlight the entry to be copied Press the MORE OPTIONS button Press the DOWN button to highlight COPY ENTRY Press the OK button Enter the intern...
Page 24: ...set rings On the receiving handset press the PHONE button user enters their handset PIN number default 0000 Press the OK button The phone book is copied To check how much memory is available Press the...
Page 25: ...Enter a name for the number see page 18 Press the MORE OPTIONS button Press the DOWN button to highlight SAVE ENTRY Press the OK button to confirm To delete a redial number Press the REDIAL button Pr...
Page 26: ...o change it see page 41 The handset will still receive incoming calls To switch on the handset lock Press the MENU button Press the DOWN button to highlight HANDSET LOCK Press the OK button Enter the...
Page 27: ...cuts work with Diverse 1010 1015 2010 and 2015 base stations The pre set short cuts The short cuts you are most likely to need are already contained in a menu and listed below You must store these pr...
Page 28: ...UT Press OK If previous short cuts have been created they are displayed otherwise the display shows Use the UP or DOWN options to highlight a short name or if no names exist highlight the display Pres...
Page 29: ...N option to highlight SHORT CUT Press OK If previous short cuts have been created they are displayed otherwise the display shows Use the UP or DOWN option to highlight a short name or if no names exis...
Page 30: ...e MORE OPTIONS button Use the UP or DOWN option to highlight CHECK DUPLICATE The display tells you if the new short cut is a duplication of an existing short cut Press the GO BACK button This returns...
Page 31: ...st acknowledgement Q The short cut is interrupted to allow you to hear the dial tone for example When you have confirmed press the NEXT button the short cut continues processing Base messages B The sh...
Page 32: ...e Call Barring on shortcut will do the following for you Press the SET button Press the button followed by the 8 and 4 buttons Request a PIN number The user will have to enter the PIN number and OK it...
Page 33: ...e the UP or DOWN option to highlight START Press OK The short cut sequence will start automatically It will prompt the user for the pin number or number as required To view change or delete a short cu...
Page 34: ...d RIGHT options to move the cursor the CLEAR CHARACTER option to delete the character to the left of the cursor the keypad to insert a character or number and the MORE OPTIONS option to go to another...
Page 35: ...short cut name Press ACTIVATE Use the UP or DOWN option to highlight DELETE MEMORY Press OK Display prompts you to enter the handset PIN number Enter the handset PIN Press OK Display shows DELETE ALL...
Page 36: ...ny short cut name Press ACTIVATE Use the UP or DOWN option to highlight AVAILABLE MEMORY Press OK The amount of memory available is displayed for a few seconds Press the END CALL button to return to s...
Page 37: ...E Press the OK button Press the LEFT RIGHT buttons to set the volume required Press the OK button to confirm To adjust the handset ringer volume and tone You can set the volume of the ringer to 6 leve...
Page 38: ...ng beep Tells you when the battery needs charging Default setting is ON Range warning Tells you when the handset is too far from the base station Default setting is OFF In range beep Tells you the han...
Page 39: ...the handset at which it will initiate a call It is only effective when the baby alarm function has been switched on Initialisation This returns a handset to all its default settings To switch the beep...
Page 40: ...ge the setting Press the OK button to confirm To reset your Pocket Phone to its default settings Press the MENU button Press the DOWN button to highlight SETTINGS Press the OK button Press the DOWN bu...
Page 41: ...nger tone 1 Handset volume 1 Range warning OFF In range beep OFF Button beep ON battery warning beep ON confirm beep ON error beep ON Auto talk ON auto backlight ON Baby alarm volume 2 Last number red...
Page 42: ...n to display HANDSET SETTINGS Press the OK button Press the DOWN button to display CHANGE PIN Press the OK button Enter the current PIN number default 0000 Press the OK button Enter the new PIN Press...
Page 43: ...is level 2 Press the MENU button Press the DOWN button to highlight SETTINGS Press the OK button Press the DOWN button to highlight HANDSET SETTINGS Press the OK button Press the DOWN button to highli...
Page 44: ...OK button again To switch the baby alarm off The handset may be in idle state or may be activated and in a call with a handset If in idle state Press the OFF button If in a call handset active Press...
Page 45: ...he OK button Press the UP or DOWN button to highlight the language you require Press the OK button to confirm RED OK If you accidentally set the wrong language Press the MENU button until you exit the...
Page 46: ...be used with up to 6 base stations Each base station should have its own number from 1 6 or a unique name Program local Lokale Instell Press OK Press the UP and DOWN arrows until one of the following...
Page 47: ...ED button The LED flashes during the registration process then at the handset Press the MENU button Press the DOWN button to highlight SETTINGS Press the OK button Press the DOWN button to highlight R...
Page 48: ...ing your handset in an area where the base signals overlap we recommend that you specify one base station as the priority signal that your handset should search for If you give it a Priority Select se...
Page 49: ...Press the DOWN button to highlight SETTINGS Press the OK button Press the DOWN button to highlight BASE SETTINGS Press the OK button Press the DOWN button to select the base station required Press the...
Page 50: ...cover outside the initial 12 month period Please ask them for details Outside the warranty period If your Diverse 2000 Pocket Phone needs repair after the warranty period has ended it must be repaire...
Page 51: ...arging This is normal and not dangerous As charging is controlled electronically by the Diverse 2000 Pocket Phone this means you can replace the handset back on the base station or charger at any time...
Page 52: ...battery indicator will not show full until the next charge cycle has been completed Charge the handset until the battery registers full again From then on the display will be correct Use only batteri...
Page 53: ...the display or you cannot link up with the base station Is the handset registered with the base station To register the handset see page 12 Is the mains power cable connected at the base and switched...
Page 54: ...e is flashing you will hear four short beeps when you press the PHONE button Check you are still in range of the base station Buzzing noise on my radio TV answering machine or computer Diverse is too...
Page 55: ...ces Range The maximum range for the Diverse 2000 is up to 300m outdoors and up to 50m indoors These figures are based on an ideal environment and will vary depending on your particular site BT accepts...
Page 56: ...chboard it cannot be guaranteed that the telephone will operate correctly under all possible conditions of connection If you have any difficulties contact BT as above or the Diverse Helpdesk 0345 90 8...
Page 57: ...f 26 Copy names and numbers to other handsets 22 memory availability 23 Directory 17 additional functions 21 change 19 delete 20 delete all names and numbers 21 dial 19 name and number 17 view 20 Disp...
Page 58: ...a redial number 24 Registering with a base station 1010 1015 2010 2015 2 Line and ISDN 13 Registering with more than one base station 1010 1015 2010 2015 2 Line and ISDN 46 Returning your handset 49...
Page 59: ...58 Notes All manuals and user guides at all guides com...
Page 60: ...is publication forms any part of any contract British Telecommunications plc 1998 Registered Office 81 Newgate Street London EC1A 7AJ Registered in England No 1800000 Printed in Germany Diverse 2000 P...