


Level 1
Level 2
Descriptions
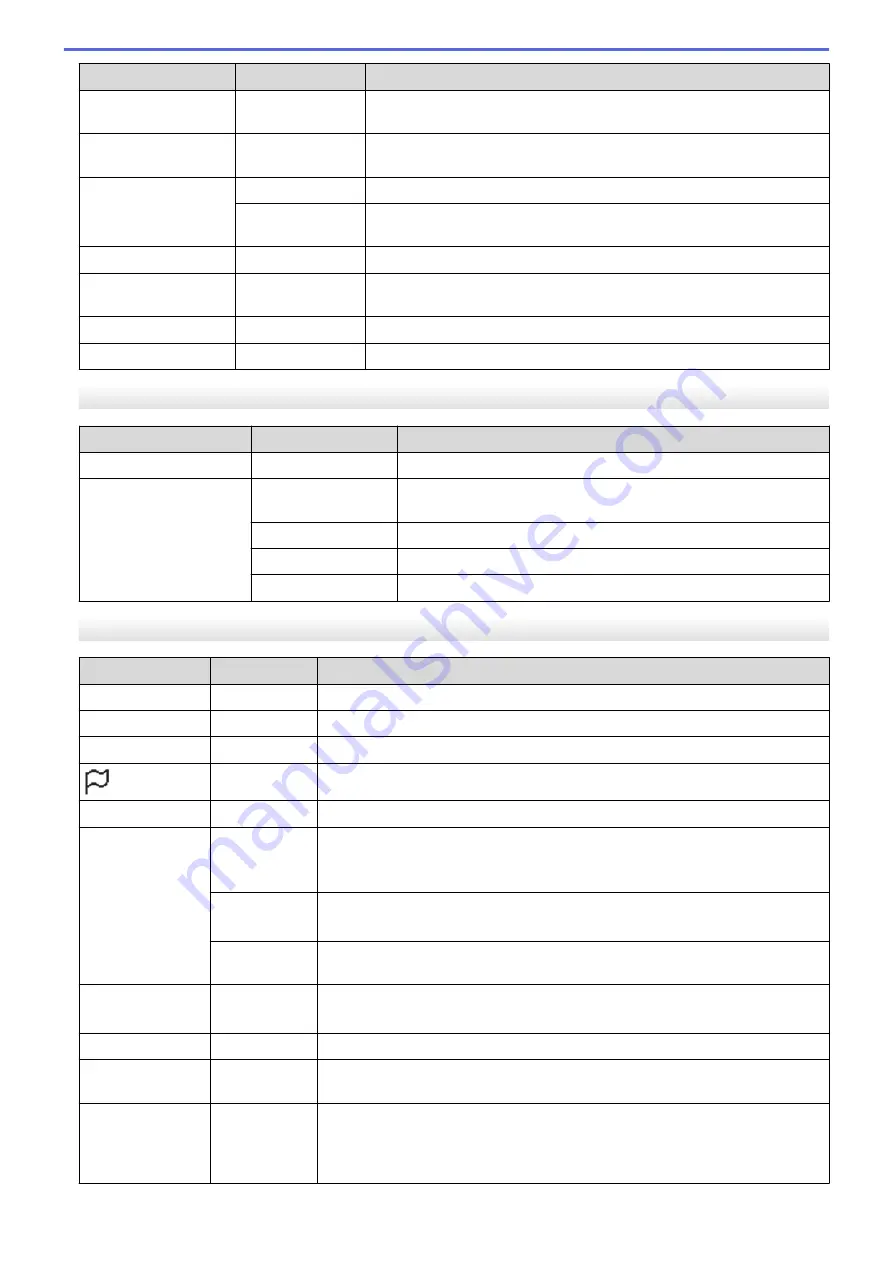
In the template mode, you can replace the contents of the templates
stored in the printer and print them.
Confirm Print
-
Select whether a message appears before printing so that the number
of copies can be confirmed.
Serialize Mode
Cont From Last
Select to serialise from the last number printed.
From Starting
#
Select to serialise from the default number each time you print.
Serialize Reset
-
Reset the sequential number to the default number.
Default Print
Quantity
-
Specify the default value for the print quantity.
Temporary Date
-
Directly enter the date into the template.
Temporary Time
-
Directly enter the time into the template.
[Information]
Level 1
Level 2
Descriptions
Configuration
-
Display the printer information.
Print Configuration All
Print the printer setup information (missing dot test pattern, usage
log, printer settings, wireless setting information and transfer data).
Usage Log
Print the printer usage log.
Printer Settings
Print the printer settings.
Transfer Data
Print the transfer data.
[Administration]
Level 1
Level 2
Descriptions
Command Mode
-
Select the type of command mode.
Date Format
-
Select the date format for the clock.
Time Format
-
Select the time format for the clock.
Language
-
Select the language of the LCD.
Unit
-
Select the measurement units for displayed settings.
Reset
Factory
Reset
Returns all printer settings, including the communication settings and device
settings, to their default values.
Templates and databases stored in the printer are also deleted.
User Data
Reset
Returns all device settings to their default values.
Templates and databases stored in the printer are also deleted.
Network
Reset
Returns the communication settings to their default values.
Airplane Mode
-
Turn the Airplane mode on or off.
When set to on, the WLAN and Bluetooth icons do not appear on the LCD.
Time & date
-
Select whether to display the date and time on the LCD.
Print Head
Check
-
Check the status of the print head.
Menu Lock
-
Select the check boxes for any options you want to prevent changes from the
printer's LCD.
After selecting the check boxes, press
a
or
b
to select
Finish
, and then press
OK
to complete the settings.
156
Summary of Contents for TD-4550DNWB
Page 1: ...User s Guide TD 4550DNWB 2019 Brother Industries Ltd All rights reserved ...
Page 24: ...Related Information Set Up Your Printer Related Topics Auto Media Configuration 20 ...
Page 50: ...Correct Barcode Layout Related Information Print Barcode Labels Using Crop Print Windows 46 ...
Page 93: ...Related Information Try the P touch Template Function Using the Barcode List 89 ...
Page 125: ...Home Update Update Update P touch Editor Windows Update the Firmware 121 ...
Page 127: ...Related Information Update 123 ...
Page 139: ...Related Information Change Printer Settings Using the Printer Setting Tool Windows 135 ...
Page 145: ...Related Information Change Printer Settings Using the Printer Setting Tool Windows 141 ...
Page 168: ...Related Information Routine Maintenance Related Topics Set the Date and Time 164 ...
Page 191: ...Related Information Options 187 ...
Page 195: ...Visit us on the World Wide Web www brother com UK Version 0 ...


