4-2
Confidential
1.1
Rewriting the Firmware (Main Program)
1.1.1 Checking firmware version
<How to check firmware version>
When the front cover is closed, press the [Go] button three times. And print the Printer
Settings to check the firmware version.
1.1.2 Rewriting the firmware using computer
(1) Turn off your PC, and turn the power supply of the printer off.
(2) Connect the PC and printer with the USB cable.
(3) Open the front cover of the printer. Turn on the power supply while pressing the [Go]
button, and then release the [Go] button after checking the lighting of the Toner/Drum/
Error LED.
(4) Check that all LEDs light off, and then press the [Go] button four times. Wait a few
seconds and check that blink the Toner/Drum/Error LED once, and check that all LEDs
light off. And then the printer shift to the "Rewrite firmware mode".
(5) Turn on your PC.
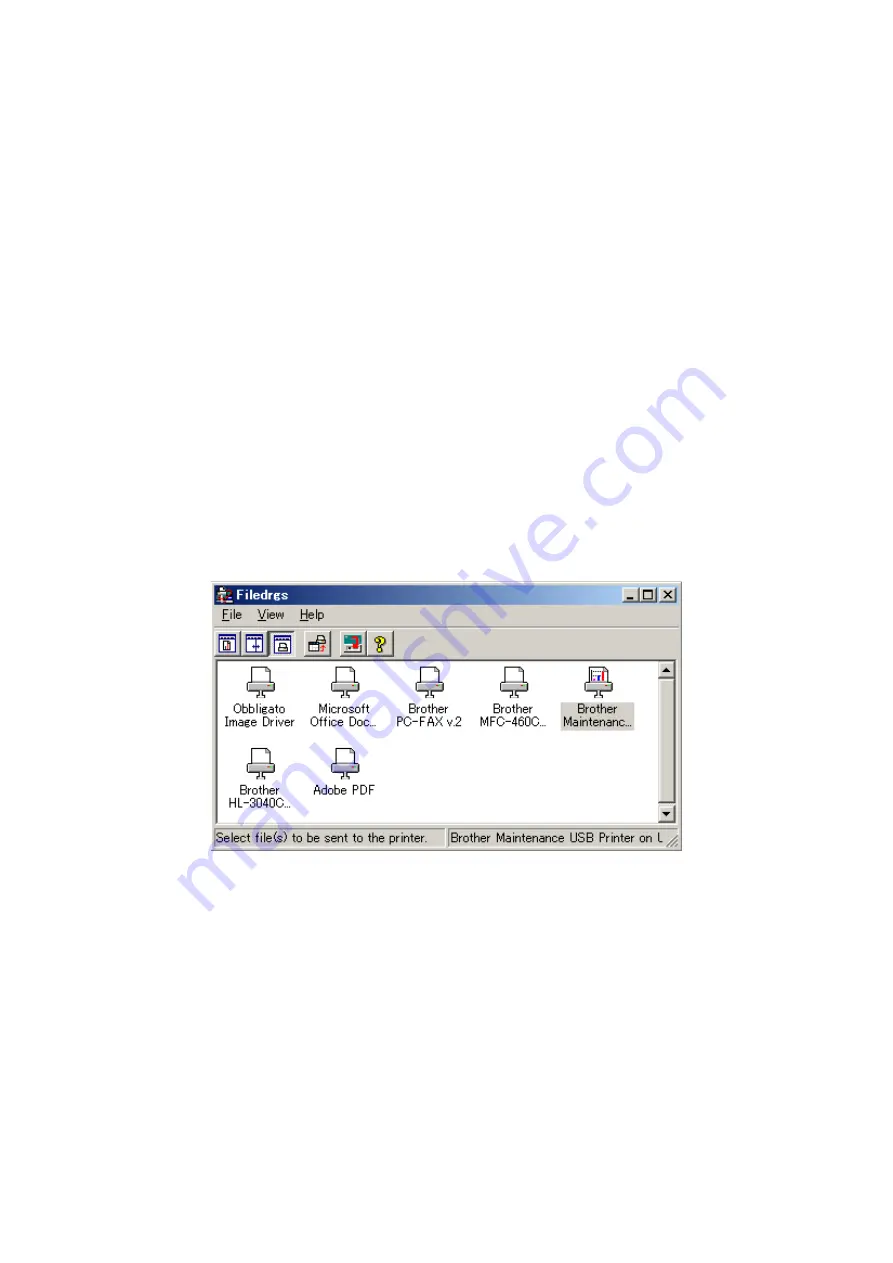
(6) Open the "hl2200" folder, and Double-click the "FILEDG32.EXE" to start.
The following screen appears. Select the "Brother Maintenance USB Printer".
(7) Drag the firmware (LZXXXX_$.blf) and drop it onto the Brother Maintenance USB Printer
icon. The firmware files are sent to the printer and they are written into the flash ROM
automatically.
(8) The Ready LED and Error LED blink irregularly while the firmware being rewritten. The
all LEDs light up when rewriting the firmware is completed. Be sure not to disconnect the
USB cable or to turn off the power supply of the PC before the rewriting is completed.
(9) When the front cover is closed, press the [Go] button three times. And print the "Printer
Settings" to recheck the firmware version.
(10) Turn the power supply of the printer off.


