background image

Setup is Complete!

Qu

ick

 Se

tu

p G

u

id

e

Setting Up the Machine

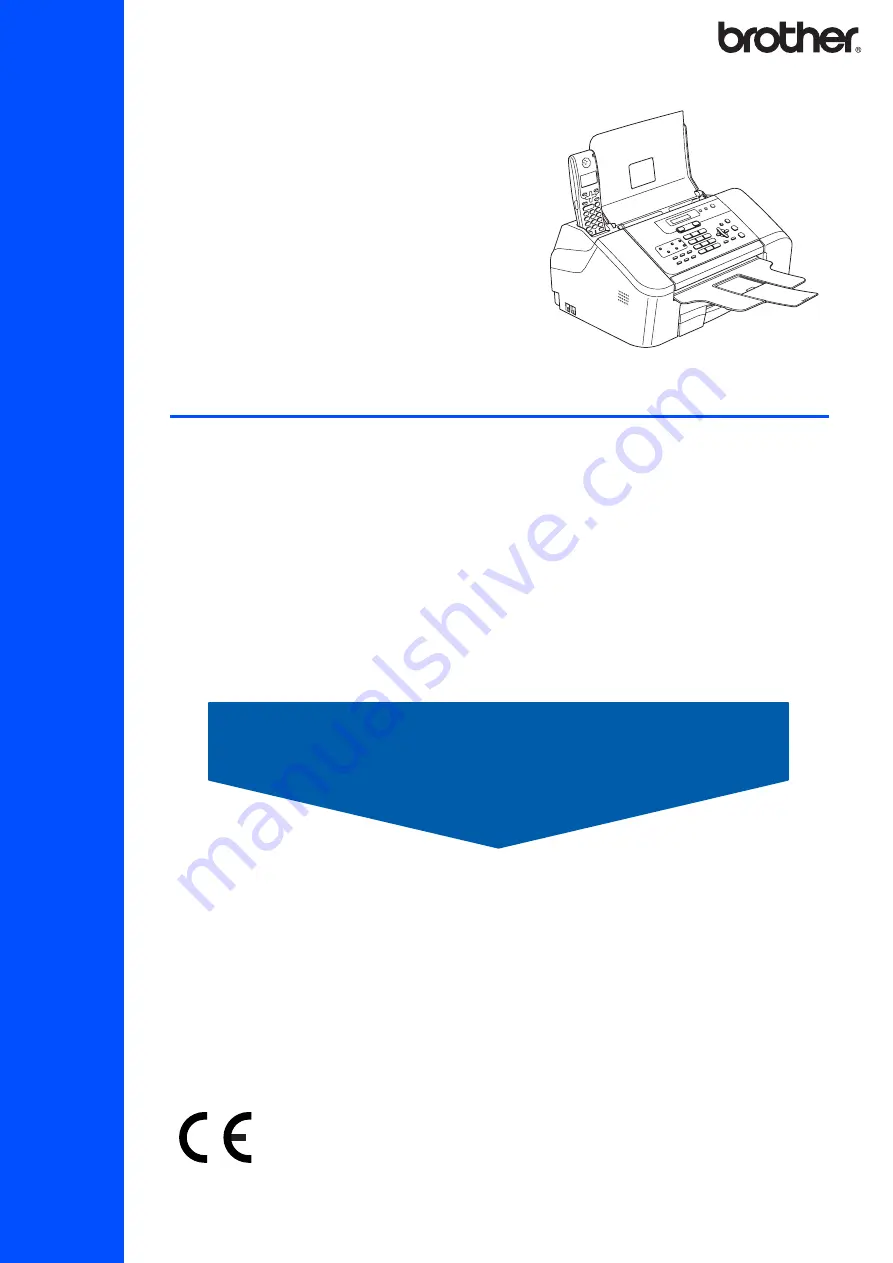
FAX-1560


Before you can use the machine, you must set up the hardware. 
Please read this Quick Setup Guide for the correct setup procedure.

Keep this Quick Setup Guide and the User’s Guide in a convenient place for quick and easy reference 
at all times.


Summary of Contents for FAX-1560

Page 1: ...chine FAX 1560 Before you can use the machine you must set up the hardware Please read this Quick Setup Guide for the correct setup procedure Keep this Quick Setup Guide and the User s Guide in a convenient place for quick and easy reference at all times ...

Page 2: ...void to prevent possible damage to the machine or other objects Improper Setup icons alert you to devices and operations that are not compatible with the machine Note User s Guide Notes tell you how you should respond to a situation that may arise or give tips about how the current operation works with other features Indicates reference to the User s Guide we have supplied ...

Page 3: ...rom one country to another Save all packing materials and the carton in case for any reason you must ship your machine Quick Setup Guide User s Guides Power Cord Telephone Line Cord One Touch Labels Cordless Handset Battery and Battery Cover Black LC1000BK Ink Cartridge ...

Page 4: ...y 11 Microphone 12 TAD Telephone Answering Device keys 13 Mode keys 14 LCD Liquid Crystal Display Note When the machine is idle not being used it will return to the default display shown above The default display shows the date time and the current receive mode For the details of the control panel see Control panel overview in Chapter 1 of the User s Guide 1 Date 2 Time 3 Receive mode 1 2 3 ...

Page 5: ...upport and the document tray and then pull out the extension 3 Loading paper You can load up to 100 sheets of 80 g m2 20 lb paper For details see Handling and using plain paper in Chapter 2 of the User s Guide 1 Pull the paper tray completely out of the machine If the paper support flap 1 is open close it Open the output paper tray cover 2 2 If you are using Letter A4 or Legal size paper press and...

Page 6: ... sure that the paper guides touch the edges of the paper Note Be careful that you do not push the paper in too far it may lift at the back of the tray and cause paper feed problems 7 Close the output paper tray cover 1 and slide it forward Note If you are using Legal size paper the paper tray cover does not slide all the way to the end of the paper tray 8 Slowly push the paper tray completely into...

Page 7: ...he receive mode to Manual if you have an external answering machine For details see Connecting an external TAD telephone answering device in Chapter 7 of the User s Guide 5 Connecting the power cord 1 Connect the power cord Warning The machine must be fitted with an earthed plug Since the machine is grounded through the power outlet you can protect yourself from potentially hazardous electrical co...

Page 8: ...ink cartridge cover 1 3 Pull the lock release lever down and remove the yellow protective part 1 Note Do not throw away the yellow protective part You will need it if you transport the machine 4 Take out the ink cartridge 5 Carefully remove the protective yellow cap 1 Improper Setup DO NOT touch the area shown in the illustration below Note If the protective yellow cap comes off when you open the ...

Page 9: ...DO NOT repeatedly insert and remove the cartridge If you do so ink may seep out of the cartridge Once you open an ink cartridge install it in the machine and use it up within six months of installation Use unopened ink cartridges by the expiration date written on the cartridge package DO NOT dismantle or tamper with the ink cartridge this can cause the ink to leak out of the cartridge Brother mult...

Page 10: ...urface of the paper immediately after printing the surface may not be completely dry and may stain your fingers 4 The LCD shows Is Quality OK q 1 Yes 2 No 5 Do one of the following If all lines are clear and visible press 1 Yes on the dial pad to finish the quality check If you can see missing short lines press 2 No on the dial pad and go to step 6 6 The LCD shows Start Cleaning q 1 Yes 2 No 7 Pre...

Page 11: ...up the station ID it will add it to each fax you send 1 Press Menu 0 2 2 Enter the last two digits of the year on the dial pad and then press OK Year 2007 e g Enter 0 7 for 2007 3 Enter the two digits for the month on the dial pad and then press OK Month 03 e g Enter 0 3 for March 4 Enter the two digits for the day on the dial pad and then press OK Day 01 e g Enter 0 1 for the first day of the mon...

Page 12: ...or b to choose Pulse or Tone Press OK 3 Press Stop Exit 12 Setting the phone line type If you are connecting the machine to a line that features PBX or ISDN to send and receive faxes it is necessary to change the phone line type accordingly by completing the following steps 1 Press Menu 0 6 2 Press a or b to choose PBX ISDN or Normal Press OK 3 Press Stop Exit PBX and TRANSFER The machine is initi...

Page 13: ...s see Digital TAD in Chapter 9 of the User s Guide You control the phone line and must answer every call yourself Manual Your machine automatically answers every call as a fax Fax Only Your machine controls the line and automatically answers every call If the call is not a fax the phone will ring for you to pick up the call Fax Tel Your external telephone answering device TAD automatically answers...

Page 14: ...ith the dial pad facing forward Note After installation you should set the date and time See Date and Time in the DECT Handset User s Guide If the battery charge level is getting low you should charge the battery You can see the battery charge level indicator at the bottom right of the LCD 17 Setting your country The first time you install the battery you must set your country so that the cordless...

Page 15: ...excessive heat moisture or dust DO NOT use the cordless handset near electro medical equipment We recommend at least 3 m 9 8 ft between the machine base unit or cordless handset and possible sources of radio interference 19 Positioning the antenna on the base unit 1 Move the antenna to the up position as shown below Note Avoid using in an area where it is difficult for radio waves to penetrate suc...

Page 16: ...e time comes to replace the ink cartridge an error message will be indicated on the LCD For more information about the ink cartridge for your machine visit http solutions brother com or contact your local Brother re seller Ink cartridge Black LC1000BK ...

Page 17: ...and published covering the latest product descriptions and specifications The contents of this manual and the specifications of this product are subject to change without notice Brother reserves the right to make changes without notice in the specifications and materials contained herein and shall not be responsible for any damages including consequential caused by reliance on the materials presen...

Page 18: ...UK IRE GEN ...

Reviews: