Scanning (For USB cable users)
200
12
Scan to File
12
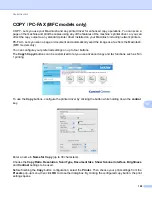
You can scan a black and white or a colour document into your computer and save it as a file in a folder of
your choice. The file type and specific folder are based on the settings you have chosen in the
Device Scan
Settings
screen of ControlCenter4 or
Scan to File
screen of ControlCenter2. (For Windows
®
, see
Configuring Scan button settings
on page 75 for
Home Mode
Configuring Scan button settings
for
Advanced Mode
. For Macintosh, see
a
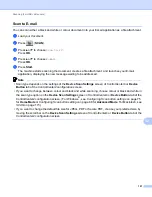
Load your document.
b
Press (
SCAN
).
c
Press
a
or
b
to choose
Scan to PC
.
Press
OK
.
d
Press
a
or
b
to choose
File
.
Press
OK
.
e
Press
Start
.
The machine starts the scanning process.
Note
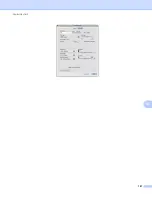
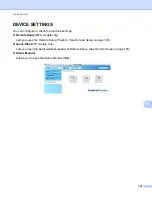
• Scan type depends on the settings of the
Device Scan Settings
screen of ControlCenter4 or
Device
Button
tab of the ControlCenter2 configuration screen.
• If you want to change between colour and black and white scanning, choose colour or black and white in
the scan type option on the
Device Scan Settings
screen of ControlCenter4 or
Device Button
tab of the
ControlCenter2 configuration screen. (For Windows
®
, see
Configuring Scan button settings
for
Home Mode
or
Configuring Scan button settings
on page 88 for
Advanced Mode
. For Macintosh, see
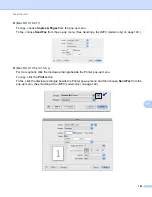
• If you would like to display the folder window after scanning the document, select
Show Folder
on the
Device Scan Settings
screen of ControlCenter4 or
Device Button
tab of the ControlCenter2
configuration screen.
• If you would like to change the file name of scanned documents, enter the file name in the
File Name
section on the
Device Scan Settings
screen of ControlCenter4 or
Device Button
tab of the
ControlCenter2 configuration screen.
• If you want to change the default file size for JPEG, PDF or Secure PDF, choose your preferred size by
moving the scroll bar on the
Device Scan Settings
screen of ControlCenter4 or
Device Button
tab of the
ControlCenter2 configuration screen.


