


ControlCenter2
130
8
File
8
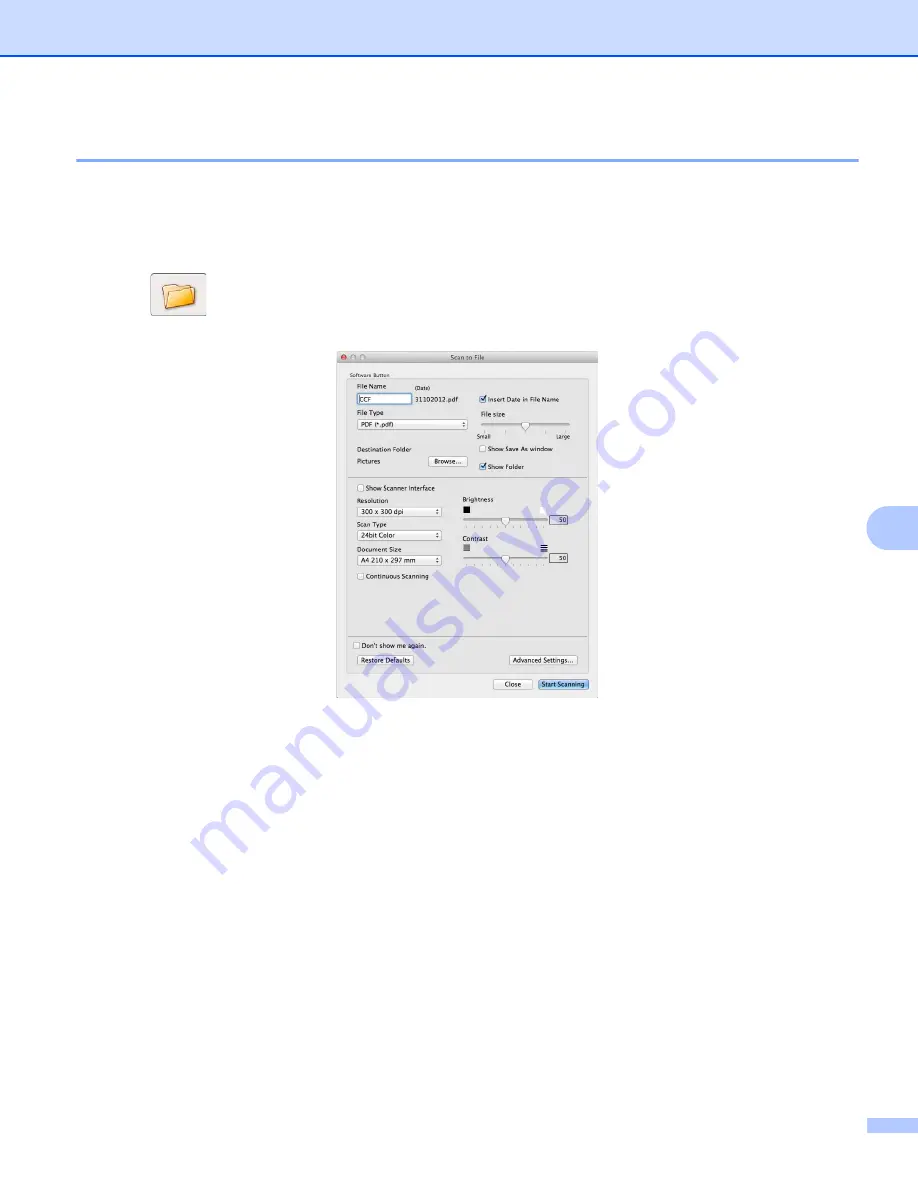
The
Scan to File
button lets you scan an image to a folder on your hard disk in a supported file format.
Therefore, this feature allows you to easily archive your paper documents.
a
Select the
SCAN
tab.
b
Click
(
File
).
The
Scan to File
dialog box will appear.
c
You can configure the scan settings.
To scan and then crop a portion of a page after pre-scanning the document, check the
Show Scanner Interface
check box.
To change the file name, enter the file name you want to use for the document (up to 100 characters)
in the
File Name
box. When you want to add the date, check
Insert Date in File Name
. A sequential
number will be added when a file with the same name already exists.
Choose the file type for the saved image from the
File Type
pop-up menu. You can save the file to
the default folder, or choose your preferred folder by clicking
Browse
.
To show where the scanned image is saved when scanning is finished, check the
Show Folder
check
box. If you want to specify the destination of the scanned image every time, check the
Show Save
As window
check box.
d
Click
Start Scanning
.
The image will be saved in the folder you have chosen.
Summary of Contents for DCP-1519
Page 7: ...vi Scan to Image 148 Scan to File 149 A Index 150 ...
Page 28: ...Printing 21 1 Support 1 Click Support in the Printing Preferences dialog box ...
Page 96: ...Brother PC FAX Software For MFC models 89 5 e Enter the name of the file and then click Save ...
Page 142: ...ControlCenter2 135 8 NOTE Webmail services are not supported by Scan to E mail ...
Page 152: ...Section III Using the Scan key III Scanning 146 ...


