

2
Technical Reference
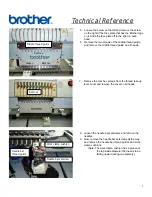
5.
Loosen the screw on the left and remove the screw
on the right of the face plate that has the Brother logo
on it. Slide the face plate off to the right on each
head.
6.
Remove the two screws of the middle thread guide
and remove the middle thread guide on all heads.
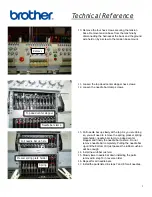
7.
Remove the four hex screws from the thread take-up
lever cover and remove the cover on all heads.
8.
Loosen the needle bar setscrews and remove the
needles.
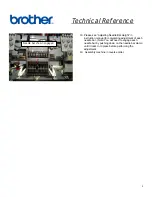
9.
Now, remove the needle bar setscrews all the way
and remove the needle bar thread guides and work
clamp cushions.
(Note: The work clamp cushion has a groove at
the top inside diameter that needs to be
facing upward during re-assembly.)
Remove
Loosen
Middle thread guide
Remove
Remove
Needle bar setscrew
Work clamp cushion
Needle bar
thread guide