Installation Instructions
999-00451
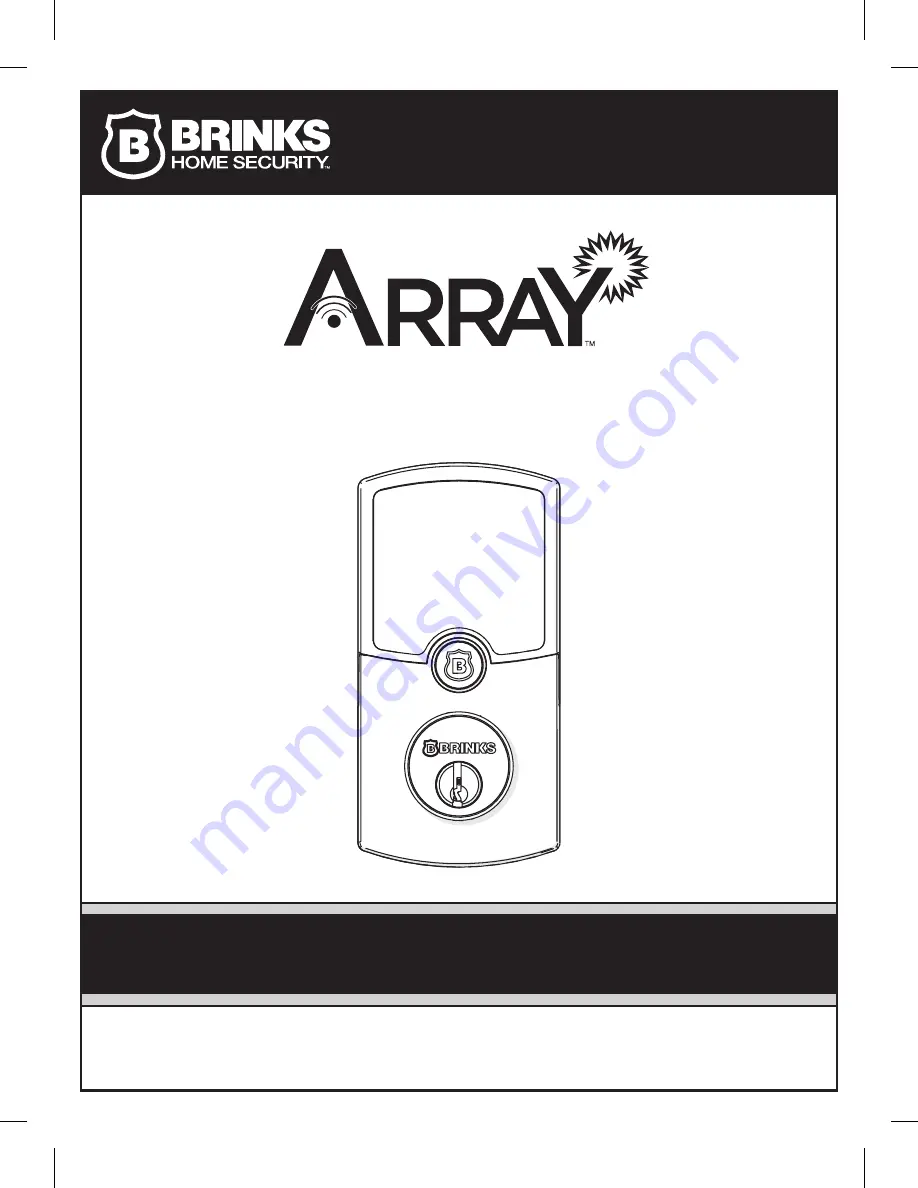
Simply Smart Security.
™
Smart Deadbolt
Secure control from anywhere.
Page 1: ...Installation Instructions 999 00451 Simply Smart Security Smart Deadbolt Secure control from anywhere...
Page 2: ...nt Screws 2 Exterior Assembly Interior Assembly Need help Download the ARRAY app or visit www arraylock com for installation videos or call 1 800 850 LOCK 5625 Rechargeable Battery Interior Mounting P...
Page 3: ...see the battery status on the app Do not attempt to disassemble any internal components of the lockset You will void the warranty Do not install the battery until you ve installed the lock and downloa...
Page 4: ...VER M Part Description A B C D E F G H I J K L M N O P Q Key Exterior Assembly Cylinder Tailpiece Power Cable Gasket Latch Interior Mounting Plate Interior Assembly Rechargeable Battery Antenna Cover...
Page 5: ...ently pulling the edges outward slightly and lifting Antenna Cover K Pull edge slightly outward 4 a If replacing an existing deadbolt Remove the old hardware and begin at STEP 4 b If installing ARRAY...
Page 6: ...set of your door is 2 3 4 you ll need to adjust the latch as shown OR 2 3 8 60 mm 2 3 8 2 3 4 2 3 4 70 mm b a 180 c 3 4 Latch Screws EE Wood Block Option 1 Option 2 CAUTION Be sure the latch is in the...
Page 7: ...Plate C Mounting Plate Screw BB Exterior Assembly B Exterior Assembly B 5 Install Lock Assemblies A A Deadbolt Installation Instructions For door with bore hole 2 1 8 diameter proceed to STEP D For d...
Page 8: ...7 H Install the Power Cable E firmly into the Connector Port I Secure the Power Cable E onto the Interior Mounting Plate H as shown G Interior Mounting Plate H Mounting Screws AA Feed Power Cable E th...
Page 9: ...ment Screws DD Interior Housing Screw CC Antenna Cover K Screw Cover Q Pull edge slightly outward Interior Assembly I Side Ridge 5 Install Lock Assemblies Continued 6 Return to the app and follow the...
Page 10: ...0 mm from the floor or about 5 1 2 140 mm above the center of an existing knob or lever Apply the template to the door with the dotted fold line on the door edge Select the 2 3 8 60 mm or 2 3 4 70 mm...
Page 11: ...line and fit on door edge Make a 1 25 4mm hole at center of door edge C L C L C L 1 3 4 1 9 16 1 3 8 TEMPLATE This line should be 3 inches Measure it before using this template If the line is not 3 in...
Page 12: ...Bronze finish is designed to improve over time and change in appearance creating a living finish through daily use and thus finish discoloration is not applicable to the above warranty For assistance...