36
Treadwall M6 Pro Owner’s Manual—2017
Main Channel Assembly
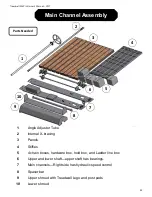
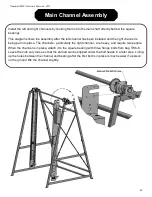
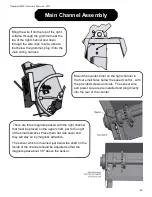
Install the lower shaft into the bearings at the bottom of the channels. One sprocket on the
lower shaft is loose, this should go on the left side of the machine. This does not require a set
screw — it will self align.
Check that the setscrews in the channel bearings are turned out so that they will not interfere
with insertion of the shaft.
You should not have to force the bearings onto the shaft as long as they are properly lined up.
The bearings are self-aligning meaning that they can pivot in their cast-iron housings. If you
need to change the angle of the bearing, you can insert a large screwdriver or the handle of a
socket wrench into the bearing and use it to straighten the bearing out.
Insert the shaft one end at a time and tighten the setscrews firmly. DO NOT tighten the bolts
that connect the bearings to the channels, they are pre-adjusted at the factory.
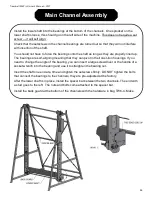
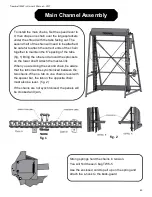
After the lower shaft is in place, install the spacer bar between the two channels. The end with
a stud goes to the left. The nuts and bolts come attached to the spacer bar.
Install the back guard at the bottom of the channels with the hardware in bag TW6-4. Make
Summary of Contents for Treadwall M6 Pro
Page 2: ......
Page 4: ...ii Treadwall M6 Pro Owner s Manual 2017...
Page 6: ...2 Treadwall M6 Pro Owner s Manual 2017...
Page 8: ...4 Treadwall M6 Pro Owner s Manual 2017...
Page 14: ...10 Treadwall M6 Pro Owner s Manual 2017...
Page 16: ...12 Treadwall M6 Pro Owner s Manual 2017...
Page 50: ...46 Treadwall M6 Pro Owner s Manual 2017...

