15 / 48
Enable/Disable HI/LO Alert
4. Press ALERT button until the desired area is selected.
5. Press ALARM button, to activate the alarm.
6. Press ALERT button to confirm and continue to the next setting.
Note:
7. The unit will automatically exit setting mode in 5 seconds if no button is pressed.
8. When ALERT alarm is on, the area and type of alarm that triggered the alarm will be flashing and
the alarm will sound for 2 minutes.
9. Press SNOOZE/LIGHT button when alarm sounds to interrupt the alarm. The alarm will then start
again after 2 minutes.
Data clearing
10. Press and hold HISTORY button for approx. 3 seconds.
11. Press UP or DOWN button to choose YES or NO.
12. Press HISTORY button to confirm. This will clear out any rainfall data recorded before.
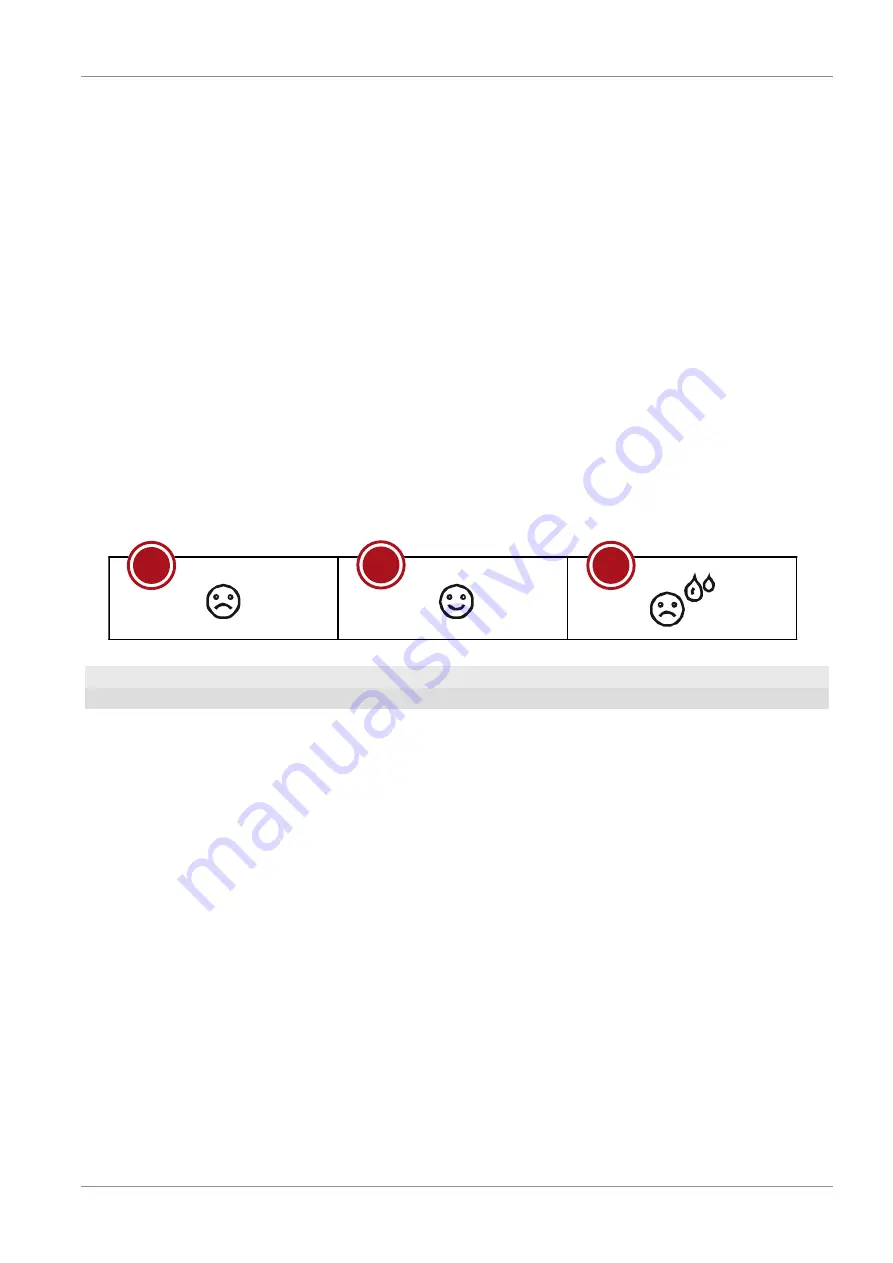
18 Clima indication (indoor)
1
2
3
1 too cold
2 comfortable
3 too warm
The clima indication is a pictorial indication based on indoor air temperature and humidity in an at-
tempt to determine comfort level.
Note:
• Comfort indication can vary under the same temperature, depending on the humidity.
• There is no comfort indication when temperature is below 0° C (32° F) or over 60° C (140° F)
19 Data clearing
During installation of the outdoor sensor, the sensor could have been triggered, resulting in erroneous
rainfall and wind measurements. After the installation user may clear all the erroneous data from the
main unit without a need to reset the clock and re-establish pairing. Simply press and hold the HIS-
TORY button for 10 seconds. This will clear out any data recorded before.
20 Pointing the sensor to the south
The sensor is calibrated to be pointing to North by default. However, in some cases, users may wish
to install the product with the arrow pointing towards the South, especially for people living in the
Southern hemisphere (e.g. Australia, New Zealand).


