background image

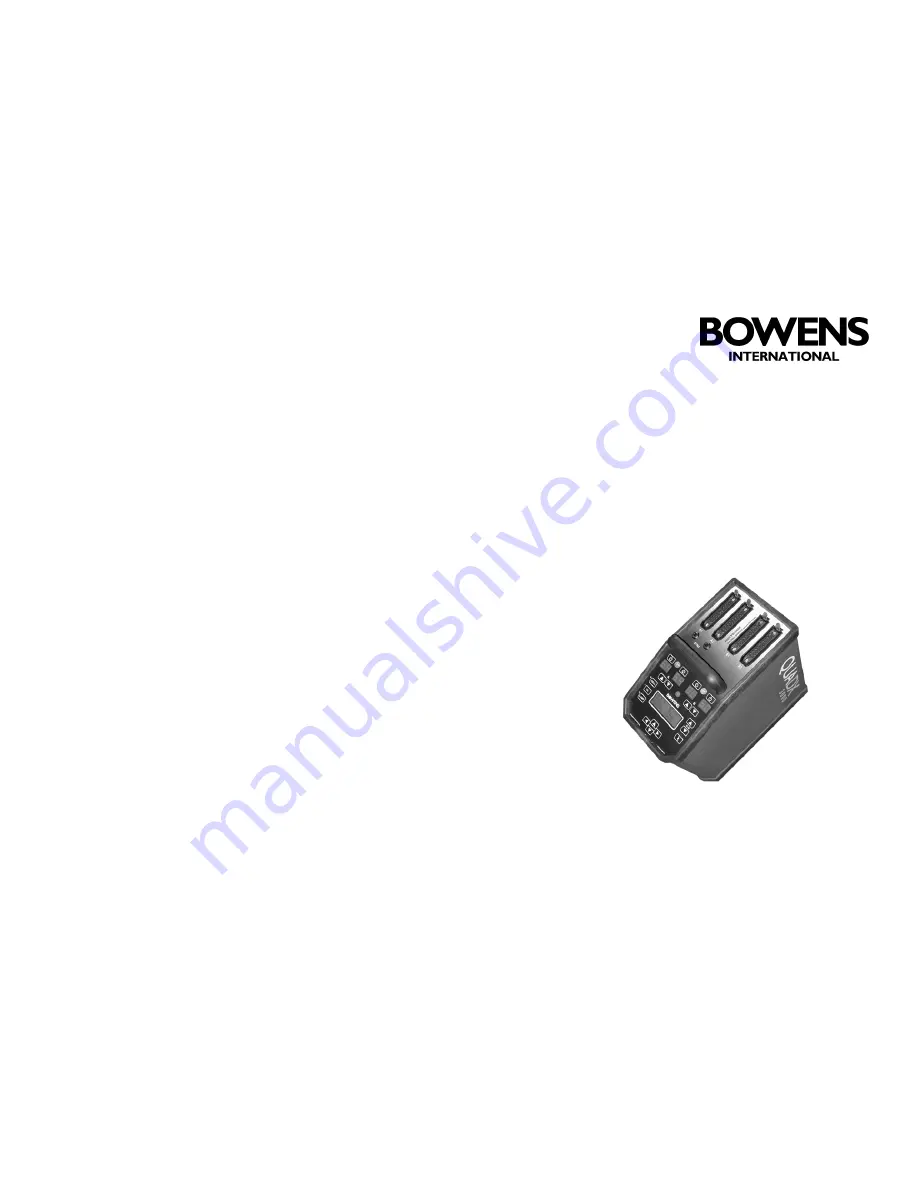
QuadX 3000 Operating Instructions

QUADX 3000 INSTRUCTIONS BWL- 0335  1-03-02
BOWENS INTERNATIONAL LIMITED

355 OLD ROAD
CLACTON-ON-SEA
ESSEX CO15 3RH
UNITED KINGDOM
Tel:

+44(0) 1255 422807

Fax:

+44(0) 1255 436342

www.bowensinternational.com

QUADX 3000


User Guide

Summary of Contents for QuadX 3000

Page 1: ...ctions QUADX 3000 INSTRUCTIONS BWL 0335 1 03 02 BOWENS INTERNATIONAL LIMITED 355 OLD ROAD CLACTON ON SEA ESSEX CO15 3RH UNITED KINGDOM Tel 44 0 1255 422807 Fax 44 0 1255 436342 www bowensinternational...

Page 2: ...Max 3000Ws Channel A only or split 2000Ws CHA 1000Ws CHB Typical Recycle Time Full Power 230V 50Hz 2 seconds 240VAC 50Hz 2 6 seconds 120VAC 60Hz Supply Voltage AC 100 250V 50 or 60Hz Stabilisation 0...

Page 3: ...check these with another flash system Check the polarity of the Sync from the camera and use an adapter to reverse it if necessary The QuadX 3000 supplies a SYNC voltage of 5V with respect to the cha...

Page 4: ...ve IR Remote Receiver Modelling Lamps On Off Menu Navigation Keys LCD Menu Display Power Level Displays A1 A2 B1 B2 Sockets On Off A1 A2 B1 B2 Sync Sockets Serial Comms Port On Off Switch Head Sockets...

Page 5: ...available at each socket by means of 4 RED numeric displays In addition this information is converted to Ws data and shown on the LCD Each red numeric display is aligned with an associated outlet soc...

Page 6: ...The commonly required adjustments are grouped under the main selection menu This allows control over the following 1 Modelling 2 Speaker 3 IR Channel 4 Bracketing Advanced Options Charge Control To a...

Page 7: ...d Options from the main selection menu The following is a brief list of features available which are described in more detail in Section 6 0 1 Speaker Setup Control Ready Error and keypad tones 2 Alte...

Page 8: ...he Advanced Options Menu offers the ability to control and adjust the following functions 1 Speaker Setup 2 Alternate Units 3 Brightness 4 Time Out Setting 5 Save Recall Setup 6 Charge Control 7 Setup...

Page 9: ...keys at the bottom of the sloping panel At switch on the unit displays the DEFAULT MENU This shows the following information HINT REMEMBER TO GET BACK TO THE DEFAULT MENU JUST KEEP PRESSING THE LEFT B...

Page 10: ...d with the item required Press to select the item The character will move to indicate the new mode of operation Modelling Automatic 100 and Full 100 have the further option to apply a dimming bias Upo...

Reviews: