73
Chapter 4 Creating User Songs
4
Erasing Chords
You can erase the recorded Chord in the current screen.
After the Chord is erased, the previous Chord is carried
forward.
1.
Display the Chord’s Step Recording screen (p. 66).
fig.RE04-24
2.
Use [FWD] or [RWD] to show the Chord you want to
erase.
3.
Press [ERASE] ([SHIFT] + [UTILITY]).
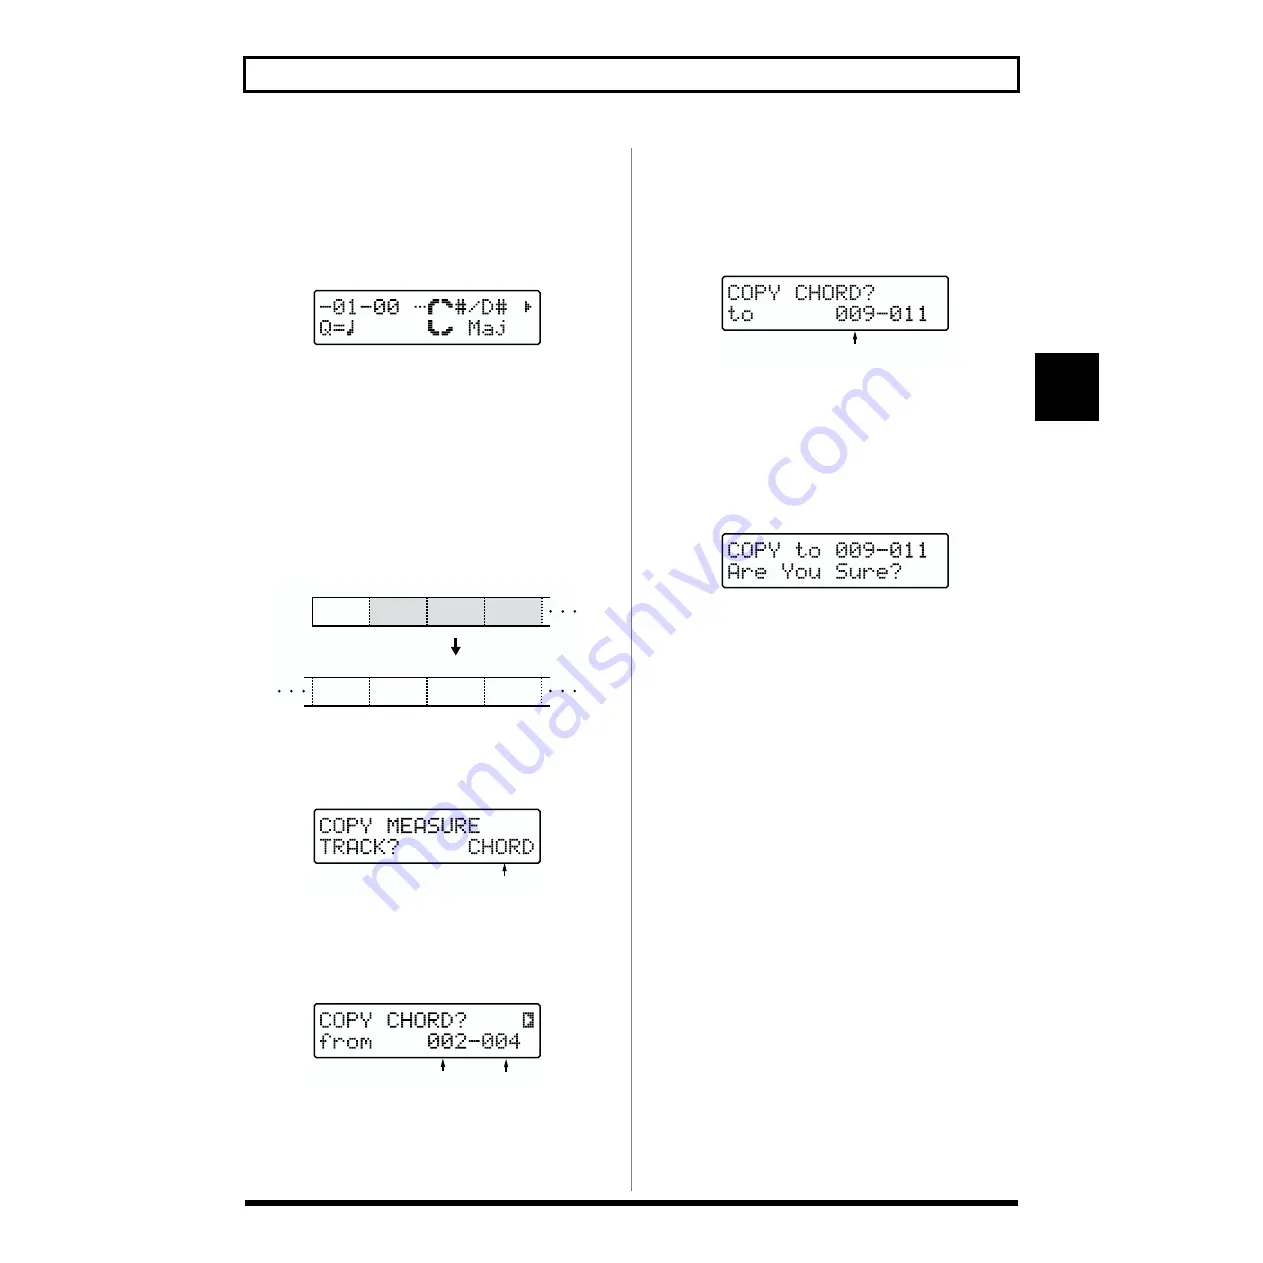
Copying Chords
This copies the Chords in a specified range of measures and
copies them to other measures on the same track.
fig.RE04-25
1.
At the Chord’s Step Recording screen, press [COPY]
([SHIFT] + [EFFECTS]).
The screen for selecting the track to copy appears.
fig.RE04-47
2.
Turn [VALUE] to select “CHORD.”
3.
Press [ENTER].
The copy-source designation screen appears.
fig.RE04-26
4.
Specify the range of measures in the copy source.
Use [CURSOR] and [VALUE] to specify the starting
measure and final measure.
5.
Press [ENTER].
The copy-destination designation screen appears.
fig.RE04-27
6.
Specify the measure for the copy destination.
Turn [VALUE] to specify the starting measure. The final
measure is determined automatically by the number of
measures in the copy source.
7.
Press [ENTER].
The copy confirmation screen appears.
fig.RE04-16
* To cancel, press [EXIT]. The copy-destination screen
reappears.
8.
Press [ENTER] when you want to execute the copy.
The copy will be executed, and when it is finished the
display will indicate “Completed!”
E
7th
E
7th
B
7th
B
7th
001
002
003
004
E
7th
E
7th
B
7th
008
009
010
011
Copy
Relevant Track
Starting measure
Final measure
Starting measure


