113
Chapter 9 Recording Your Own Performances
9
7.
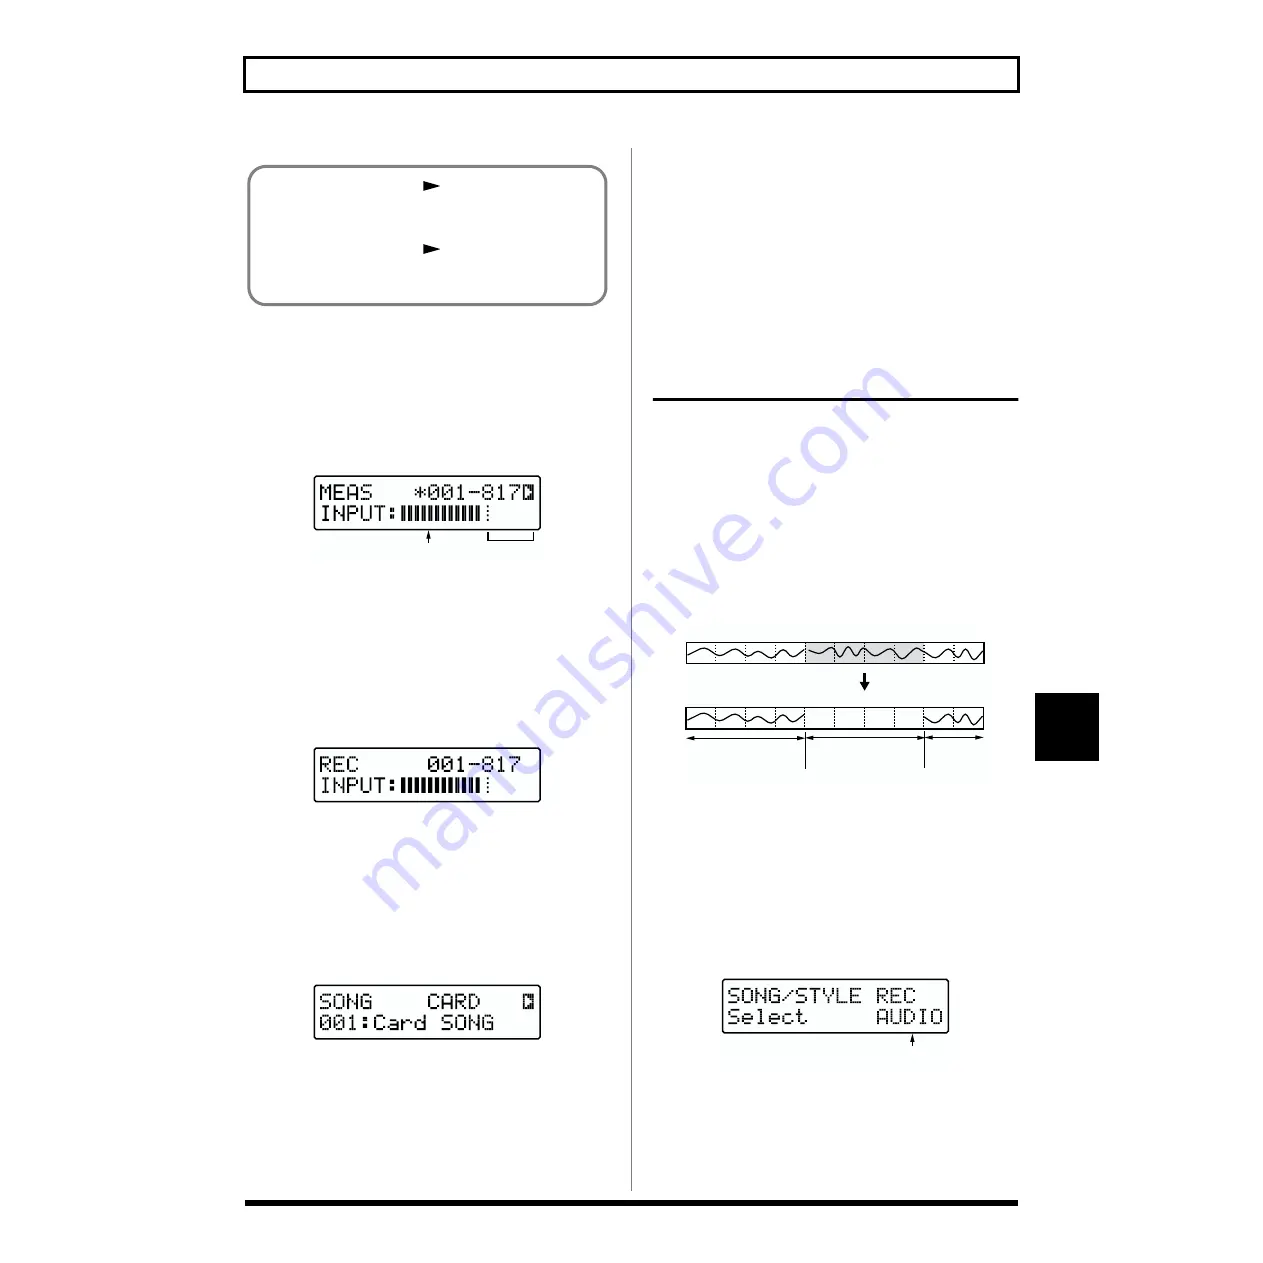
Adjust the recording level.
Play your guitar, and turn [REC LEVEL] to adjust the
recording level of the sound that is input to REC INPUT
so that the “
■
” at the far right of the level meter is
displayed within the appropriate range of levels (see
diagram below).
fig.RE09-30
8.
Press [START].
The Audio Track’s Recording screen is displayed, and
recording begins. [REC] lights up.
When the count-in is selected, the count-in is indicated in
the left display while the count sound plays
simultaneously.
After the count-in is displayed, recording begins.
fig.RE09-07
9.
Once you have finished recording, press [STOP].
[REC] goes dark, and the Song screen reappears.
Playback
Press [START] in the Song screen, getting the button to light.
The audio data is played back in time with the performance.
fig.RE09-08
* You can adjust the volume at which the audio data will be
* Although the audio data is synchronized even when the tempo
is changed, increasing or decreasing the tempo by a factor of
two causes the data to be played back incorrectly.
* With some forms of audio data, slowing down the tempo can
make it appear that the sound has delay added to it; whereas with
the tempo increased, some sounds may seem to be interrupted.
* When playing User Songs to which audio data has been
recorded, the audio data may not be played back correctly if
[START] is pressed too quickly after the [STOP], [RESET],
[RWD], or [FWD] buttons are pressed. In this case, the message
“Operate Slowly!” appears in the display.
Redoing a Recording
(Rerecording)
If you are unable to get a good recording of a performance,
you can record the performance over again (rerecord).
Since rerecording is executed over a specified range in
measure units, you can
rerecord only over a range of
several measures
or
specify all measures and rerecord
from the beginning of the performance
.
When rerecording, the Audio track is played back while
recording is started and then stopped after the specified
number of measures, after which the performance switches
to Play mode.
fig.RE09-09
1.
Select the User Song to be rerecorded.
* You can’t select User Songs stored on memory cards if no card
is inserted.
2.
Press [REC], getting the button to light.
[SONG], [CHORD], and [AUDIO TRACK] flash, and the
Recording Track Selection screen appears.
* When a User Style is selected, [STYLE] flashes.
fig.RE09-04
* To cancel, press [EXIT].
3.
Press [AUDIO TRACK] to select the Audio Track.
The following screen appears, and the measure where
recording begins flashes.
■
If you press [CURSOR
] several times to select
“1 QUALITY,” you can check the available recording
■
If you press [CURSOR
] several times to select
“2 COUNT IN,” you can make count-in settings.
Recording level
Appropriate range
001
002
003
004
005
006
007
008
009
010
Rerecording
001
002
003
004
005
006
007
008
009
010
Playback
Record
Playback
Recording is started
Recording is stopped
Recording Track


