206
Using the CD-R/RW drive to exchange data
fig.41-07ad
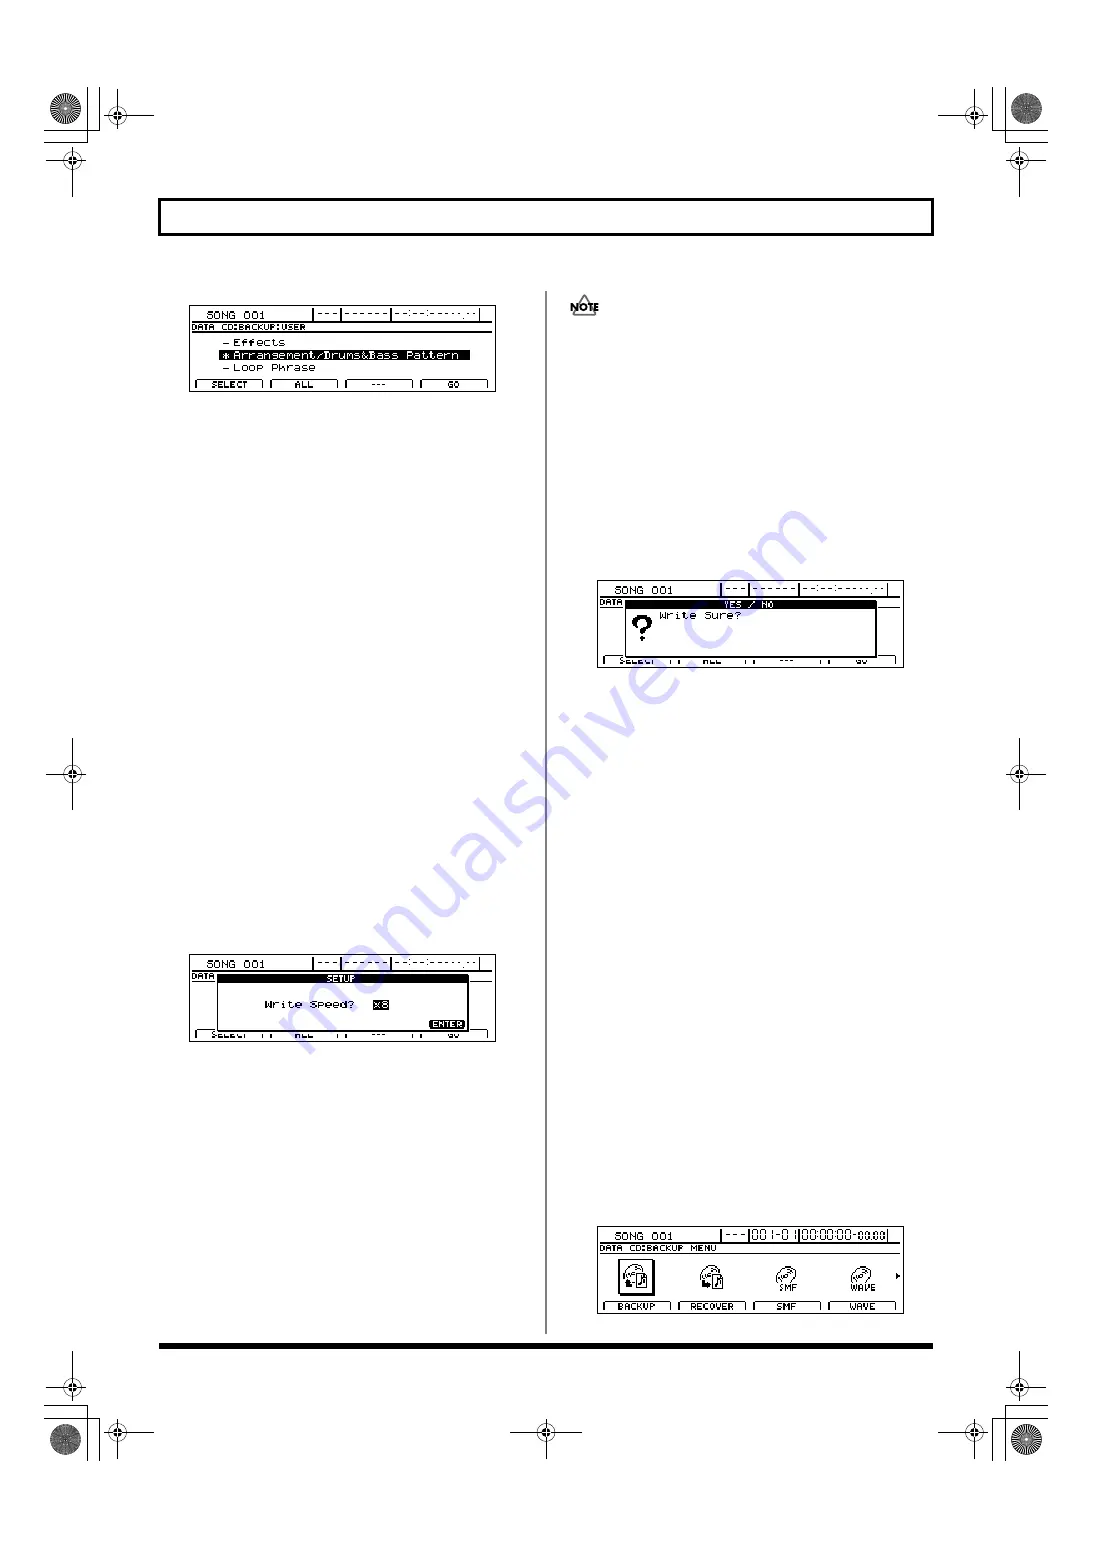
A number of types of data can be selected in this way for
backup, and an asterisk (*) will be displayed for each
selected type. To cancel a selection, simply press [F1]
once again.
Data that can be backed up:
Effects/Arrangement/Drums&Bass Pattern:
• Insert Effects User Patches
• Vocal Tool Box User Patches
• Mastering User Kit User Patches
• Speaker Modeling User Patches
• User Rhythm Arrangement
• User drum pattern
• User bass pattern
The data described above will all be saved.
Loop Phrase:
User loop phrases will all be saved.
If you would like to back up all such data on the hard
disk in a single operation, press [F2] (ALL). All data
types will be selected for backup.
To cancel this selection, press [F2] once again. This
deselects all data types.
6.
When you have selected all of the data you want to
back up, press [F4] (GO).
The message “Write Speed?” will appear.
fig.41-08d
7.
Use the TIME/VALUE dial to set the write speed.
Write Speed:
x2 (352 Kbps)
Writes twice as fast.
x4 (704 Kbps)
Writes four times as fast.
x8 (1408 Kbps)
Writes eight times as fast.
• The range of available write speeds can sometimes be
limited by the type of disc being used. In such cases, the
BR-1600CD will allow you to select only the supported
speeds using the TIME/VALUE dial.
• If you are using CD-R/RW discs intended for high-speed
writing, the frequency of write errors may increase if the x2
or x4 speed is selected. It is recommended that you use the
x8 speed for high-speed discs.
8.
Press [ENTER/YES].
If you want to cancel the backup, press [EXIT/NO].
The message “Write Sure?” will appear.
fig.41-09d
9.
Press [ENTER/YES] once again.
The BR-1600CD will begin writing data to the CD-R/RW
disc. When the message “Complete!” appears, it indicates
that the backup has been successfully completed.
Backing up all data on the hard
disk (HDD Backup)
The BR-1600CD allows you to back up all of the data on the
internal hard disk onto CD-R/RW discs, regardless of the
type of data or the song in which it is used. Data that’s been
backed up this way can later be recovered whenever needed.
Note, however, that this type of backup is limited to the data
contained in the currently selected drive or partition. If you
would also like to back up data from another drive or
partition, you will need to change the current drive first.
Note also that recovered data will be stored on the currently
selected drive.
1.
Insert an empty CD-R/RW disc into the BR-1600CD’s
CD-R/RW drive.
The drive’s access indicator will begin to flash. Wait until
this indicator stops flashing and turns off before
proceeding.
2.
Press CD-R/RW [DATA SAVE/LOAD].
The Data CD screen will appear.
fig.41-05d
BR-1600_R_e.book 206 ページ 2007年12月6日 木曜日 午前9時52分
Summary of Contents for Digital Recording Studio BR-1600 CD
Page 41: ...41 Section 1 Advanced Use Section 1 Advanced Use BR 1600_R_e book 41...
Page 73: ...73 Section 2 Using Effects Section 2 Using Effects BR 1600_R_e book 73...
Page 145: ...145 Section 3 Using Rhythm Section 3 Using Rhythm BR 1600_R_e book 145...
Page 203: ...203 Section 4 Using the CD R RW Drive Section 4 Using the CD R RW Drive BR 1600_R_e book 203...
Page 220: ...220 MEMO BR 1600_R_e book 220...
Page 221: ...221 Section 5 Using MIDI Section 5 Using MIDI BR 1600_R_e book 221...
Page 239: ...239 Section 6 Using USB Section 6 Using USB BR 1600_R_e book 239...
Page 272: ...272 MEMO BR 1600_R_e book 272...
Page 273: ...273 Appendices Appendices BR 1600_R_e book 273...
Page 309: ...309 MEMO BR 1600_R_e book 309...


