background image

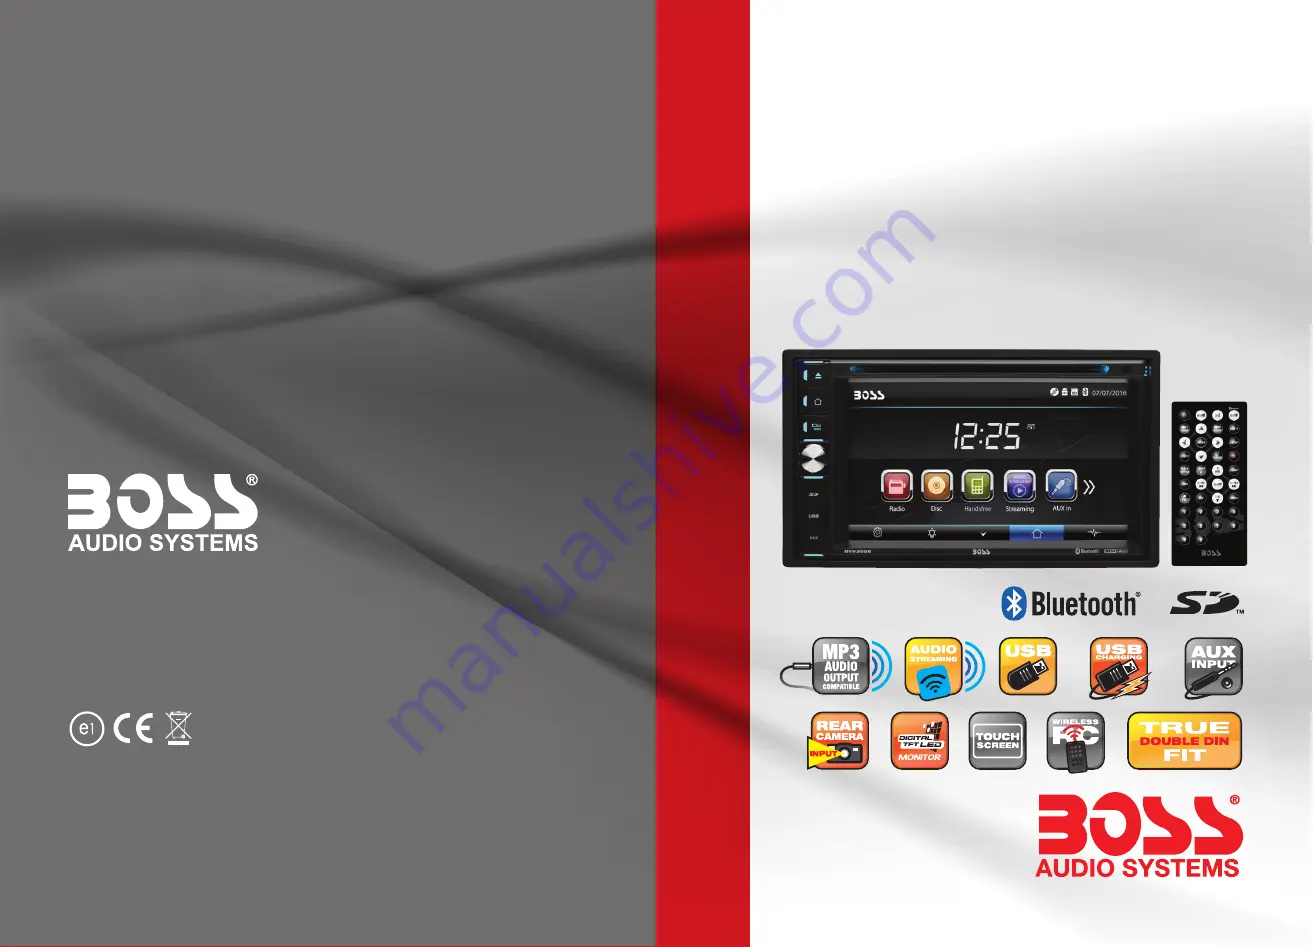
USER’S MANUAL

BV9358B

BLUETOOTH®  

|  DVD/MP3/CD AM/FM RECEIVER

BLUETOOTH®  

|  DVD/MP3/CD Y AM/FM RECEPTOR

1016

iPod® / iPhone® are trademarks of Apple, Inc. registered in the U.S. and other countries.
BOSS Audio Systems is not affiliated with Apple, Inc.
The Bluetooth® word mark and logos are registered trademarks owned by Bluetooth SIG, Inc. and any use of such marks by BOSS Audio Systems is under license. 
Other trademarks and trade names are those of their respective owners.

iPod® / iPhone® son marcas comerciales de Apple, Inc., registradas en los EE.UU. y otros países.
BOSS Audio Systems no está afiliado con Apple, Inc.
Las marcas registradas marca Bluetooth® y sus logotipos son marcas registradas propiedad de Bluetooth SIG, Inc. y cualquier uso de dichas marcas por parte de 
BOSS Audio Systems es bajo licencia. Otras marcas y nombres comerciales pertenecen a sus respectivos propietarios.

USER’S MANUAL

BV9358B

BLUETOOTH® 

DVD/MP3/CD AM/FM RECEIVER

FEATURING 6.2" (157mm) WIDESCREEN TOUCHSCREEN
DIGITAL TFT LED MONITOR

BLUETOOTH®

DVD/MP3/CD Y AM/FM RECEPTOR

CON PANTALLA DIGITAL TFT LED DE 6.2" (157mm)

BOSS Audio Systems
3451 Lunar Court • Oxnard, CA 93030

www.bossaudio.com
800-999-1236 US Toll-free
805-988-0192 US Local Main

tech support: www.bossaudio.com/support/technical-support

Summary of Contents for BV9358B

Page 1: ...EE UU y otros pa ses BOSS Audio Systems no est afiliado con Apple Inc Las marcas registradas marca Bluetooth y sus logotipos son marcas registradas propiedad de Bluetooth SIG Inc y cualquier uso de d...

Page 2: ...Accessories 02 Unit Installation 03 Wire Connection 03 Parking Brake Connection 04 Speaker connection 05 Button Description 06 Remote Control 07 Main Menu 10 Radio Operation 10 DVD Operation 11 USB SD...

Page 3: ...s Package contains the following accessories for installation and operation of the unit 1 Washer Spring 2 Washer M5 Nut 1 5 Rubber Cushion 1 3 Screw 1 6 Screw 8 1 Left 4 Bolt 1 7 installation bracket...

Page 4: ...lation 1 Put the 2 brackets to the left and right side of the unit 2 Use screws to fix the brackets to the unit Wire Connection The Description of the Input output Interface of the Rear Cabinet 03 Bra...

Page 5: ...n 1 In order for videos to be viewed and to comply with federal and local laws the parking brake wire must be connected to the power side of the parking brake switch Connecting the reversing line to t...

Page 6: ...rs Always observe correct polarity Loudspeaker cables and or optional external power amplifiers must always be about 11 8 inch away from the antenna and or antenna extension parts Connect the speakers...

Page 7: ...t and Press and hold for 2 seconds to turn the unit off Rotate VOL knob to increase or reduce the volume 6 USB Slot SD MMC CARD Slot AUX IN Jack USB slot for Multimedia playback files only insert a US...

Page 8: ...er long press it to clear all the phone number 5 ENTER Press it to confirm your selection 6 LEFT button Press it to move the cursor left 7 DOWN button Press it to move the cursor d 8 EJECT button Pres...

Page 9: ...etooth button Short press to mute the volume output press again to resume volume Long press this button to enter into Bluetooth mode Hands free 17 MENU ROOT button Press it to show main menu in DVD mo...

Page 10: ...nt possible damage from battery leakage and corrosion Do not place any objects between the remote control unit and the sensor on the unit Do not drop the remote control onto the floor it will damage i...

Page 11: ...n backward automatically Touch it to select station forward manually touch and hold this icon to select station forward automatically Touch it to select FM1 FM2 FM3 Touch it to select AM1 AM2 Touch it...

Page 12: ...as well Touch it to enter to previous next page menu Touch it skip to the previous track Touch it to pause play Touch it skip to the next track Touch it to select the sound track in the sequence of mo...

Page 13: ...1 3 1 4 Change the image playback direction Settings Operation Setting Control Your device has default system setting you can customize the settings to suit your personal needs Once you change settin...

Page 14: ...n backward or forward In DVD mode press button or button to select the previous or next track and activate fast reverse REW search or fast forward in a track press VOL button or VOL button to adjust t...

Page 15: ...can select the preferred language for the disc menu When the selected language is recorded on the disc then this language will automatically be selected If not the first language recorded on the disc...

Page 16: ...ess the mute bluetooth button on the remote control or press mode button on remote Tap calling button to use phone functions Tap music button to start bluetooth music player Pairing Mode At the 1st ti...

Page 17: ...racters any difference in character will be shown such as or A2DP Music Mode Tap music button to listen music in bluetooth mode Tap the button for music in bluetooth main menu You can select the funct...

Page 18: ...Notes of Disc In order to view videos the parking brake wire must be connected and the vehicle stopped 17...

Page 19: ...wire to the power antenna lead one by one If the amplifiers turn off before all wires are attached use an external replay to provide remote on voltage excessive current required Unit needs to be Reset...

Page 20: ...e ambient temperature returns to normal Volume is in minimum Adjust volume to a desired level No sound Wiring is not properly connected Check wiring connection The built in microcomputer is not operat...

Page 21: ...y range Asia area FM 87 5 108MHz Step 100KHz Frequency range South America area FM 87 5 108MHz Step 100KHz Frequency range Russia area FM 87 5 108MHz Step 50KHz 65 74MHz Step 30KHz Preset memory stati...

Reviews: