INSTALLATION AND SERVICING INSTRUCTIONS
SOLAR PUMP STATIONS
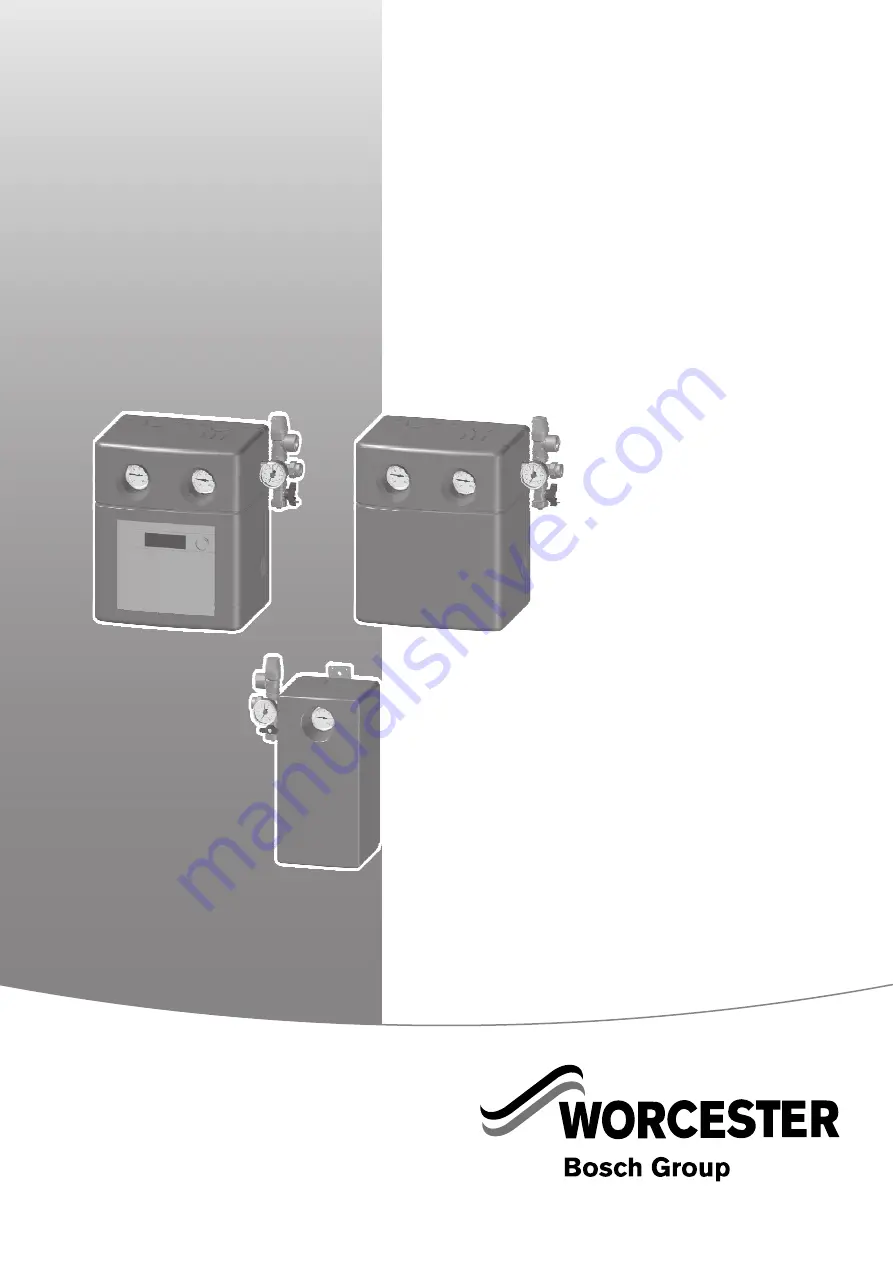
AGS 5/5E, AGS 10/10E
FOR SEALED SOLAR HEATING SYSTEMS AND INDIRECT FED DOMESTIC HOT WATER
7747006489.00-1.SD
Page 1: ...INSTALLATION AND SERVICING INSTRUCTIONS SOLAR PUMP STATIONS AGS 5 5E AGS 10 10E FOR SEALED SOLAR HEATING SYSTEMS AND INDIRECT FED DOMESTIC HOT WATER 7747006489 00 1 SD ...
Page 2: ... Installing the pre cooling vessel available as accessory 11 5 5 2 Installing the expansion vessel available as an accessory 12 5 5 3 Adjusting the inlet pressure of the expansion vessel 12 5 6 Connecting pipes and blow off line to the solar pump station 12 5 7 Installing the temperature sensors 13 5 7 1 Collector temperature sensor 13 5 7 2 Storage tank temperature sensor 13 6 Commissioning 14 6 ...
Page 3: ...prevent injury and property damage always follow the safety instructions B Any tasks that require the solar pump station to be opened must be carried out by qualified electricians B The electrical supply must be connected by a qualified electrician B Before opening the solar pump station it must be isolated from the power supply B Install a blending valve to limit the temperature at the tap to a m...
Page 4: ... red flow1 blue return and integrated gravity brake 0 gravity brake ready for operation 45 gravity brake manually open 2 Compression fitting 3 Safety valve 4 Pressure gauge 5 Connection to diaphragm expansion vessel 6 Fill drain valve 7 Solar pump 8 Flow rate indicator 9 Air eliminator1 10 Control shut off valve Benchmark places responsibilities on both manufacturers and installers The purpose is ...
Page 5: ...355x185x180 Flow and return connections compression fittings mm 15 15 Number of collectors 1 5 1 5 Tab 2 Specifications for AGS 5 and AGS 5E AGS 10 AGS 10E Maximum possible temperature C Flow 130 return 110 pump Safety valve response pressure bar 6 6 Safety valve DN 15 connection DN 15 connection Mains supply 230V AC 50 60 Hz 230V AC 50 60 Hz Maximum current consumption per pump A 0 54 0 54 Dimens...
Page 6: ...ulic applications 1 Standard system with 2 line solar pump station 2 Two collector arrays east west with 1 line and 2 line solar pump stations 3 Dual tank system with 1 line and 2 line solar pump stations 4 Standard system with 1 line solar pump station and air vent on roof 1 2 4 7747006489 03 2 SD 3 ...
Page 7: ...ems EN 12976 Thermal solar systems and components factory made systems ENV 12977 Thermal solar systems and components custom built systems BS5918 Latest version Solar heating systems for domestic hot water Installation and fittings of hot water heaters BS5546 2006 Specification for installation of hot water supplies for domestic purposes using gas fired appliances of rated input not exceeding 70kW...
Page 8: ...nly materials which can withstand the temperatures up to 150 C which occur in solar heating systems 7747006489 05 1SD 2 3 1 4 CAUTION System damage from heat buildup when brazing B Do not carry out brazing close to evacuated tube collectors We recommend carrying out a pipe network analysis to determine pipe requirements Basic design estimates can be made using Tab 4 B If there are many additional ...
Page 9: ...ype at least 6 mm2 INSTALLING SOLAR PIPEWORK WITH AN AUTOMATIC AIR VENT ON THE ROOF AVAILABLE AS ACCESSORY B Connect pipes to the air vent on a rising incline For every downwards change of direction an additional air vent unit is required heat resistant to 150 C Fig 5 Position of the automatic air vent valve 1 Automatic air vent INSULATING PIPES B Insulate outdoor pipework with material which is c...
Page 10: ... mm apart and mount the solar pump station using the wall plugs and screws supplied Fig 7 Mounting the station 1 Mounting for 2 line solar pump station 2 Mounting for 1 line solar pump station 5 3 ELECTRICAL CONNECTION Electrical connections must be carried out by properly authorised electricians and subject to locally applicable regulations B Connect the cables for the pumps and temperature senso...
Page 11: ...sket in the return line 20 to 30 cm above the solar heating station B Secure pipes to and from the pre cooling vessel with pipe clamps 4 Mount the pre cooling vessel vertically B Connect the expansion vessel 5 to the pre cooling vessel by means of a copper pipe B Seal the connection on the safety valve with a cap 2 to be provided by the customer Fig 9 Installing the pre cooling vessel 1 Flexible s...
Page 12: ...s to a length which will allow them to be pushed into the compression fitting 1 until they bottom out B Route the blow off line 2 from the safety valve so that it can be seen to empty out into the storage vessel 4 and secure it in place with a pipe clamp 3 Fig 11 Connection to solar pump station 1 Compression fitting 2 Blow off line 3 Pipe clamp 4 Empty solar fluid container storage vessel INSTALL...
Page 13: ...o moisture B Extend the sensor lead with a two core lead 3 B If necessary protect the connection points 2 at top and bottom with junction boxes Fig 12 Collector and storage tank temperature sensors to solar pump station with built in controller 1 Collector temperature sensor 2 Connection point 3 Two core lead 2 x 0 75 mm2 up to a maximum length of 50 m 4 Fill drain valve for emptying provided by c...
Page 14: ...e Benchmark Checklist located on the inside back pages of this document After servicing complete the relevant Service Interval Record section of the Benchmark Checklist located on the inside back pages of this document CAUTION System damage from frozen water or vaporisation in the solar heating circuit B Purge and fill the solar heating system only when the sun is not shining on the collectors and...
Page 15: ...B Unscrew the plug screw 2 one turn Fig 15 Opening the air vent 1 Weather protection cap 2 Plug screw 3 Ball valve B Set the ball valves 1 on the thermometers to 45 and open the flow limiter 2 and other shut off fittings Fig 16 Opened shut off fittings 1 Ball valves and gravity brake open on the thermometers 45 position 2 Flow limiter open B Carry out a pressure test to check compliance with the m...
Page 16: ... black pointer on the pressure gauge 1 on the safety assembly Fig 18 Checking the pressure gauge display 1 Pressure gauge 6 2 5 DETERMINING THE OPERATING PRESSURE When putting the system into operation the operating pressure must be 0 8 bar above the static pressure 1 metre difference in height equals 0 1 bar The operating pressure must be at least 1 8 bar when cold 20 C Example 10 m static height...
Page 17: ...e and add concentrate 6 3 ADJUSTING THE FLOW RATE The flow rate is set when the system is cold 30 40 C When the solar pump is speed controlled the controller determines the flow rate based on operating requirements B Set ball valves 1 to 0 gravity brakes ready for operation B Using a size 4 Allen key open the flow limiter 2 completely B Select the operating mode Manual mode ON on the controller Æ ...
Page 18: ... water B After several hours of solar pump operation vent the solar heating system via the de airator in the solar heating station and if installed the air vent on the roof The values specified in Tab 7 apply to single row collector arrays or multi row arrays connected in parallel Collector arrays connected in series must be set using the total volumetric flow rate which must be calculated If the ...
Page 19: ...__ month year please check frost protection every two years Solar heating circuit 1 Measure operating pressure when system is cold and enter the result here System temperature on blue thermometer 17 16 ______ bar ______ C ______ bar ______ C ______ bar ______ C ______ bar ______ C 2 Volumetric flow rate checked when the system is cold and result entered here 17 ___ l min ___ l min ___ l min ___ l ...
Page 20: ..._ K __ K __ K __ K 4 Temperature indicated by all temperature sensors resistances checked 5 Temperature sensors correctly positioned insulated and connected 6 Maximum tank temperature Tmax for solar cylinder 1 checked and entered here _____ C _____ C _____ C _____ C Maximum tank temperature Tmax for solar cylinder 2 checked and entered here _____ C _____ C _____ C _____ C 7 Backup heating is funct...
Page 21: ... controller Check controller settings Volumetric flow rate too high Check and adjust the flow rate Temperature sensor position or contact is not correct Check temperature sensor position Pump does not switch off Heat is being transferred out of the storage tank Temperature sensor faulty or in wrong position Check temperature sensor position mounting and characteristics Controller faulty Note speed...
Page 22: ...expansion vessel Vapour has escaped through open air vent normal operating function Close air vent after venting Frost damage Check frost protection No flow noticeable on flow rate indicator despite pump running Solar yield too low Shut off fittings are closed Open shut off fittings Air in the system Bleed or purge the system Indicator element in the flow limiter is sticking Clean the flow limiter...
Page 23: ...lean ventilation openings System performance is falling Solar yield too low Collectors are under shade Remove shade Air in the system Bleed or purge the system Pump is running at decreased power Check the pump Heat exchanger dirty calcified Wash decalcify the heat exchanger Collector glazing is very dirty Clean the collector glazing with a glass cleaning agent no acetone Backup heating is running ...
Page 24: ...FAULT FINDING 6 720 643 603 2011 11 24 ...
Page 25: ...FAULT FINDING 6 720 643 603 2011 11 25 ...
Page 26: ...FAULT FINDING 6 720 643 603 2011 11 26 ...
Page 27: ...FAULT FINDING 6 720 643 603 2011 11 27 ...
Page 28: ...h Group is a brand name of Bosch Thermotechnology Ltd worcester bosch co uk 6 720 643 603 2011 11 WORCESTER BOSCH GROUP TECHNICAL SUPPORT 0844 892 4010 APPOINTMENTS 0844 892 3000 SPARES 01905 752576 LITERATURE 0844 892 9800 TRAINING 01905 752526 SALES 01905 752640 WEBSITE worcester bosch co uk ...