1 987 AT7 374
2015-09-02
|
Robert Bosch GmbH
20 | TCE 260 | Maintenance
R
The fault parts must be changed by the original parts
provided by the manufacturer.
Removing or breaking the safety devices such
as safety valve and standard nozzle violate the safety
standard.
Special note: The manufacture will not be
responsible for the claim arising from the apply of the
parts supplied by the other supplier and the damage
caused by removing or breaking the safety devices.
You should not modify the component on the
machine without authorized.
Note
R
Keep the working area clean.
R
Do not use the compressed air to blow off the debris
on the machine. Reduce the coming out of the dust
around.
9.2
Maintenance operations
R
Do the following operation at least one time per 30
days.
1.
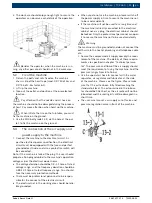
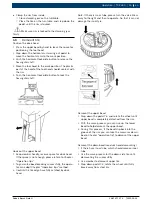
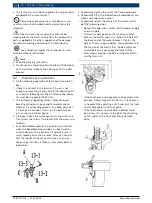
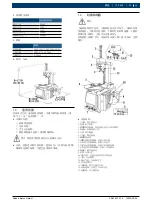
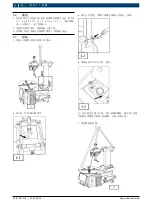
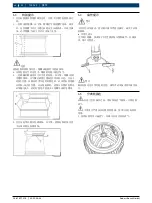
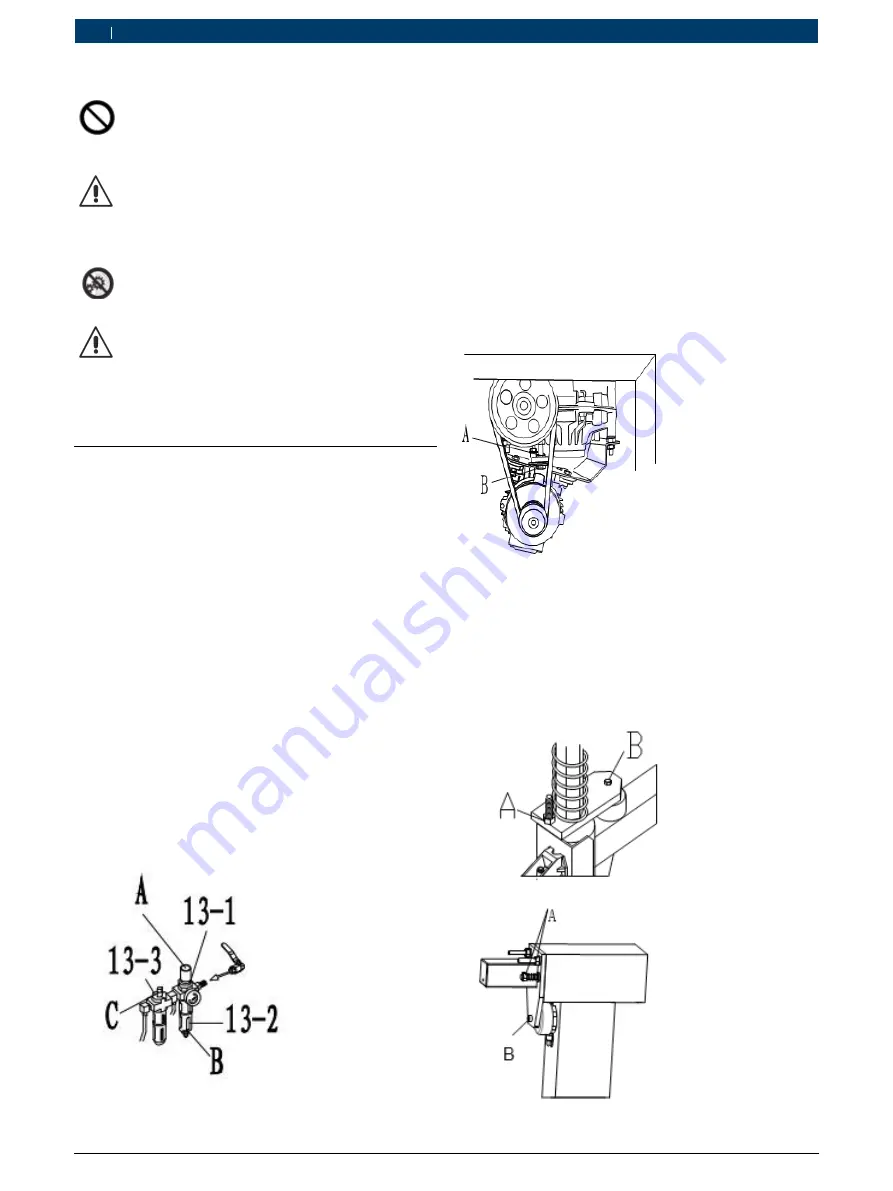
Check the oil level in the oil cup. If the oil is not
enough, remove the oil cup and fill the lubrication oil
as shown in follow figure. The oil filled in the lubrica-
tor must be the special SAE20 oil.
2.
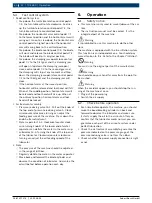
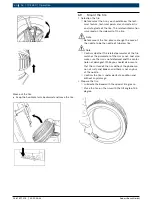
The oil feeding speed regulation: Make the bead
breaking cylinder run back and forward to check
whether the oil feeding speed is one drop of oil per
2 travel of the cylinder. If not, use the bolt B to ad-
just as shown in follow figure.
3.
Drainage: Check the water quantity in the water cup.
Turn/ press the valve at the low end of the water cup
to drain.
4.
Each time before operate the machine, you should
make the bead breaking cylinder run back and for-
ward to observe the lubricator C and make sure it
starts feeding oil to the air route. After you confirm
that the lubricator works normal, you can guaran-
tee each part of the air route system under perfect
lubrication.
5.
Periodically tighten the nut at the fixed equipment.
6.
Periodically fill in the lubrication oil components can
move and slide to each other.
7.
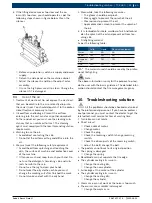
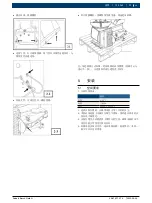
Periodically adjust the tension of the motor belt as
per the following steps:
$
Before this operation, switch off the power supply
and air supply.
$
Detach the side panel on the machine cabinet.
$
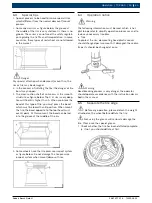
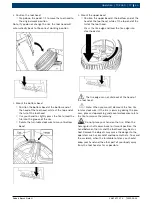
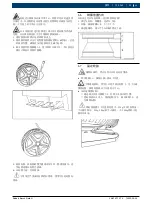
Release the bolt A and nut C. Adjust the bolt B at
the back end of the motor bracket. Tighten the
belt as shown in figure below. The requirement to
the tension of the belt is that the belt will move
inward by 8mm if you apply the force of 8kg.
$
After adjust, position the belt and tighten bolt A
and tighten nut C.
$
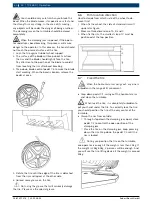
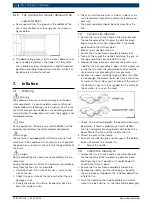
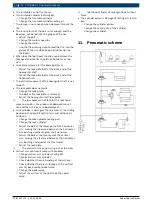
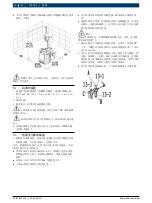
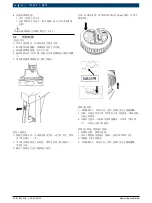
If the tool head is not locked or not located at the
position 2-3mm higher than the rim, it is necessa-
ry to adjust the adjusting nuts A and B at the front
end of hexangular shaft lock plate.
$
If the tool head is not locked or not backward
by 2-3mm, it is necessary to adjust the adjusting
nuts A and B at the front end of quartet lock
plate.
en


