en
Installation instructions
46
¡
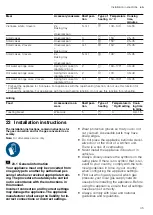
The settings for configuring your appliance
can be found on the rating plate on the
rear of the appliance. The gas type set at
the factory is marked with an asterisk (*).
¡
After converting the appliance from one
gas type to another, the new gas type must
be labelled on the rating plate.
– Use the gas conversion label to do this.
– (*) is used to indicate the gas type on the label.
– Stick the label on which the gas conversion is
marked with a star (*) in the designated location
on the rating plate.
¡
The changes made to the appliance and
the type of connection are essential to en-
abling the appliance to work safely and in
accordance with the relevant regulations.
¡
Switch off the power supply and gas supply
before carrying out any work.
¡
After working on the gas connection, al-
ways check that the connection is not leak-
ing. The manufacturer accepts no respons-
ibility for a gas leak at a manipulated gas
connection.
WARNING ‒ Risk of explosion!
A gas leak could occur. If you move the appli-
ance after the gas supply has been estab-
lished, a gas leak could occur.
▶
Do not move the appliance once the gas
supply is connected.
▶
If you move the appliance, check that the
connections are not leaking.
ATTENTION!
Do not hold and move the appliance at the
gas pipe (collector). Damage to the gas pipe
may lead to gas leak. The gas pipe is not de-
signed for the weight of the appliance.
▶
Do not hold and move the appliance at the
gas pipe.
23.2 Appliance information
Enter the factory settings for the gas type and gas
pressure in the table below and then add the applic-
able gas type and gas pressure settings for once con-
version has been carried out.
E no.
FD
After-sales service tele-
phone number
Type of gas/gas pressure
The data can be found on
the rating plate.
Type of gas/gas pressure
Data following gas con-
version
23.3 Selecting the gas connection side
On many appliances, you can carry out the gas con-
nection on the right- or left-hand side. If necessary, you
can change the connection side.
Requirements
¡
Shut off the main gas line.
¡
Seal the gas connecting piece on the side that is not
being used with a blind plug.
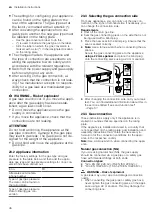
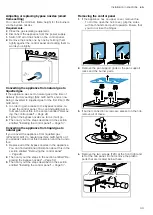
1.
Place the new seal in the blind plug. Ensure that the
seal is seated correctly.
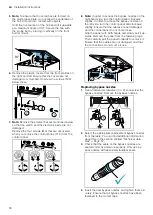
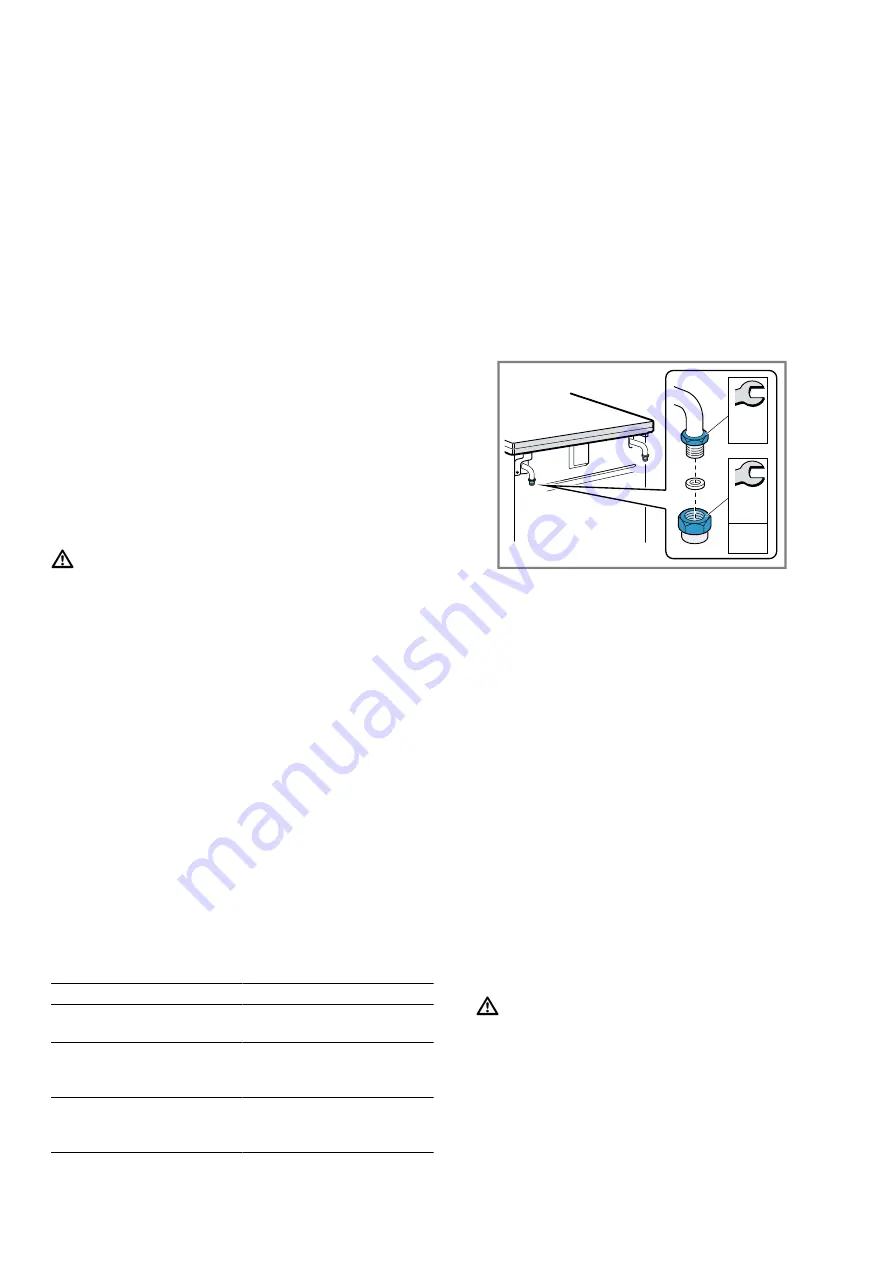
2. Note:
Use a torque wrench when connecting the ap-
pliance.
Secure the gas connecting piece to the appliance
using a 22 mm spanner
and place the blind plug
onto the connecting piece using a 24 mm spanner.
20-25
Nm
SW
22
SW
24
3.
After changing the connection side, carry out a leak
test. You can find additional information about this in
the section entitled "Leak and function test"
→
23.4 Gas connection
These instructions apply only if the appliance is in-
stalled in countries that are specified on the rating
plate.
If the appliance is installed and used in a country that
is not specified on the rating plate, add installation and
assembly instructions that contain the necessary in-
formation for the connection conditions for the appli-
ance in the respective country.
Note:
Use a torque wrench when connecting the appli-
ance.
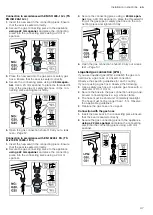
Natural gas connection (NG)
If you are using natural has (NG), the gas supply
should be connected via a gas pipe or a safety gas
hose with threaded fittings at both ends.
Connection types:
¡
*G½: EN ISO 228 G½ (TS EN ISO 228 G½)
¡
*R½: EN 10226 R½ (TS 61-210 EN 10226 R½)
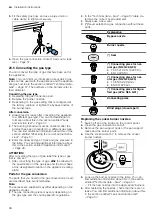
WARNING ‒ Risk of explosion!
A gas leak may occur due to a damaged connection
nozzle.
▶
When connecting the gas pipe or safety gas hose,
never tighten the gas connecting piece on the appli-
ance using a 22 m spanner. This may damage the
connecting piece.

