


12
| English
1 609 92A 2HX | (14.1.16)
Bosch Power Tools
Mounting/Replacing the Application Tool/Accessory
(GOP 30-28)
If required, remove an already mounted application tool/
accessory.
For removing the application tool/accessory, loosen the
screw
6
with the hex key
7
and remove the application
tool/accessory.
Mount the requested application tool/accessory (e.g. plunge
cut saw blade
5
) in such a manner on the tool holder
4
that the
offset faces downward (see illustration on the graphics page;
marking on the application tool/accessory is readable from
above).
Turn the application tool/accessory to a position favourable
for the respective job, and allow it to engage into the cams of
the tool holder
4
. 12 different positions are possible, each
offset by 30°.
Fasten the application tool/accessory with bolt
6
. Tighten the
bolt with hex key
7
until the spring washer of the bolt faces
flush against the application tool/accessory.
Check the tight seating of the application tool/acces-
sory.
Incorrect or not securely fastened application
tools/accessories can come loose during operation and
pose a hazard.
Mounting/Replacing the Application Tool/Accessory
(GOP 40-30/GOP 55-36)
If required, remove an already mounted application tool/
accessory.
To do so, open the SDS lever
12
all the way. The application
tool/accessory will be ejected.
Mount the requested application tool/accessory (e.g. plunge
cut saw blade
5
) in such a manner on the tool holder
4
that the
offset faces downward (see illustration on the graphics page;
marking on the application tool/accessory is readable from
above).
When doing so, place the application tool/accessory in a posi-
tion which is convenient for the job at hand. Twelve different
positions are possible, each offset by 30°.
Press the application tool/accessory in the required position
firmly onto the clamping jaws of the tool holder until it is auto-
matically locked.
Check the tight seating of the application tool/acces-
sory.
Incorrect or not securely fastened application
tools/accessories can come loose during operation and
pose a hazard.
Mounting and Adjusting the Depth Stop
The depth stop
15
can be used when working with segment
and plunge cut saw blades.
If required, remove an already mounted application tool/ac-
cessory.
Slide the depth stop
15
in the required work position all the
way over the tool holder
4
onto the collar of the power tool. Al-
low the depth stop to engage. Twelve different positions are
possible, each offset by 30°.
Set the required working depth. Press shut the clamping lever
14
of the depth stop in order to fix the depth stop.
Mounting/Replacing a Sanding Sheet on the Sanding Plate
The sanding plate
9
is fitted with Velcro backing for quick and
easy fastening of sanding sheets with Velcro adhesion.
Before attaching the sanding sheet
10
, free the Velcro back-
ing of the sanding plate
9
from any debris by tapping against
it in order to enable optimum adhesion.
Position the sanding sheet
10
flush alongside one edge of the
sanding plate
9
, then lay the sanding sheet onto the sanding
plate and press firmly.
To ensure optimum dust extraction, pay attention that the
punched holes in the sanding sheet match with the holes in
the sanding plate.
To remove the sanding sheet
10
, grasp it at one of the tips and
pull it off from the sanding plate
9
.
You can use all sanding sheets, fleece pads/polishing cloth
pads of the Delta 93 mm series of Bosch accessory program.
Sanding accessories, such as fleece pads/polishing cloth
pads, are attached to the sanding plate in the same manner.
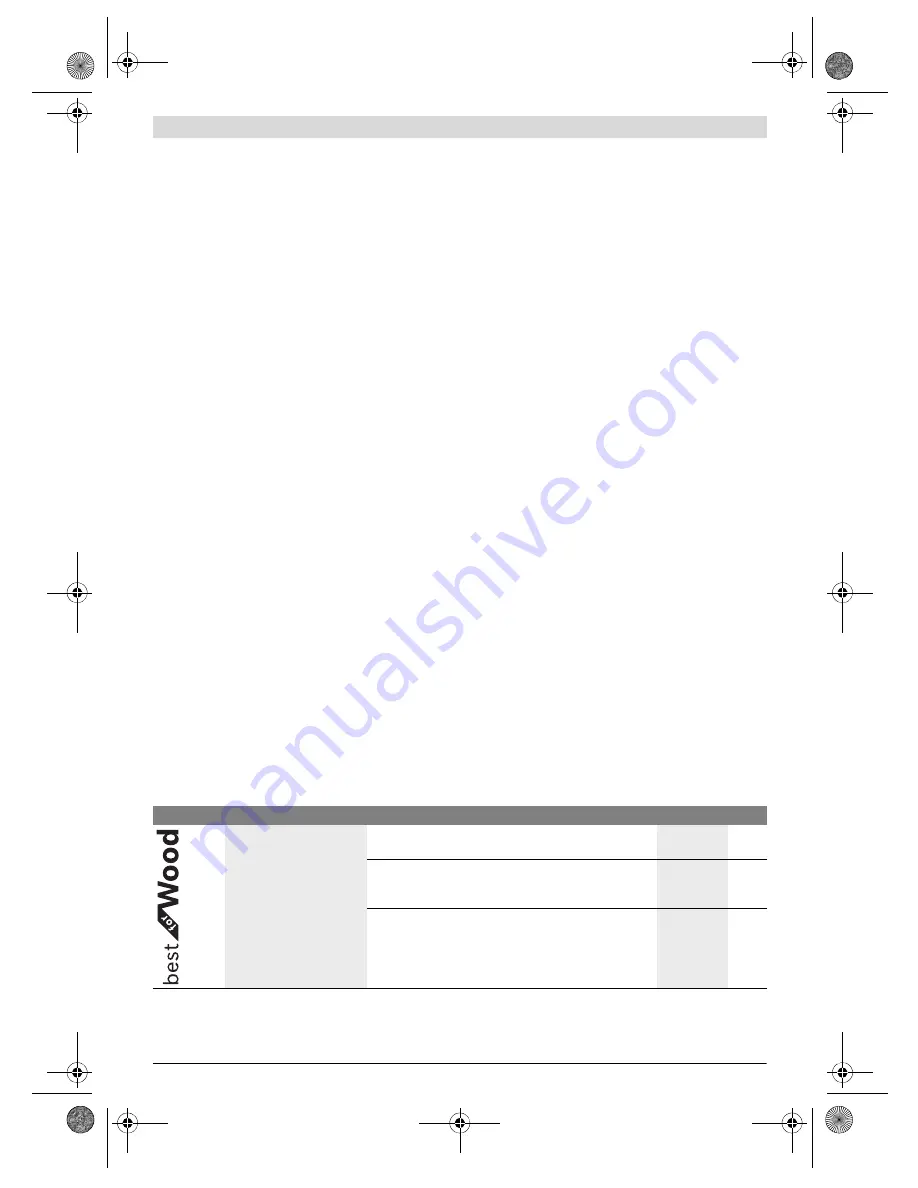
Selecting the Sanding Sheet
Depending on the material to be worked and the required rate of material removal, different sanding sheets are available:
Sanding disc Material
Application
Grain size
– All wooden materials
(e.g., hardwood, soft-
wood, chipboard, build-
ing board)
– Metal materials
For coarse-sanding, e.g. of rough, unplaned beams and
boards
coarse
40
60
For face sanding and planing small irregularities
medium
80
100
120
For finish and fine sanding of wood
fine
180
240
320
400
OBJ_BUCH-2788-001.book Page 12 Thursday, January 14, 2016 3:19 PM