English |
25
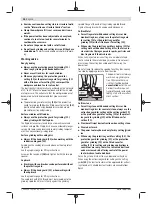
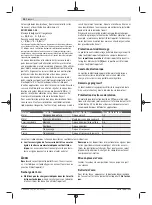
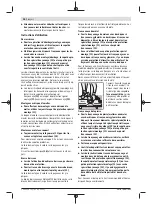
Quick-clamping nuts
(19)
that are properly secured
and not damaged can be re-
moved by hand. To do this,
fold up the bar and turn the
quick-clamping nut firmly
anticlockwise. If the quick-
clamping nut is stuck, do
not attempt to loosen it with
a tool – always use a two-
pin spanner.
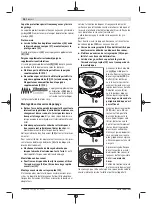
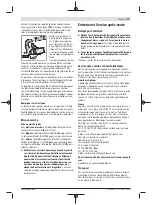
After fitting the hub flange
and the grinding/cutting
disc, the free thread length
of the grinding spindle must
be
at least 4 mm
.
Ensure that the abrasive
tool is firmly seated, so that
it does not twist away from
the spindle in the runout of the power tool.
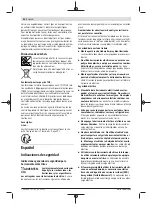
A plastic part (O-ring) is fitted around the cent-
ring collar in the hub flange
(14)
.
If the O-ring
is missing or damaged,
the hub flange
(14)
must be replaced before operation can re-
sume.
u
After fitting the abrasive tool, check that the abrasive
tool is fitted correctly and can turn freely before
switching on the power tool. Make sure that the abras-
ive tool does not brush against the protective guard or
other parts.
Assembly with Clamping Nut
(18)
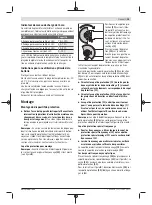
Pay attention to the dimensions of the grinding tools. The
mounting hole diameter must fit the mounting flange without
play. Do not use reducers or adapters.
When using diamond cutting discs, pay attention that the
direction-of-rotation arrow on the diamond cutting disc and
the direction of rotation of the machine (see direction-of-ro-
tation arrow on the machine head) agree.
See graphics page for the mounting sequence.
To fasten the grinding/cutting disc, screw on the clamping
nut
(18)
and tighten with the two-hole spanner.
u
After fitting the abrasive tool, check that the abrasive
tool is fitted correctly and can turn freely before
switching on the power tool. Make sure that the abras-
ive tool does not brush against the protective guard or
other parts.
Mounting flange for grinding spindle M 14:
A plastic part (O-ring) is fitted around the cent-
ring collar in the mounting flange
(14)
.
If the
O-ring is missing or damaged,
the mounting
flange
(14)
must be replaced before operation
can resume.
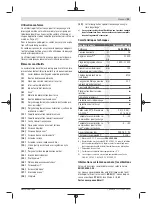
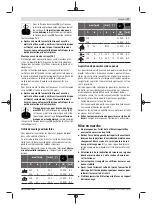
Approved abrasive tools
You can use all the abrasive tools mentioned in these operat-
ing instructions.
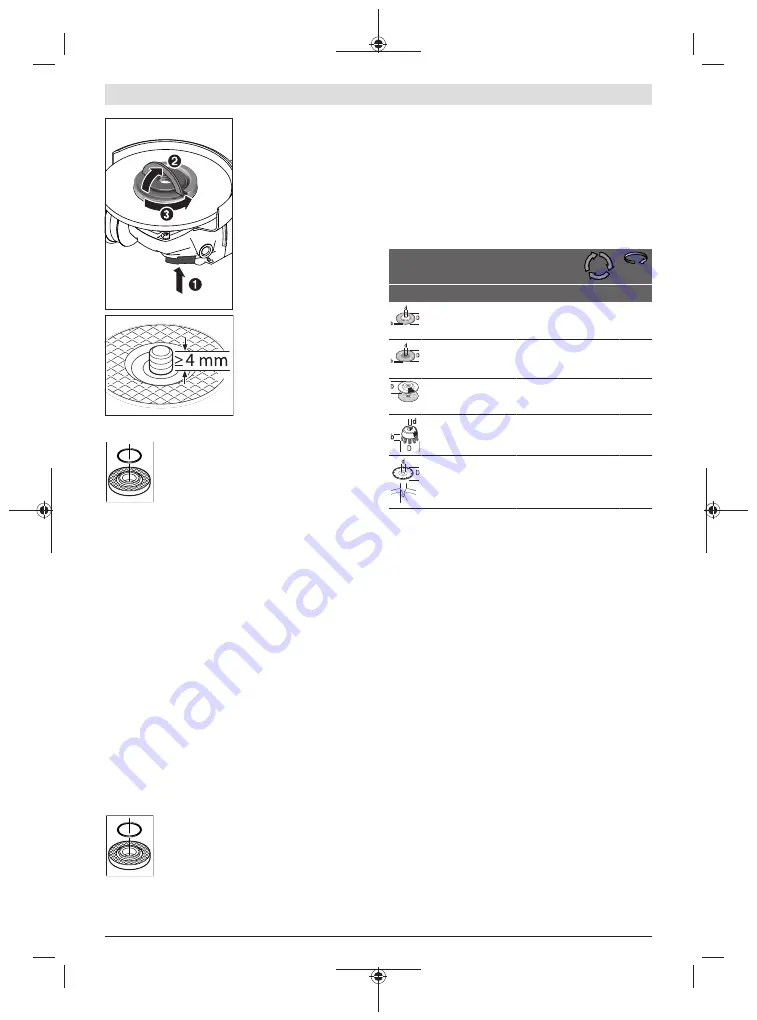
The permissible speed [min
-1
] or the circumferential speed
[m/s] of the abrasive tools used must at least match the val-
ues given in the table.
It is therefore important to observe the permissible
rota-
tional/circumferential speed
on the label of the abrasive
tool.
Max. [mm]
[mm]
[°]
D
b
s
d
α
[min
-1
] [m/s]
115
125
6
6
–
–
22.2
22.2
–
–
11,500
11,500
80
80
115
125
3.2
3.2
–
–
22.2
22.2
–
–
11,500
11,500
80
80
115
125
–
–
–
–
–
–
–
–
11,500
11,500
80
80
75
30
–
M 14
–
11,500
45
α
s
115
125
6
6
10
10
22.2
22.2
> 0
> 0
11,500
11,500
80
80
Dust/Chip Extraction
Dust from materials such as lead-containing coatings, some
wood types, minerals and metal can be harmful to one’s
health. Touching or breathing-in the dust can cause allergic
reactions and/or lead to respiratory infections of the user or
bystanders.
Certain dust, such as oak or beech dust, is considered carci-
nogenic, especially in connection with wood-treatment ad-
ditives (chromate, wood preservative). Materials containing
asbestos may only be worked by specialists.
– Provide for good ventilation of the working place.
– It is recommended to wear a P2 filter-class respirator.
Observe the relevant regulations in your country for the ma-
terials to be worked.
u
Avoid dust accumulation at the workplace.
Dust can
easily ignite.
Operation
u
Do not load the power tool so heavily that it comes to a
stop.
u
Remove the battery from the power tool before carry-
ing out work on the power tool (e.g. maintenance,
changing tool, etc.). The battery should also be re-
moved for transport and storage.
There is risk of injury
from unintentionally pressing the on/off switch.
Bosch Power Tools
1 609 92A 75F | (15.02.2022)


