7.3 Switching on AIRSKIN®
Pay attention to safety instructions!
You must only switch on the robot on which the AIRSKIN® System is installed if you
have observed the preceding instructions. Please also refer to the safety instructions in
7.3.1 Preparing to switch on
Check that AIRSKIN® is in its proper state:
• Is any cable visible on the outside or hanging loose?
• Is the AIRSKIN® Pad mounted firmly and correctly on the AIRSKIN® Safetyflange?
• The connection hoses on any companion pads show no kinks or bruises.
• Is the connection cable between AIRSKIN® on the robot and the AIRSKIN® Connection Box firmly plugged
into the AIRSKIN® Connection Box?
• Is the AIRSKIN® Connection Box correctly connected to the controller?
• If the AIRSKIN® Connection Box is supplied with
+
24 V DC
by the controller, this connection must be checked
too.
• If the AIRSKIN® Connection Box is supplied with
+
24 V DC
by its own source of supply, this connection and
potential equalization with the controller must also be checked.
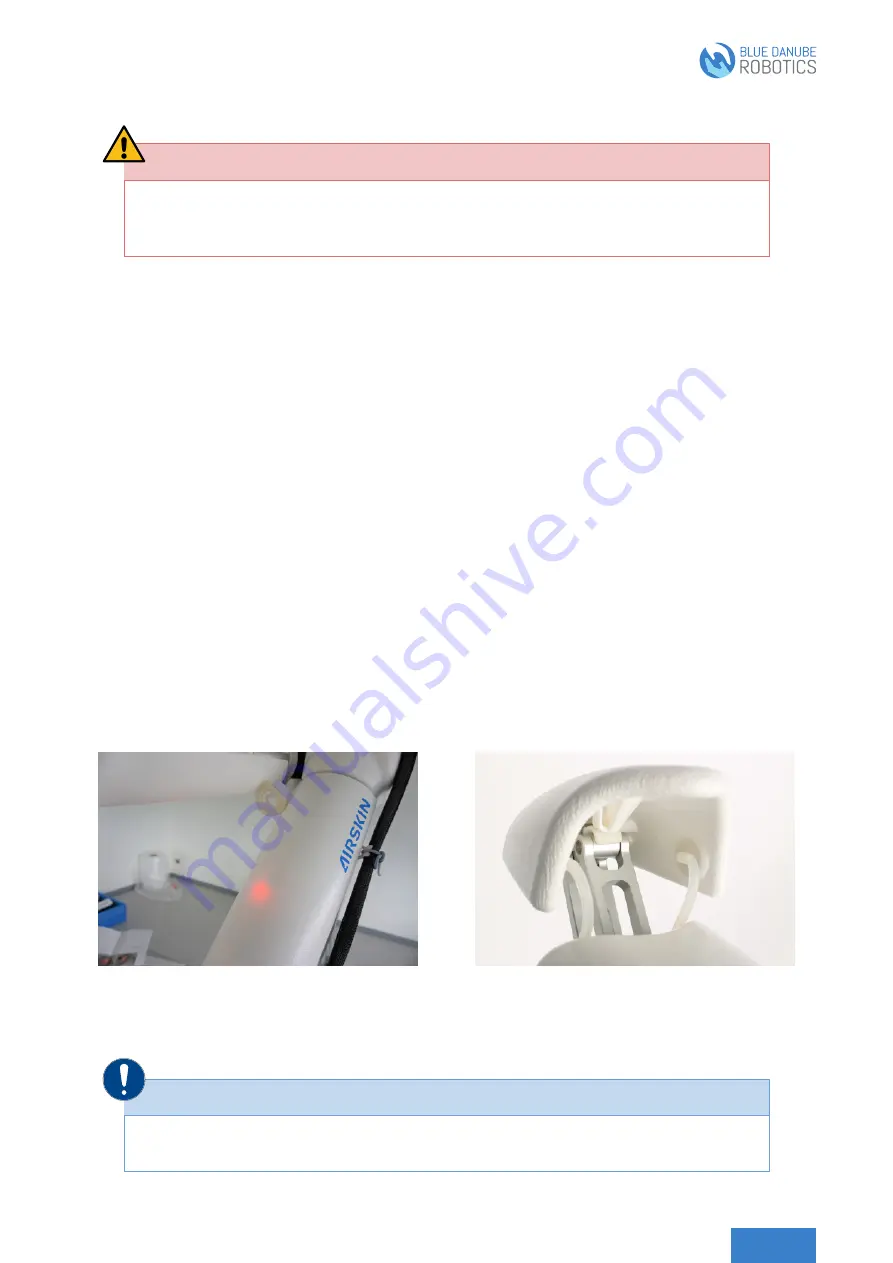
• Before switching on AIRSKIN® or the robot, ensure that no AIRSKIN® Pad is already pressed and that the
AIRSKIN® Safetyflange is in its rest position.
• Ensure that the emergency stop button can be operated easily, quickly and safely from any operating station
on the machine.
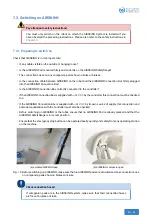
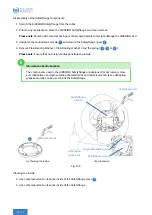
(a) actuated AIRSKIN® pad
(b) AIRSKIN® companion pad
Fig. 7.2: Before switching on AIRSKIN®, make sure that no AIRSKIN® pads are actuated and any connection hose
on companion pads show no bruises or kinks.
Check connection hoses!
If companion pads are in the AIRSKIN® system, make sure that their connection hoses
are free of bruises or kinks.


