background image

1.  Read this first

The contents of this manual are subject to change without 
notice. Lodam electronics holds the copyright to this user’s 
manual. The user shall follow any instructions given in this 
user manual entirely and not only partly. Any non-follow-
ing of this user manual result in exclusion of all warranties, 
guarantees, and liabilities. Copyright© 2014 by Lodam 
electronics a/s. All Rights Reserved.

Disposing of the parts of the controller:

INFORMATION FOR USERS ON THE  
CORRECT HANDLING OF WASTE ELECTRI-
CAL AND ELECTRONIC EQUIPMENT (WEEE)

In reference to European Union directive 2002/96/
EC issued on 27 January 2003 and the related national 
legislation, please note that:

1.  WEEE cannot be disposed of as municipal waste and 

such waste must be collected and disposed of sepa-
rately;

2.  The public or private waste collection systems defined 

by local legislation must be used. In addition, the equip-
ment can be returned to the distributor at the end of its 
working life when buying new 
equipment;

3.  The equipment may contain hazardous substances: 

the improper use or incorrect disposal of such may 
have negative effects on human health and on the 
environment;

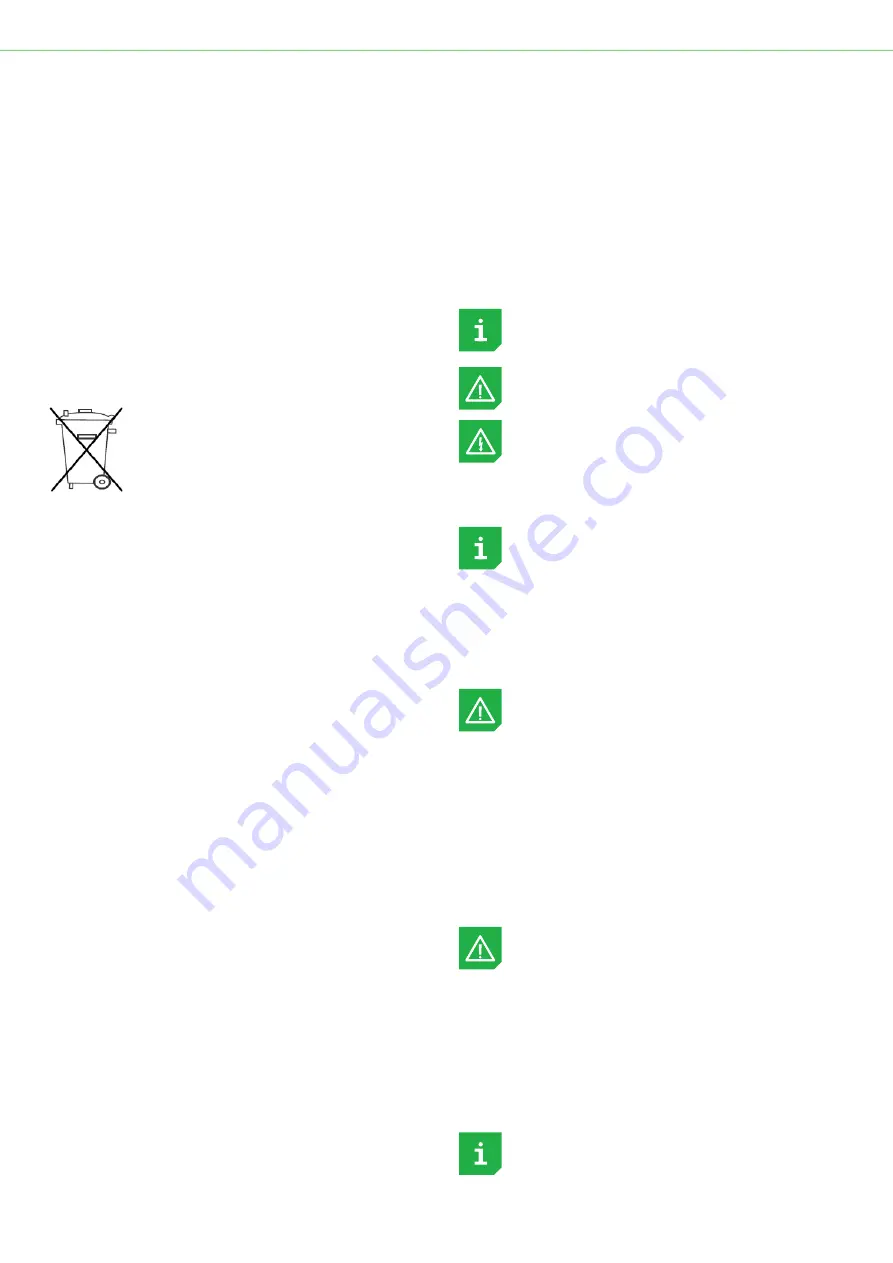
4.  The symbol (crossed-out wheeled bin) shown on the 

product or on the packaging and on the instruction 
sheet indicates that the equipment has been intro-
duced onto the market after 13 August 2005 and that it 
must be disposed of separately;

5.  In the event of illegal disposal of electrical and elec-

tronic waste, the penalties are specified by local waste 
disposal legislation.

1.1.  Reading instructions

The following symbols are used to draw the reader’s 
attention to different warning levels.

Important information.

Danger!! General danger.

Danger of electrical current or voltage.

1.2.  User manual

Before installation the user should be thoroughly 
familiarized with this user manual, especially with 
purposes, installation and operation.

Special care should be taken when installing and connect-
ing external equipment (high voltage etc.) and handling 
the modules correctly according to protection against ESD.

Installation of the OLC-D1/OLC-K1 must be 
performed by authorized personnel only. All valid 
national legislations regarding electrical installa-

tions must be observed.

All warranties are excluded in case installation is per-
formed by unauthorized personnel or in case the OLC-D1/
OLC-K1 has not been correctly installed.

1.3.  Safety

The OLC-D1/OLC-K1 is a protection device and not 
a safety component according to the Machinery 
Directive and cannot be used in “medical” or “life 

support” equipment.

Before plant commissioning the service technician shall 
ensure that personal safety requirements are met in 
conformity with the Machinery Directive on the basis of 
safety estimations.

Electrical plant failures are to be immediately 
solved, even though no immediate danger exists; 
the OLC-D1/OLC-K1 must be without power.

Page 4

Summary of Contents for Lodam OLC-D1

Page 1: ...Lodam Optical Level Controlling Devices Technical manual Version 3 0 OLC D1 OLC K1 ...

Page 2: ...tion use 7 5 1 Oil level monitoring on a compressor direct start 7 5 2 Oil level monitoring on a compressor part winding 8 5 3 Legend for the schematic diagrams 9 5 4 Connections 9 6 Technical data 10 7 Drawings 11 7 1 OLC D1 11 7 2 OLC K1 12 8 Standards 13 8 1 The product is designed according to the following standards 13 8 2 The product is tested according to the following standards 13 9 Troulb...

Page 3: ...Technical manual OLC D1 OLC K1 Page 3 ...

Page 4: ...er 13 August 2005 and that it must be disposed of separately 5 In the event of illegal disposal of electrical and elec tronic waste the penalties are specified by local waste disposal legislation 1 1 Reading instructions The following symbols are used to draw the reader s attention to different warning levels Important information Danger General danger Danger of electrical current or voltage 1 2 U...

Page 5: ... K1 is used in the safety chain for the compressor and will open and lock out in case of a failure OLC D1 is meant for keeping a specified level in a vessel by turning the relay on and off 3 Definitions Product range Definitions ESD Electro Static Discharge HW Hardware electronics OLC Optical Level Controller NC Normally Closed relay NO Normally Open relay Technical manual OLC D1 OLC K1 Page 5 ...

Page 6: ...and thereby oil levels need to be monitored OLC K1 is for compressor use and locks out if oil level is not sufficient after 90 seconds of compressor operation 4 3 Level monitoring in vessels The OLC D1 is meant for level monitoring in vessels and does not have the operation recognition input needed for compressor operation The OLC D1 releases the relay if the level is too low and activates the rel...

Page 7: ...1 M3 R1 3 F3 4A 0 1 S1 L 1 2 11 B1 B2 SE B1 SE B2 SE B3 SE B4 N 12 14 OLC D1 OLC K1 R7 option 4 3 H1 F13 3 C NC D1 NO N H2 K1 10 P F5 P F6 B1 K2T 12 K1 3 3 3 11 12 13 F4 K1 10 K1 10 K2T R8 F12 Please see details regarding connection inside the terminal box Grey Violet Blue Only OLC K1 0 1 S2 Brown L Pink Orange Reset 4A 10 Technical manual OLC D1 OLC K1 Page 7 ...

Page 8: ...4 R7 option H1 K1 3 3 3 12 15 16 18 19 K1 10 K2 14 K1 10 K1 10 ϑ B2 Y2 Y3 K2T R8 F12 4A 10 Please see details regarding connection inside the terminal box Option K2 14 F14 10 2W1 2U1 2V1 K1T 5 5 5 17 14 max 0 5 sec 0 1 S1 S2 Reset OLC D1 OLC K1 H2 K1 10 Grey Violet Blue Brown Pink Orange S3 Reset P F5 P F6 K2T 18 F13 3 F14 5 ϑ B1 K2 K1T 11 K1 10 Y1 K2 14 Option Option 300 sec 15 D1 Only OLC K1 F4 ...

Page 9: ...upply fault K1 K2 Motor contactors PW1 PW2 K1T K2T Time relays part winding pause time M1 Compressor Q1 Main switch R1 3 R1 R6 PTC sensors in motor windings R7 PTC sensor in cylinder head discharge gas tempera ture sensor option R8 Crank case heater option S1 S2 S3 Control switch Y1 Solenoid valve start unloading option Y2 Solenoid valve liquid line Y3 Solenoid valve capacity regulation option Vie...

Page 10: ...C Relative humidity Max 95 RH non condensing Circuit board is coated Relay Switch voltage 240 VAC min 24 VAC Continuous current max 2 5A min 20mA Switching capacity 300 VA C300 pilot type use according to UL508 Fuse required Max 4A fast blow Enclosure class Housing IP54 cable outlet pointing downwards Mounting of the detection circuit Screw mounted M24 Max tightening torque 10 Nm by hand only Rese...

Page 11: ...7 Drawings 7 1 OLC D1 83 0 1 0 6 39 0 1 0 4 83 0 to 87 0 5 57 5 2 0 3 2050 50 2 7 5 0 5 0 1 Ø29 Screw on Cap M24x1 Internal thread 8 55 5 1 0 7 LED Technical manual OLC D1 OLC K1 Page 11 ...

Page 12: ...7 2 OLC K1 83 0 1 0 6 39 0 1 0 4 83 0 to 87 0 5 7 5 5 1 57 5 2 0 3 950 50 2 Ø29 Screw on Cap M24x1 Internal thread 8 55 5 1 0 7 LED Page 12 ...

Page 13: ...E348183 CE marked 9 Troulbe shooting Check if there is power to the unit according to specifica tion If the power is ok Turn off the power for 5 seconds and see if the relay is energized after power on again If not turn off all the power to avoid risk of injury 9 1 Check the LED on the OLC ED Off Oil level good no failures LED On Oil level low there could be a leak or the oil is somewhere else in ...

Page 14: ...10 Index A Application use 7 C Connections 9 D Definitions 5 Drawings 11 F Functions 6 L Legend 9 S Safety 4 Standards 13 T Technical data 10 Troulbe shooting 13 Page 14 ...

Page 15: ...11 Notes Technical manual OLC D1 OLC K1 Page 15 ...

Page 16: ...oundaries to bring you the most innovative and forward thinking solutions As part of the BITZER Group we are backed by one of the world s leading players in the refrigeration and air conditioning industry This alliance provides us with extensive network and application knowhow and allows us to stay at the forefront of climate control innovation And to help ensure comfortable surroundings for human...

Reviews: