Setting Up
3.3
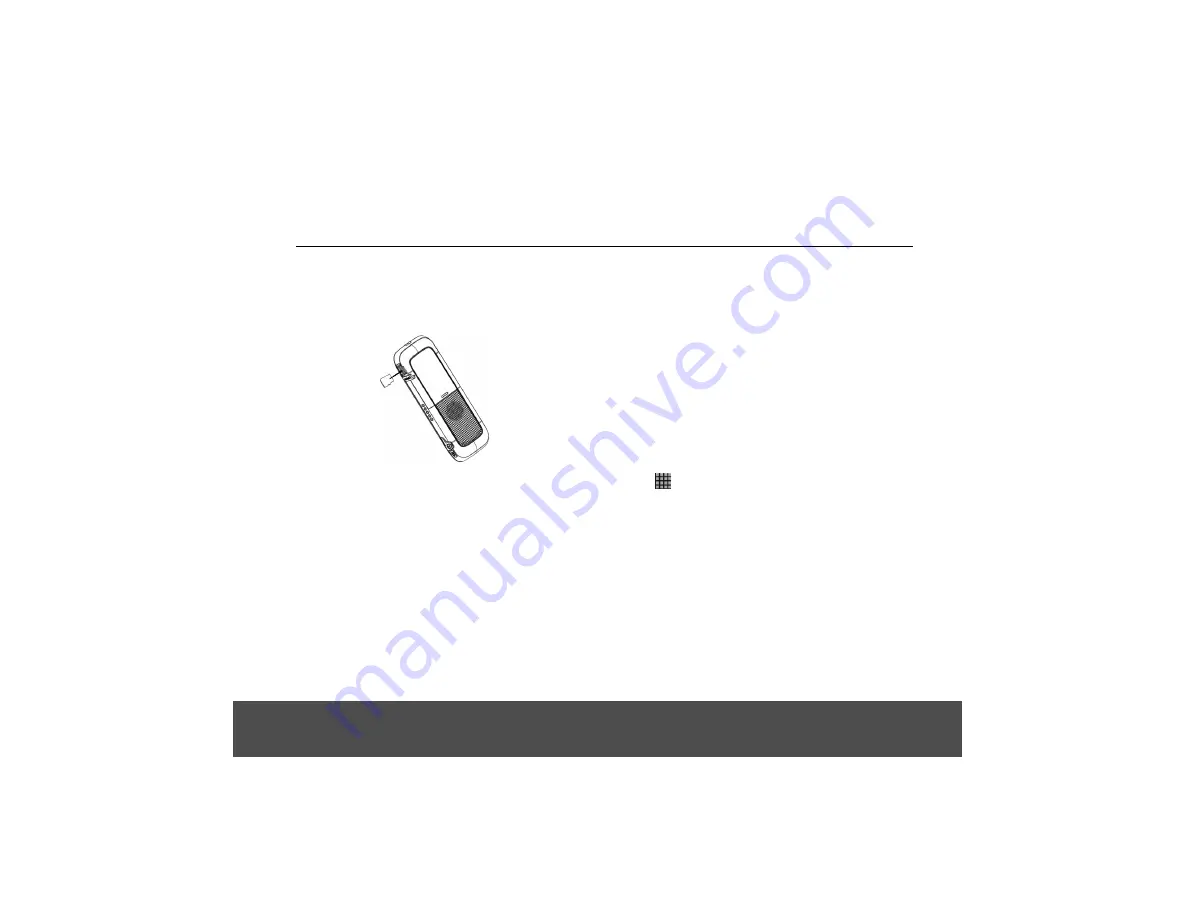
Insert and Mount the Memory Card
Your parent unit supports micro SD cards, of up to 32GB.
You can store music, pictures, files and applications on a
memory card and access them on the parent unit.
Insert the memory card by pushing the card firmly into the
slot with the metal contacts facing down, and in the
direction as indicated in the handset picture above.
• The parent unit will prepare the SD card for
mounting and perform media scanning.
If the SD card fails to mount on the parent unit, press
H
and tap
Settings
>
Storage
>
SD Card Settings
>
Mount SD card
.
3.4
Unmount and Remove the Memory
Card
If the parent unit is powered off
Push the card gently inwards to eject the memory card.
If the parent unit is powered on
1. Press
H
and tap
Settings
>
Storage
>
SD Card
Settings
>
Unmount SD card
.
2. Remove the SD card by pushing the card gently
inwards to eject it.
3.5
Switch On Your Buddy Parent
Unit
1. Press and hold
L
on the side panel of the parent
unit until the LCD screen starts to display the logo.
• It takes about one minute for the parent unit to
power up completely.
• The home screen is displayed.
2. The home screen provides access to all the features
on your parent unit. It displays application icons,
widgets, shortcuts, and other features. You can also
customi e the home screen with different wallpaper
and display the items you want (see “Display
Settings” on page 13).
at the bottom of the
screen to view all installed applications.
Note
If your parent unit battery is totally flat, it may take a while
to charge before you can power it up.
3.6
Switch Off Your Buddy Parent
Unit
1. Press and hold
L
on the side panel of the parent
unit to activate the
Device Options
menu.
2. Tap to select
Power off
.
3. Tap
OK
to confirm or press
B
or
Cancel
to cancel.
s
(Remark: No SD card is attached)
8


