MODENA TV UNIT ASSEMBLY INSTRUCTIONS
Thank you for purchasing the
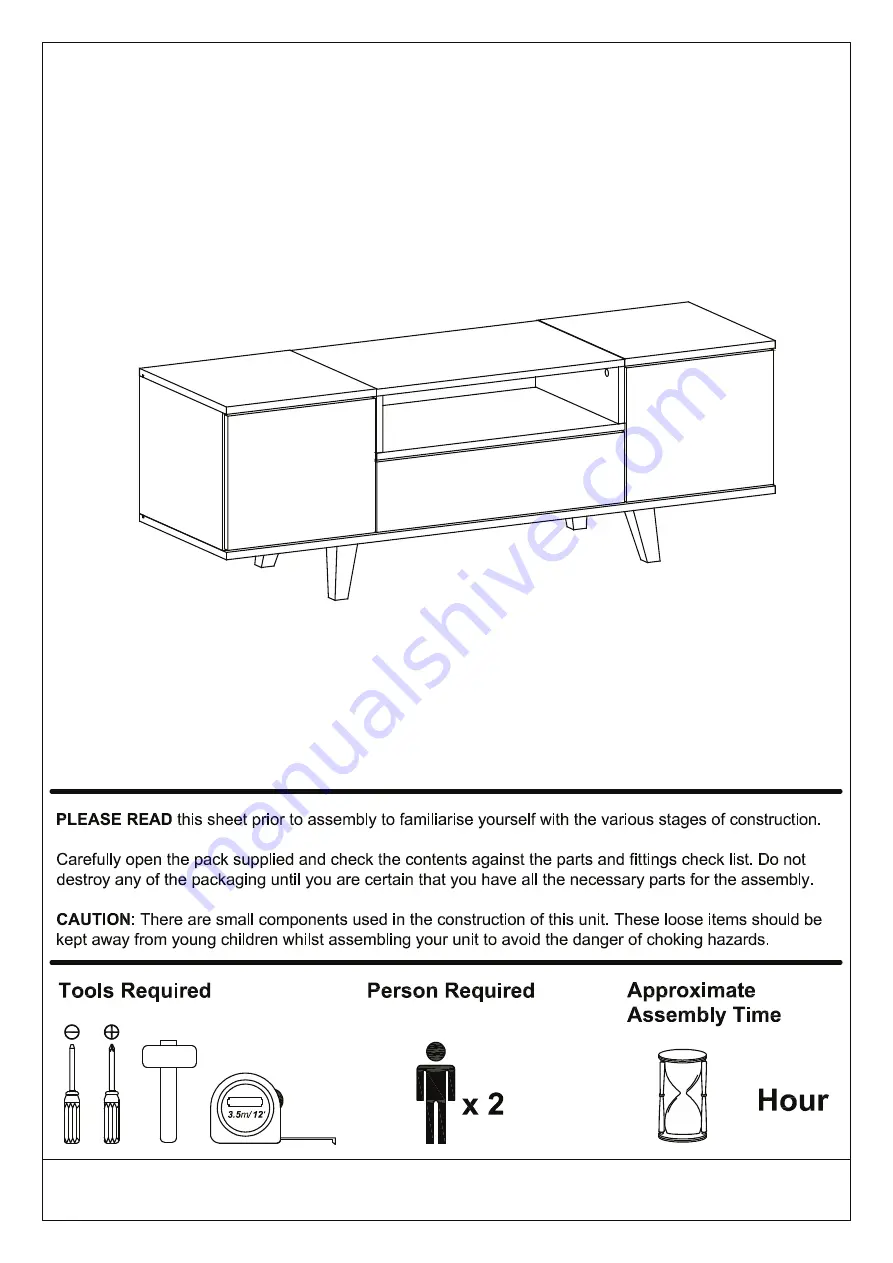
TV UNIT.
Please read the instructions carefully to ensure safe operation of the product.
Page
Batch No : PO# 3490
Colour : Melamine Grey
Size:
(W)
0
0
3
1
x (D) 5
9
3
x (H)450mm
Page
1 of 14
V1 3/19
1/2
1


