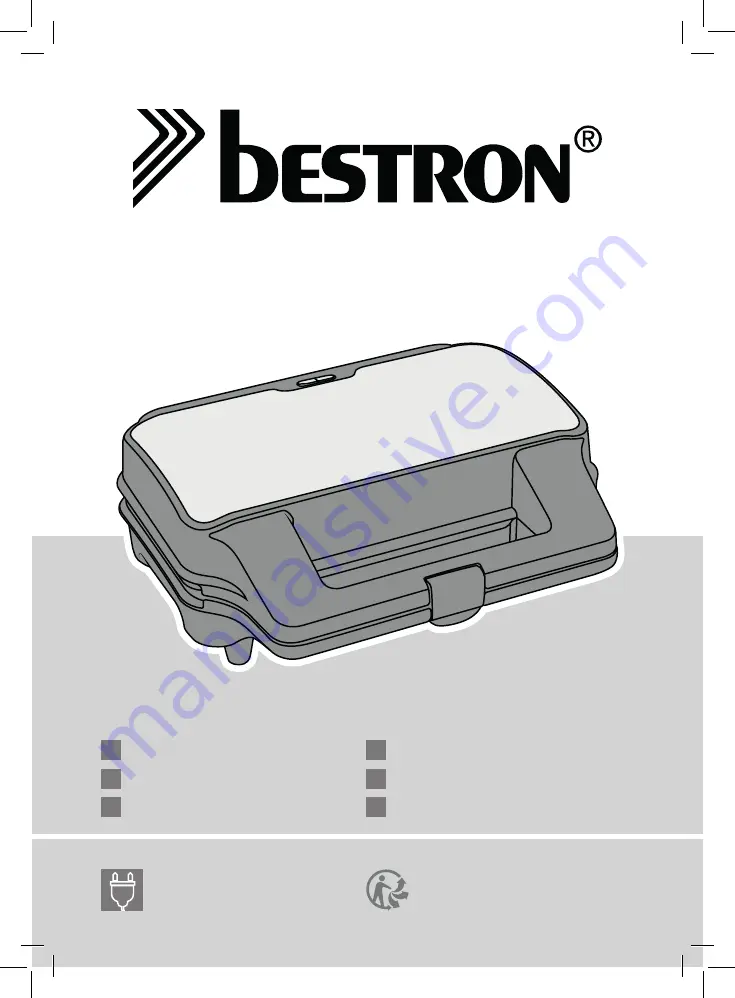
background image

ASG90XXL

 v170815-0

3

NL

Handleiding contactgril 3-in-1

DE

Gebrauchsanweisung Kontaktgrill 3-in-1

FR

Mode d'emploi grill de contact 3-in-1

EN

Instruction manual contact grill 3-in-1

IT

Istruzioni per l'uso grill a contatto 3-en-1

ES

Manual del usuario grill de contacto 3-en-1

900W, 220-240v ~50/60Hz

Summary of Contents for FUNCOOKING ASG90XXL

Page 1: ...3 in 1 DE Gebrauchsanweisung Kontaktgrill 3 in 1 FR Mode d emploi grill de contact 3 in 1 EN Instruction manual contact grill 3 in 1 IT Istruzioni per l uso grill a contatto 3 en 1 ES Manual del usuario grill de contacto 3 en 1 900W 220 240v 50 60Hz ...

Page 2: ...typeplaatje van het apparaat voordat u het apparaat gebruikt Controleer of het stopcontact waarop u het apparaat aansluit geaard is Haal altijd de stekker uit het stopcontact wanneer u het apparaat niet gebruikt Als u de stekker uit het stopcontact neemt trek dan aan de stekker zelf niet aan het snoer Controleer regelmatig of het snoer van het apparaat nog intact is Gebruik het apparaat niet als h...

Page 3: ...d of nog warm is Schakel het apparaat eerst uit Gebruik geen scherpe voorwerpen op de bakplaat Deze beschadigen de antiaanbaklaag Tijdens gebruik worden delen van het apparaat heet Gebruik daarom altijd de handgreep om het deksel te openen en te sluiten Gebruik het apparaat niet in de nabijheid van een vogelkooi Bij het verwarmen van de anti aanbaklaag op de bakplaten kan een stof vrijkomen die hi...

Page 4: ...Neem een andere bakplaat 5 Plaats de lange uitsparing van de bakplaat in de uitsparing onder het scharnier zie figuur 2B en druk de bakplaat aan de andere zijde voorzichtig aan totdat deze vastklikt in de twee uitsparingen zie figuur 2C 6 Herhaal stappen 3 t m 5 voor de tweede bakplaat Werking Tosti s 1 Plaats de bakplaten voor tosti s in het apparaat zie Verwisselen van bakplaten 2 Sluit het appa...

Page 5: ... etenswaren zijn heet Het eten is heet Gebruik nooit een metalen spatel mes of vork Deze beschadigen de anti aanbaklaag Reiniging en onderhoud Reinig de bakplaten na elk gebruik 1 Neem de stekker uit het stopcontact en laat het apparaat volledig afkoelen 2 Reinig de bakplaten met een zachte doek of een plastic afwasborstel in warm water met afwasmiddel Droog de bakplaten grondig af De bakplaten zi...

Page 6: ...escherming 7 Op deze garantiebepalingen zal geen aanspraak gemaakt kunnen worden bij a verliezen die zich tijdens het transport voordoen b het verwijderen of wijzigen van het serienummer van het apparaat 8 Uitgezonderd van garantie zijn snoeren lampen en glazen onderdelen 9 De garantie geeft geen enkel recht op vergoeding van eventuele schade buiten de vervanging respectievelijk reparatie van de d...

Page 7: ...en heiß werden Um Verbrennungen zu vermeiden sollten Sie diese nicht berühren Bevor Sie das Gerät verwenden prüfen Sie ob die Netzspannung mit der auf dem Typenschild des Geräts angegebenen Stromstärke übereinstimmt Kontrollieren Sie ob die Steckdose an die Sie das Gerät anschließen geerdet ist Ziehen Sie immer den Stecker aus der Steckdose wenn Sie das Gerät nicht benutzen Ziehen Sie beim Entfern...

Page 8: ...das Gerät reinigen oder es nicht mehr benutzen Lassen Sie das Gerät bei der Benutzung niemals unbeaufsichtigt Verschieben Sie das Gerät keinesfalls in eingeschaltetem Zustand oder wenn es noch warm ist Schalten Sie das Gerät immer zuerst aus Verwenden Sie für die Backbleche keine scharfen Gegenstände Diese beschädigen die Antihaftschicht Teile des Geräts können während der Benutzung heiß werden Ve...

Page 9: ...siehe Abbildung 2A 4 Wählen Sie ein andere Backplatte 5 Setzen Sie die Ränder der Backplatte in die Aussparungen an der Innenseite des Geräts ein siehe Abbildung 2B Drücken Sie die Backplatte vorsichtig an bis diese einrastet siehe Abbildung 2C 6 Wiederholen Sie Schritt 3 bis 5 für die zweite Backplatte funktion Toasts 1 Setzen Sie die Toastplatten in das Gerät ein siehe Auswechselen den Backplatt...

Page 10: ...6 Legen Sie das Grillgut auf die Backplatte 7 Schließen Sie das Geräts 8 Grillen Sie das Grillgut bis dieses gar ist Das Grillgut muss nicht umgedreht werden 9 Öffnen Sie das Gerät nehmen Sie das Grillgut von der Backplatte und legen Sie es auf einen Teller Das Grillgut ist heiß Verwenden Sie nie Metallspatel Messer oder Gabeln Diese beschädigen die Antihaftschicht Reinigung und Wartung Reinigen S...

Page 11: ...gen Transport ohne geeignete Verpackung bzw ohne geeigneten Schutz 7 Auf diese Garantiebestimmungen kann kein Anspruch erhoben werden im Falle von a Verlusten die während des Transports auftreten b Entfernung oder Änderung der Geräteseriennummer 8 Ausgenommen von der Garantie sind Kabel Lampen und Glasteile 9 Außer einem Ersatz bzw einer Reparatur der schadhaften Teile räumt die Garantie kein Rech...

Page 12: ... du réseau indiquée sur la plaquette type de l appareil Assurez vous que la prise sur laquelle vous branchez l appareil est raccordée à la terre Débranchez toujours l appareil lorsque vous ne l utilisez pas Lorsque vous débranchez la fiche saisissez la fiche elle même ne tirez pas sur le cordon Vérifiez régulièrement que le cordon de l appareil est intact N utilisez pas l appareil si vous constate...

Page 13: ...l appareil trop près d une source de volière Lorsque les plaques de cuisson s échauffent leur revêtement antiadhésif peut dégager une substance nocive pour les oiseaux Si l appareil est tombé à l eau ne le rattrapez pas Débranchez immédiatement la fiche Cessez d utiliser l appareil La ventilation doit toujours être suffisante pendant que l appareil est en marche Nettoyez soigneusement l appareil a...

Page 14: ...nt 2 Ouvrez l appareil 3 Appuyer les boutons noir près de la poignée pour pouvoir retirer la plaque de cuisson voir la figure 2A 4 Choisissez une autre plaque 5 Placez les languettes de la plaque dans les encoches à l intérieur de l appareil voir la figure 2B Enfoncez doucement la plaque jusqu au déclic voir la figure 2C 6 Répétez les étapes 3 à 5 pour la deuxième plaque Fonctionnement Croque mons...

Page 15: ...llume 4 Laissez l appareil préchauffer L appareil est prêt à être utilisé lorsque la lampe témoin prête à employer vert s éteint 5 Ouvrez l appareil et huilez légèrement les plaques de cuisson quand vous le souhaitez 6 Posez les aliments sur la plaque de cuisson 7 Refermez l appareil 8 Grillez les aliments jusqu à ce qu ils soient prêts Vous n avez pas besoin de retournez les aliments pendant la c...

Page 16: ...mballage appropriés 7 Les présentes conditions de garantie ne peuvent pas être invoquées dans les cas suivants a pertes survenues pendant le transport b effacement ou modification du numéro de série de l appareil 8 Les cordons ampoules et pièces en verre ne sont pas couverts par la garantie 9 La garantie ne donne aucun droit d indemnisation pour des dommages éventuels autres que le remplacement ou...

Page 17: ...ce before use Make sure that you always use an earthed wall socket to connect the appliance Always remove the plug from the socket when the appliance is not in use Remove the plug from the wall socket by pulling the plug not the power cord Check the appliance s power cord regularly to make sure it is not damaged Do not use the appliance if the power cord is damaged If the power cable is damaged it...

Page 18: ...m the non stick coating when the baking plates are hot can cause stress to birds Do not touch the appliance if it has fallen into water Remove the plug from the wall socket immediately Do not use the appliance any more Make sure that the appliance has sufficient ventilation whilst in use Clean the appliance thoroughly after use see Cleaning and maintenance Never immerse the appliance the cord or t...

Page 19: ... 5 Place the long recess of the baking plate in the opening under the hinge of the appliance see figure 2B Carefully push the baking plate down until it clicks into place see figure 2C 6 Repeat steps 3 to 5 for the second baking plate operation Toasted sandwiches 1 Place the baking plate for toasted sandwiches in the appliance see Changing the baking plates 2 Close the appliance 3 Insert the plug ...

Page 20: ...the plug from the wall socket and allow the appliance to cool down completely 2 The baking plates can be cleaned with hot water and washing up liquid use a soft cloth or a plastic washing up brush Dry the baking plates thoroughly The baking plates are dishwasherproof 3 Clean the appliance with a damp cloth and then dry it thoroughly 4 Store the appliance and the baking plates The appliance can be ...

Page 21: ...es resulting either directly or indirectly from the appliance supplied by the importer 10 In case of claims under guarantee you can contact your dealer where the appliance is purchased Bestron offers you also the possibility to send the appliance directly to our Service Department Do not send your appliance without consulting us The package may be refused and any any costs will be for your account...

Page 22: ...tiva dell apparecchio Verificare che la presa cui si collega l apparecchio sia provvista di messa a terra Disinserire sempre la spina dalla presa quando l apparecchio non è in uso Quando si toglie la spina dalla presa esercitare la trazione sulla spina stessa e non sul cavo Verificare regolarmente l integrità del cavo dell apparecchio Non utilizzare l apparecchio qualora il cavo risultasse dannegg...

Page 23: ... prossimità di gabbie in cui sono contenuti uccelli Durante il riscaldamento dello strato antiaderente delle piastre di cottura può sprigionarsi una sostanza nociva per i volatili Non tentare di recuperare l apparecchio qualora esso sia caduto in acqua In tal caso estrarre subito la spina dalla presa e non utilizzare più l apparecchio Predisporre una ventilazione adeguata durante l uso dell appare...

Page 24: ...scorrere il dispositivo di bloccaggio nero presente sul manico per rimuovere la piastra di cottura vedere la fig 2A 4 Prendere un altra piastra di cottura 5 Inserire i fermi sporgenti 2B presenti della piastra di cottura negli appositi spazi che si trovano all interno dell apparecchio Premere con cautela la piastra di cottura per bloccarla in sede fino ad udire uno scatto 2C 6 Ripetere le istruzio...

Page 25: ...atura desiderata è stata raggiunta 5 Aprire l apparecchio e ungere le piastre di cottura con una leggera quantità di olio 6 Posizionare i cibi sulla piastra di cottura 7 Chiudere l apparecchio 8 Grigliare i cibi fino a quando non sono cotti Non è necessario girare i cibi 9 Aprire l apparecchio togliere i cibi dalla piastra di cottura e metterli in un piatto Ricordare che i cibi scottano Non utiliz...

Page 26: ...eseguito in modo improprio privo dell imballaggio o delle protezioni idonee 7 Le presenti condizioni di garanzia non si applicano inoltre in caso di a perdite che si verificano durante il trasporto b rimozione o modifica del numero di serie dell apparecchio 8 Sono esclusi dalla garanzia i cavi le spie luminose le lampade e i componenti in vetro 9 La garanzia non riconosce alcun diritto al risarcim...

Page 27: ...l aparato tenga conexión a tierra Retire siempre el enchufe de la toma de alimentación cuando no esté utilizando el aparato Al retirar el enchufe de la toma de pared asegúrese de tirar del enchufe y no del cable Verifique regularmente que el cable del aparato esté en buenas condiciones No utilice el aparato si el cable está averiado Si el cable de alimentación está dañado debe reemplazarse por el ...

Page 28: ...pa antiadherente la placa de asado puede desprender una sustancia que afecta a los pájaros No recoja el aparato si ha caído al agua Retire inmediatamente el enchufe de la toma de corriente No vuelva a utilizar el aparato Procure que haya suficiente ventilación mientras está usando del aparato Limpie muy bien el aparato después de usarlo véase el capítulo Limpieza y mantenimiento No sumerja nunca e...

Page 29: ...parato se enfríe completamente 2 Abrir del aparato 3 Deslice hacia un lado el botón negro que viene en la empuñadura para retirar la plancha de asado véase la figura 2A 4 Tome otra plancha de asado 5 Coloque las pestañas de la plancha de asado en los orificios que vienen en la parte interior del aparato véase la figura 2B Ejerza una leve presión sobre la plancha de asado para fijarla hasta que esc...

Page 30: ...n 4 Cuando el piloto indicador de la preparación se apaga se ha alcanzado la temperatura deseada 5 Abrir del aparato y engrase las planchas de asado con un poco de aceite 6 Coloque los alimentos sobre la plancha de asado 7 Cierre el aparato 8 Deje los alimentos en la plancha hasta que estén hechos No es necesario dar vuelta a los alimentos 9 Abrir del aparato y retire los alimentos de la plancha d...

Page 31: ...e o protección adecuados 7 No podrá apelarse a estas disposiciones de garantía en los siguientes casos a pérdida ocurrida durante el transporte b remoción o modificación del número de serie del aparato 8 La garantía no cubre los cables las bombillas ni las partes de cristal 9 La garantía no concede derecho a reclamar indemnización alguna por daños diferente a la sustitución o reparación respectiva...

Page 32: ...Bestron Customer Service WhatsApp bestron com whatsapp ...

Reviews: