Bestcare BESTLIFT PL182 Manual Download Page 1

BEST

LIFT®

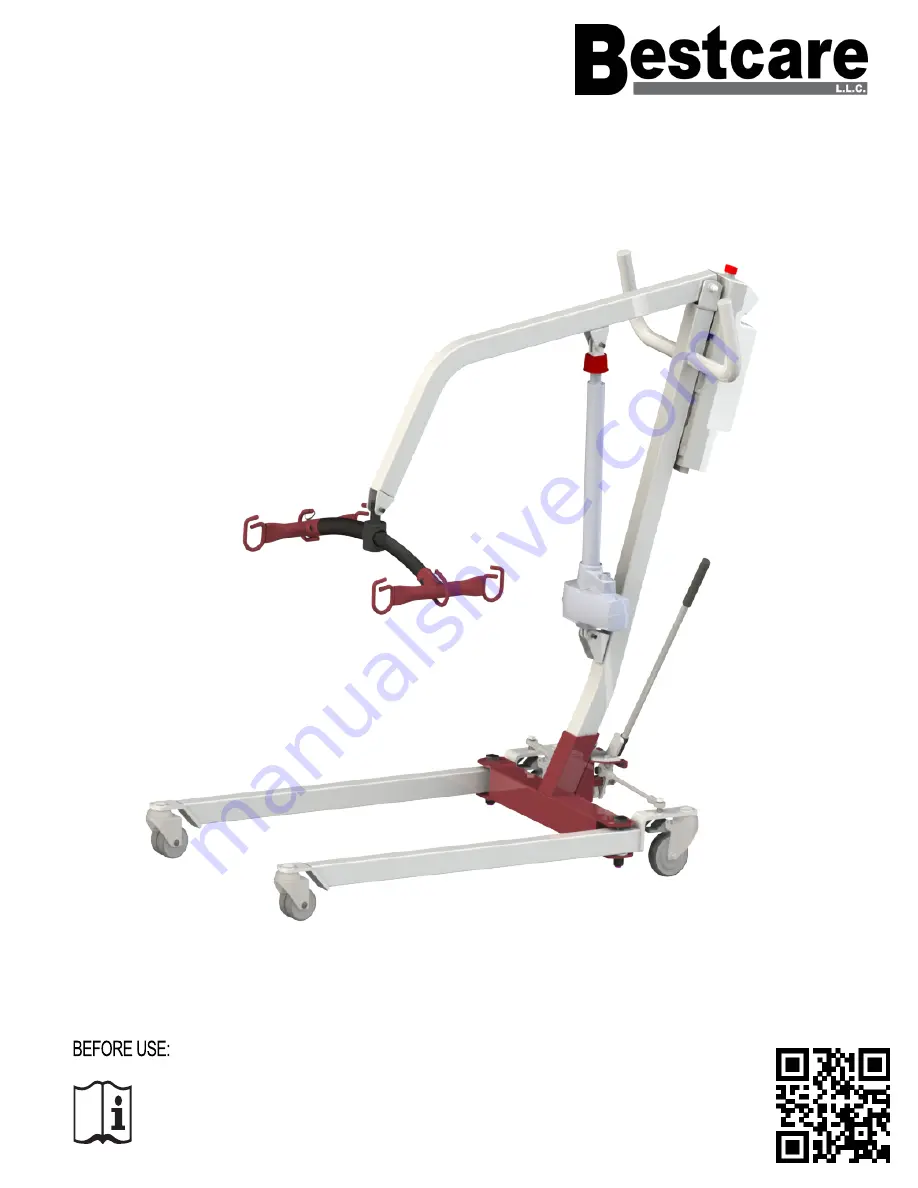
F U L L   B O D Y   P A T I E N T   L I F T

M o d e l :   P L 1 8 2   /   P L 2 2 8

Ensure the product has been assembled according to the instructions in this 

manual. All operators should read and understand the instructions for safe and 

proper operation of the patient lift.

PL228 model shown

Summary of Contents for BESTLIFT PL182

Page 1: ...F T M o d e l P L 1 8 2 P L 2 2 8 Ensure the product has been assembled according to the instructions in this manual All operators should read and understand the instructions for safe and proper opera...

Page 2: ..._____________________________________ Date of Purchase _________________________________________ The manufacturing date can be found on the serial number label that is located at the top of the mast T...

Page 3: ...ional battery pack you will never have to be worried about your lift not being charged and ready for use The PL182 and PL228 are intended to be used with patients who are completely immobile or totall...

Page 4: ...out its intended Do Not Iron Item may not be smooted or finished with an iron Class II symbol To identify equipment is designed that a connection to electrical earth ground is not required Tumble Dry...

Page 5: ...ide proper assistance while being lifted i e patients who are comatose spastic agitated or otherwise severely handicapped The patient lift should be used solely for transferring a user patient from on...

Page 6: ...are exposed that may cause bodily harm or injury Prolonged exposure or physical contact with any part of the equipment WILL NOT cause skin irritation allergic reaction etc Using accessories detachabl...

Page 7: ...GA 30071 PROPRIETARY AND CONFIDENTIAL THE INFORMATION CONTAINED IN THIS DRAWING IS THE SOLE PROPERTY OF BESTCARE LLC ANY REPRODUCTION IN PART OR AS A WHOLE WITHOUT THE WRITTEN PERMISSION OF BESTCARE L...

Page 8: ...4 43 6 1108 4 43 6 C 802 4 31 6 802 4 31 6 D 582 9 22 9 582 9 22 9 E 963 2 37 9 963 2 37 9 F 852 5 33 6 852 5 33 6 G 547 21 5 547 21 5 H 291 9 11 5 291 9 11 5 I 583 2 23 0 583 2 23 0 J 285 3 11 2 285...

Page 9: ...ll load Overload Warning by LCD Battery Status by LCD Duty Cycle 10 Duty cycle Max 2 minute ON 18 minute OFF Standard Features 1 6 Point Spreader Bar 2 4 Rear Caster with Brake 3 3 Dual Front Caster 4...

Page 10: ...Installation 1 Base and Mast 9 Installation 2 Boom 1 3 2 Secure Mast by tightening bolt...

Page 11: ...10 Installation 3 Actuator Installation 4 Spreader Bar 2 1 It is critical to have the motor part of the actuator to face the same direction as the big arrow as follows...

Page 12: ...11 Installation 5 Power Control Unit 4 3 2 1 5...

Page 13: ...ne that serves the needs of the patient while providing the patient with optimal safety Never interfere with the lift unless instructed by the attendant Have a doctor nurse or medical attendant experi...

Page 14: ...sed improperly Keep long charger cord out of walkway where it poses a tripping hazard Have the charger port on the controller facing away from the wall for easy disconnection When removing the battery...

Page 15: ...signs below The DC Charger must be connected The emergency stop button must be released The battery will not be charged if the emergency button is pressed in LCD Display Panel Signs When the emergenc...

Page 16: ...15 LED Indicator Green In Use Blank Standby Lifting Lowering Operating Lift Using Hand Control Operating Lift Using LCD Display Panel...

Page 17: ...the LCD Display Panel will show the sign on the left either when the emergency stop button is released or when a button on the LCD Display Panel is pressed Lift operation is deactivated Battery needs...

Page 18: ...lacement with Head Support Polyester with PU Coating M L XL Liko Guldmann Disposable Replacement Nonwoven Disposable M L XL Liko Guldmann Disposable Replacement with Head Support Nonwoven Disposable M...

Page 19: ...1 Hook up F Point 2 Hook up E Insert F through E 8 Strap Sling A B G H C D E F Point 1 Hook up A C Point 2 Hook up B D Point 3 Hook up E Point 4 Hook up F Point 5 Hook up H Point 6 Hook up G Insert H...

Page 20: ...t to bed Transfer From Wheelchair to Bed Grasp the sling at each corner of the U shape of the commode aperture The sling should be fitted with the grab handles on the back section facing outward Help...

Page 21: ...isual inspection prior to use for the additional points below V The periodic inspection interval and the visual inspection points are listed below Note Bestcare assumes that the assembly instructions...

Page 22: ...previous use Use isopropyl alcohol for any disinfection purpose Cleaning and Disinfecting 21 Cleaning of the lift Cleaning of the sling Solvents or strong liquids or abrasive cleaning products will da...

Page 23: ...suance of a return authorization will also be refused as the authorization will have expired The final disposition of warranty claims will be subject to our inspection of the returned items Bestcare L...

Page 24: ...gency Lowering Device is located at the top of the actuator shaft It is intended for use if the actuator or electronics fail to operate while the patient is suspended in midair The device consists of...

Page 25: ...g on usage The actuator will either go up or down but not both Replace your hand control as it is at the end of its life cycle Your control box may be malfunctioning There is a grinding sound inside t...

Page 26: ...NOTES 25...

Page 27: ...NOTES 26...

Page 28: ...Bestcare LLC 2920 Pacific Drive Norcross GA 30071 Ver 2021 09 www bestcarellc com 2021 Bestcare LLC...

Reviews: