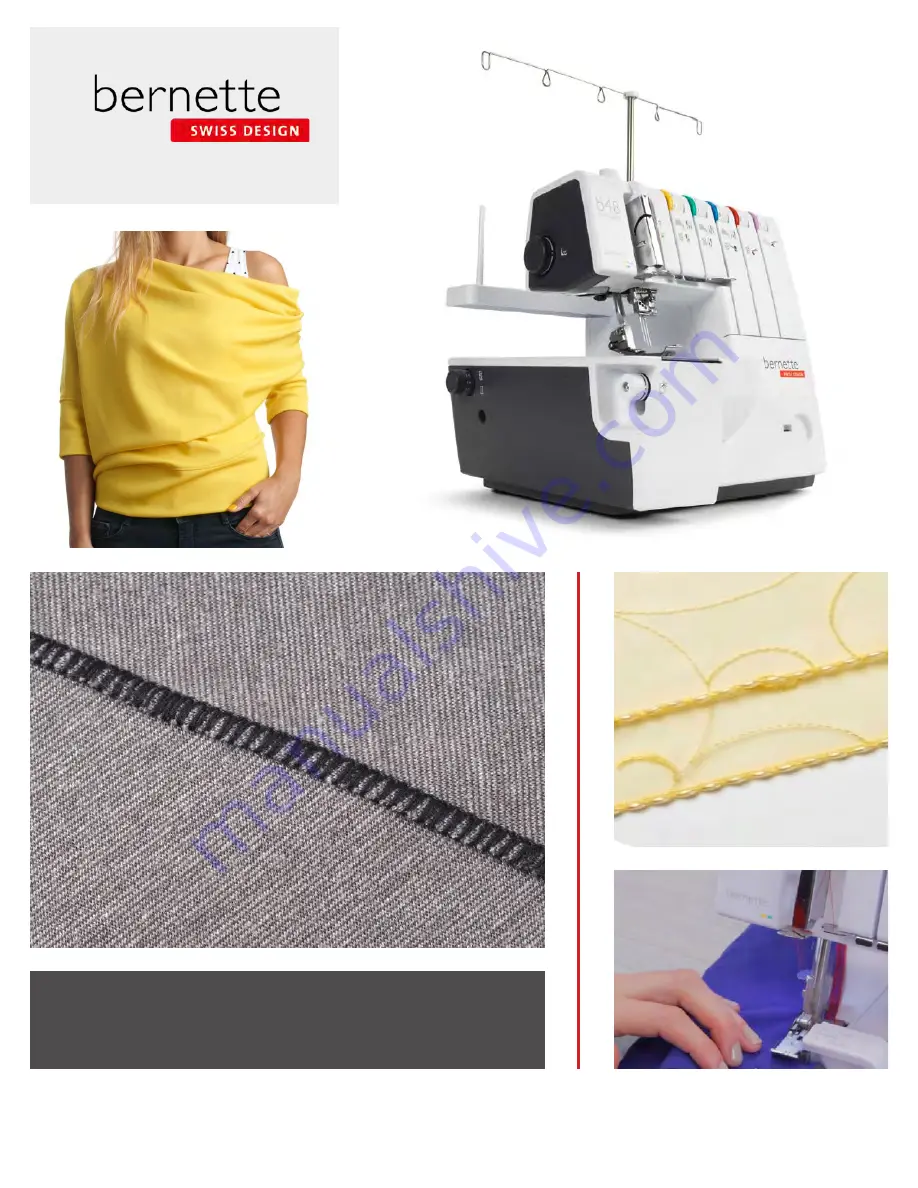
Bernette b44 Workbook Download Page 1

©2019 BERNINA of America. Permission granted to copy and distribute in original form only. Content may not be altered or used in any other form or under any other branding.

For bernet te Overlockers: b4 4, b4 8

WORKBOOK #1 – BASIC SERGER USE

OVERLOC KER

M A S T E R Y 

B O O K 

S E R I E S

Summary of Contents for b44

Page 1: ...anted to copy and distribute in original form only Content may not be altered or used in any other form or under any other branding For bernette Overlockers b44 b48 WORKBOOK 1 BASIC SERGER USE OVERLOC...

Page 2: ...AD OVERLOCK STITCH WIDE 13 3 THREAD FLATLOCK WIDE 14 3 THREAD OVERLOCK STITCH NARROW 15 3 THREAD FLATLOCK NARROW 16 3 THREAD ROLLED HEM 17 2 THREAD ROLLED HEM 18 2 THREAD FLATLOCK NARROW 19 OVERLOCKER...

Page 3: ...me your project is finished faster and will produce neater and more professional results Even though the workings of the overlocker may appear be more complex than a sewing machine it doesn t take lon...

Page 4: ...oint assures proper stitch formation avoids fabric damage Need to Know Always make sure needles are fully inserted as high as possible with the flat side to the back The left needle will appear to be...

Page 5: ...and decorative threads Listed below are some of these threads commonly used in the overlocker Texturized Nylon Thread such as YLI Woolly Nylon or Maxi Lock Stretch A very elastic thread with excellent...

Page 6: ...s should extend to the edge of the fabric where they will interlock with the red loops of the lower looper Red Loops should extend to the edge of the fabric interlocking with the blue loops of the upp...

Page 7: ...ke sure the thread is seated in the tension guides If it is tighten the upper looper thread higher number Lower Looper Loose Tension Unbalanced The looper threads do not lock on the edge of the fabric...

Page 8: ...1 mm and sew to the end 7 Mark the stitch length settings on the fabric sample 8 Return stitch length to its normal setting of 2 5mm NOTE Stitch length adjustments may be needed to accommodate thicke...

Page 9: ...ark on the fabric stopping when the knife edge is on the mark 4 Turn the dial clockwise to adjust the cutting width to a mid range setting and overlock to the second mark 5 Turn the dial clockwise aga...

Page 10: ...Differential Feed Dial at the normal setting 2 To correct this adjust the differential to 2 0 Sew the remaining ribbing to the other side of the first piece trimming slightly 3 Mark the differential...

Page 11: ...abric you may notice that you have a puckered edge 2 To correct this adjust the Differential Feed to 0 6 Sew along the other 6 edge trimming about 1 4 from the edge of the fabric 3 Mark the differenti...

Page 12: ...when sewing light weight or heavy weight fabrics 1 With presser foot pressure set to L sew two layers of fleece together along the 6 side 2 Adjust presser foot pressure to H and sew the remaining laye...

Page 13: ...and needle holder tool remove the right needle and thread Tighten the needle set screw after removing the right needle The left needle will remain threaded 2 Fold fabric in half to 3 x 6 Stitch along...

Page 14: ...t edge of the stitch finger This method allows the fabric to lay totally flat under the stitches Optionally you may choose to trim the folded edge which will allow one fabric to lay on top of the othe...

Page 15: ...needle holder tool loosen the right needle screw and insert the right needle Tighten the needle set screw Thread the needle 2 Remove the left needle thread Loosen the left needle set screw and remove...

Page 16: ...presser foot Guide the fabric halfway between the left needle and the right edge of the stitch finger This method allows the fabric to lay totally flat under the stitches Optionally you may choose to...

Page 17: ...the R position 4 Start the machine and run a chain for several inches so that you have a thread tail to aid in getting the fabric started 5 Place the fabric under the presser foot and sew along one 6...

Page 18: ...Diagram below 4 Disengage the stitch finger by placing the Rolled Hem Selection Lever in the R position 5 Start the machine and run a chain for several inches so that you have a thread tail to hold a...

Page 19: ...may choose to trim the folded edge which will allow one fabric to lay on top of the other This is the preferred method if using the flatlock stitch as a seam 4 Slowly stitch the fabric The looper thre...

Page 20: ...s off the stitch finger by placing the Rolled Hem Selection Lever in the R position temporarily 6 Raise the presser foot and carefully turn the fabric over so that the lower looper side of the previou...

Page 21: ...the stitching See Image 1 3 Sew until the knife reaches the end of the cut 4 Use the handwheel to lower the needle into the fabric 5 Lift the presser foot and straighten the corner placing the fabric...

Page 22: ...er stitch trimming very slightly as you sew to the end of the fabric Take one stitch off the end of the fabric 3 Release the stitch finger by placing the Rolled Hem Selection Lever into the R position...

Page 23: ...8 to increase both needle thread tensions Sew to the end of the fabric 6 Return Differential Feed Dial setting to its normal setting of 1 Set the stitch length to 2 5 7 Move the thread tension dials t...

Page 24: ...d optional FABRICS FOR OPTIONAL OVERLOCKER TECHNIQUE PAGES 20 THROUGH 23 QUANTITY SIZE FABRIC 4 6 x 6 Firm Fabric such as Heavy muslin High quality quilting cotton Medium weight denim 1 3 x 12 Lightwe...

Reviews: