background image

  53

  Specifications

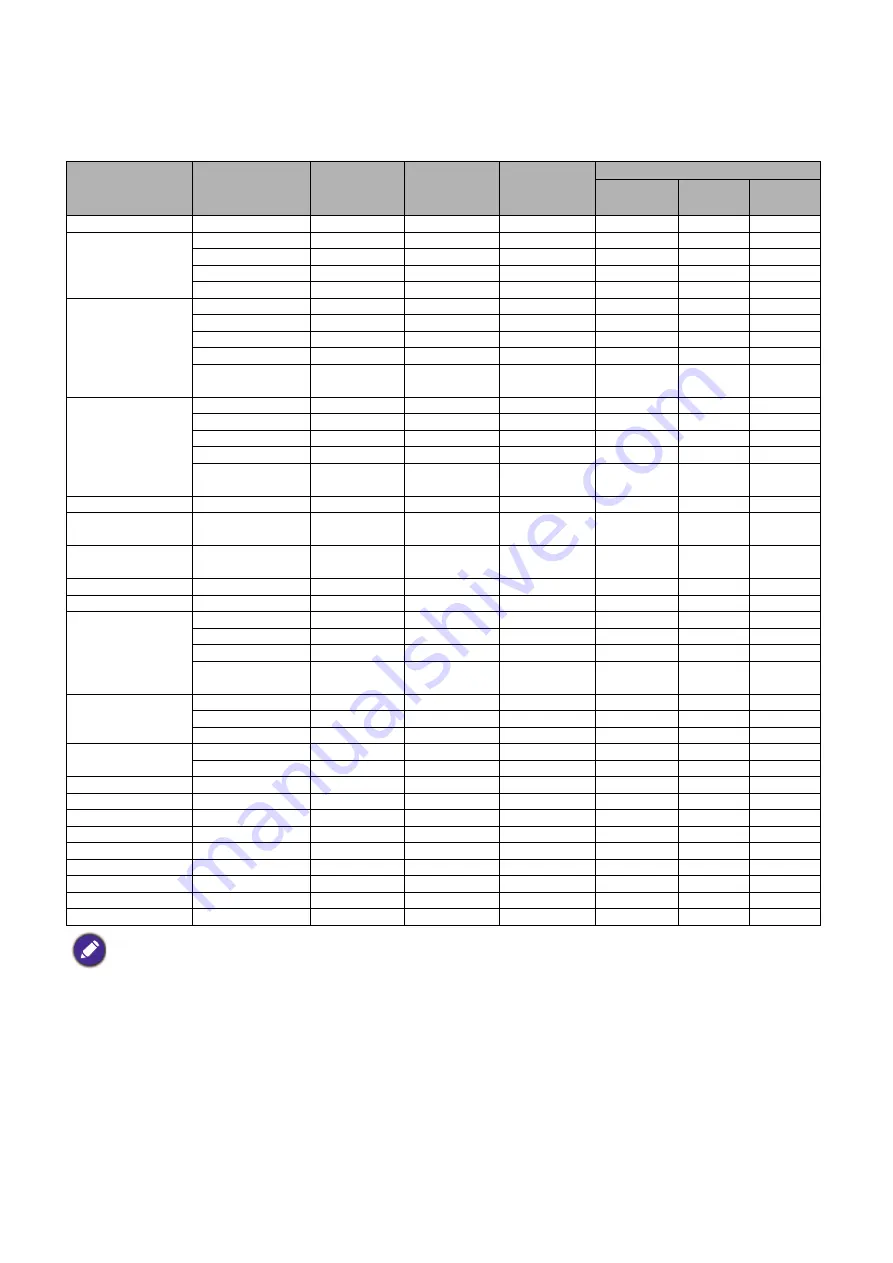
Timing chart

Supported timing for PC input

Resolution

Mode

Vertical 

Frequency 

(Hz)

Horizontal 

Frequency 

(kHz)

Pixel 

Frequency

(MHz)

Supported 3D format

Frame 

Sequential

Top 

Bottom

Side by 

Side

720 x 400

720 x 400_70

70.087

31.469

28.3221

640 x 480

VGA_60

59.940

31.469

25.175

Supported Supported Supported

VGA_72

72.809

37.861

31.500

VGA_75

75.000

37.500

31.500

VGA_85

85.008

43.269

36.000

800 x 600

SVGA_60

60.317

37.879

40.000

Supported Supported Supported

SVGA_72

72.188

48.077

50.000

SVGA_75

75.000

46.875

49.500

SVGA_85

85.061

53.674

56.250

SVGA_120 

(Reduce Blanking)

119.854

77.425

83.000

Supported

1024 x 768

XGA_60

60.004

48.363

65.000

Supported Supported Supported

XGA_70

70.069

56.476

75.000

XGA_75

75.029

60.023

78.750

XGA_85

84.997

68.667

94.500

XGA_120 (Reduce 

Blanking)

119.989

97.551

115.5

Supported

1152 x 864

1152 x 864_75

75

67.5

108

1024 x 576

BenQ 

Notebook_timing

60.0

35.820

46.966

1024 x 600

BenQ 

Notebook_timing

64.995

41.467

51.419

1280 x 720

1280 x 720_60

60

45.000

74.250

Supported Supported Supported

1280 x 768

1280 x 768_60

59.87

47.776

79.5

Supported Supported Supported

1280 x 800

WXGA_60

59.810

49.702

83.500

Supported Supported Supported

WXGA_75

74.934

62.795

106.500

WXGA_85

84.880

71.554

122.500

WXGA_120 

(Reduce Blanking)

119.909

101.563

146.25

Supported

1280 x 1024

SXGA_60

60.020

63.981

108.000

Supported Supported

SXGA_75

75.025

79.976

135.000

SXGA_85

85.024

91.146

157.500

1280 x 960

1280 x 960_60

60.000

60.000

108.000

Supported Supported

1280 x 960_85

85.002

85.938

148.500

1360 x 768

1360 x 768_60

60.015

47.712

85.5

Supported Supported

1440 x 900

WXGA+_60

59.887

55.935

106.500

Supported Supported

1400 x 1050

SXGA+_60

59.978

65.317

121.750

Supported

1600 x 1200

UXGA

60.000

75.000

162.000

Supported Supported

1680 x 1050

1680 x 1050_60

59.954

65.290

146.250

Supported Supported

640 x 480@67Hz

MAC13

66.667

35.000

30.240

832 x 624@75Hz

MAC16

74.546

49.722

57.280

1024 x 768@75Hz

MAC19

74.93

60.241

80.000

1152 x 870@75Hz

MAC21

75.060

68.680

100.000

The timings showing above may not be supported due to EDID file and VGA graphic card limitations. It is possible 
that some timings cannot be chosen.

Summary of Contents for LU935

Page 1: ...Digital Projector User Manual LU935 LU935ST V 1 00...

Page 2: ...ave other rights which vary from country to country For other information please visit www BenQ com Copyright Copyright 2020 by BenQ Corporation All rights reserved No part of this publication may be...

Page 3: ...djusting the projector position 16 Adjusting the projected image 17 Connection 19 Operation 21 Starting up the projector 21 Using the menus 22 Securing the projector 23 Switching input signal 25 Contr...

Page 4: ...source use the blank function 8 Do not operate light sources beyond the rated light source life 9 Do not place this product on an unstable cart stand or table The product may fall sustaining serious...

Page 5: ...source systems this product is Risk Group 2 IEC 62471 5 2015 2 Possibly hazardous optical radiation emitted from this product 3 Do not stare at operating light source May be harmful to the eyes 4 As w...

Page 6: ...applicable and install two AAA batteries Make sure that the positive and negative ends are positioned correctly as illustrated 3 Slide the battery cover in until it clicks into place Projector Remote...

Page 7: ...by the battery manufacturer Dispose of the used batteries according to the manufacturer s instructions and local environment regulations for your region Never throw the batteries into a fire There ma...

Page 8: ...signal output jack 15 RS 232 control port 16 RJ 45 LAN input jack 17 Audio input jack 18 Audio output jack 19 12V trigger 20 Kensington anti theft lock slot 21 AC power jack 22 HDBaseT port For conne...

Page 9: ...ctor between standby mode and on 5 AUTO Automatically determines the best picture timings for the displayed image when PC signal analog RGB is selected 6 OK Confirms the selected On Screen Display OSD...

Page 10: ...d image and displays the test pattern 16 INFO Displays the projector information 17 LIGHT SOURCE Selects an available light mode 18 BLANK Used to hide the screen picture Do not block the projection le...

Page 11: ...to Projection dimensions for installation 1 Front Table Select this location with the projector placed on the table in front of the screen This is the most common way to position the projector for qu...

Page 12: ...r can also be installed at following angles 360 degree projection Installation of the projector should be performed carefully Incomplete or improper installation may cause the projector to fall result...

Page 13: ...W Projection distance Center of lens Screen 16 10 Screen diagonal Screen size Projection distance mm Diagonal W mm H mm Min length Average Max length Inch mm max zoom min zoom 30 762 646 404 879 1144...

Page 14: ...Average Max length Inch mm max zoom min zoom 30 762 646 404 523 549 575 40 1016 862 538 698 732 767 50 1270 1077 673 872 915 958 60 1524 1292 808 1047 1098 1150 80 2032 1723 1077 1396 1465 1534 90 228...

Page 15: ...ent to the mounting bracket become loose Ask your dealer to install the projector for you Installing the projector on your own may cause it to fall and result in injury Take necessary procedures to pr...

Page 16: ...Right to the left or right and turn again 3 Repeat the step above until finding the suitable position you need Desk front projection Ceiling mount front projection Vertical shift Vertical shift Vertic...

Page 17: ...s 1 Do one of the following steps to display the keystone correction page Press or on the projector or remote control Press QUICK INSTALL on the remote control Press to highlight 2D Keystone and press...

Page 18: ...vertical values 1 Do one of the following steps to display the corner fit correction page Press QUICK INSTALL on the remote control Press to highlight Corner Fit and press OK Go to Advanced Menu Disp...

Page 19: ...se the correct signal cables for each source 3 Ensure the cables are firmly inserted 10 8 5 5 7 6 8 1 1 3 2 4 9 Notebook or desktop computer HDMI cable HDBaseT matrix switcher Wired remote control 3D...

Page 20: ...ce only The rear connecting jacks available on the projector vary with each projector model Many notebooks do not turn on their external video ports when connected to a projector Usually a key combo l...

Page 21: ...input signals The current input signal being scanned appears If the projector does not detect a valid signal the message No Signal will continue displaying until an input signal is found You can also...

Page 22: ...is the overview of the Advanced OSD menu If you intend to switch from the Advanced OSD menu to the Basic OSD menu follow the instructions below 1 Go to Advanced Menu System Menu Settings and press OK...

Page 23: ...the lock Refer to the lock s documentation for finding out how to use it Utilizing the password function Setting a password 1 Go to Advanced Menu System Security Settings Press OK The Security Settin...

Page 24: ...hange or try another password 4 Enter a new password 5 Confirm the new password by re entering the new password Disabling the password function To disable password protection go to Advanced Menu Syste...

Page 25: ...nd connect one end to the RJ45 LAN input jack of the projector and the other end to the RJ45 port 2 Make sure the menu type is Advanced See Using the menus on page 22 for how to switch to the Advanced...

Page 26: ...K to return to Wired LAN page press to highlight AMX Device Discovery and press to select On or Off 8 Press BACK to exit the menu Controlling the projector remotely through a web browser Once you have...

Page 27: ...the limitation of input length including space and other punctuation keys in the list blow To switch input source click on your desired signal The source list varies according to the connectors avail...

Page 28: ...a steady orange and fans stop Disconnect the power cord from the power outlet Direct power off The AC power cord can be pulled out right after the projector is turned off To protect the light source w...

Page 29: ...the projector or no signal detected limited menu items are accessible Basic menu Main menu Options Brightness 0 50 100 Aspect Ratio Auto Real 4 3 16 9 16 10 2 4 1 Picture Mode Bright Presentation sRGB...

Page 30: ...1 8 2 0 2 1 2 2 2 3 2 4 2 6 BenQ DICOM HDR Brightness 2 2 Color Temperature Cool Normal Warm Color Temperature Tuning R Gain 0 50 100 G Gain 0 50 100 B Gain 0 50 100 R Offset 50 0 50 G Offset 50 0 50...

Page 31: ...isable Invert 3D Sync Out Delay 0 359 3D Sync Out Reference 3D VESA Bypass Apply 3D Settings 3D Settings 1 3D Settings 2 3D Settings 3 Off Save 3D Settings 3D Settings 1 3D Settings 2 3D Settings 3 HD...

Page 32: ...Custom Brightness Light Usage Time Operation Settings Blank Timer Disable 5 min 10 min 15 min 20 min 25 min 30 min Reminder Message On Off High Altitude Mode On Off Power On Off Settings Direct Power...

Page 33: ...Type Basic Advanced Menu Display Time 5 sec 10 sec 20 sec 30 sec Always Audio Settings Mute On Off Volume 0 5 10 Power On Off Ring Tone On Off Security Settings Panel Key Lock On Off Change Password P...

Page 34: ...resolution and resizes it to fit within the display area For input signals with lower resolutions the projected image will be displayed in its original size 4 3 Scales an image so that it is displayed...

Page 35: ...te for playing 3D images and 3D video clips This mode is only available when 3D function is enabled and 3D content is detected HDR10 Delivers High Dynamic Range effects with higher contrasts of bright...

Page 36: ...e when 3D function is enabled and 3D content is detected HDR10 Delivers High Dynamic Range effects with higher contrasts of brightness and colors This mode is only available when Settings HDR is set a...

Page 37: ...values according to your preference 2 2 2 3 Increases the average brightness of the picture Best for a lit environment meeting room or family room 2 4 2 5 Best for viewing movies in a dark environment...

Page 38: ...age immediately For example if you select Red and set its value at 0 only the saturation of pure red will be affected Saturation is the amount of that color in a video picture Lower settings produce l...

Page 39: ...it is displayed in the center of the screen with a 16 10 aspect ratio 2 4 1 Scales an image so that it is displayed aligned with the upper edge of the display region with a 2 4 1 aspect ratio 2D Keys...

Page 40: ...ion to correct the problem 3D Sync Out Delay Adjusts the 3D sync out signal delay time 3D Sync Out Reference Decides the 3D sync out signal goes to a 3D VESA emitter or is bypassed to another projecto...

Page 41: ...directional arrows to shift the image 4 Press AUTO to restore the picture to its original size The picture can only be shifted after it shrank Blanking Blanks some parts of the projected image 1 Selec...

Page 42: ...ceivers or one specific remote receiver on the projector Auto Source Search Allows the projector to automatically search for a signal Auto Sync On Allows the projector to automatically determines the...

Page 43: ...de to solve these symptoms However this is not to state that this projector can operate under any and all harsh or extreme conditions Do not use the High Altitude Mode if your altitude is between 0 m...

Page 44: ...ns all of the adjustments you ve made for the Settings menu to the factory preset values Language Sets the language for the On Screen Display OSD menus Standby Settings Standby Mode ECO The projector...

Page 45: ...s the next time it is turned on Change Password See Utilizing the password function on page 23 Power On Lock See Utilizing the password function on page 23 Projector ID Settings Sets the projector ID...

Page 46: ...or the System menu to the factory preset values Information Native Resolution Shows the native resolution of the projector Detected Resolution Shows the native resolution of the input signal Source Sh...

Page 47: ...n the projector off using the proper shutdown procedure as described in Shutting down the projector on page 28 and unplug the power cord To remove dirt or dust wipe the case with a soft lint free clot...

Page 48: ...tings Light Mode and select a suitable light source power from among the provided modes Setting the projector in ECO Dimming or Custom mode extends light source life Setting Auto Power Off This functi...

Page 49: ...lit up Thermal events Fan 1 error the actual fan speed is outside the desired speed Fan 2 error the actual fan speed is outside the desired speed Fan 3 error the actual fan speed is outside the desire...

Page 50: ...l has not been correctly selected Select the correct input signal with the SOURCE key The lens cover is still closed Open the lens cover Blurred image Cause Remedy The projection lens is not correctly...

Page 51: ...USB Type A x 1 5V 1 5A RS 232 serial control 9 pin x 1 LAN control RJ45 x 1 12V trigger x 1 IR receiver x 2 Wired remote control x 1 Input terminals Computer input RGB input D Sub 15 pin female x 1 V...

Page 52: ...52 Specifications Dimensions 416 mm W x 166 mm H x 351 mm D 9 351 275 151 40 416 110 166 78 71 304 279...

Page 53: ...0 1280 x 720_60 60 45 000 74 250 Supported Supported Supported 1280 x 768 1280 x 768_60 59 87 47 776 79 5 Supported Supported Supported 1280 x 800 WXGA_60 59 810 49 702 83 500 Supported Supported Supp...

Page 54: ...500 Supported Supported WXGA_75 74 934 62 795 106 500 WXGA_85 84 880 71 554 122 500 WXGA_120 Reduce Blanking 119 909 101 563 146 25 Supported 1280 x 1024 SXGA_60 60 020 63 981 108 000 Supported Suppor...

Page 55: ...50 37 5 74 25 Supported Supported Supported 720 60p 1280 x 720 60 45 00 74 25 Supported Supported Supported Supported 1080 24P 1920 x 1080 24 27 74 25 Supported Supported Supported 1080 25P 1920 x 108...

Page 56: ...d 1080 50i 1920 x 1080 50 28 13 74 25 1080 60i 1920 x 1080 60 33 75 74 25 1080 24P 1920 x 1080 24 27 74 25 1080 25P 1920 x 1080 25 28 13 74 25 1080 30P 1920 x 1080 30 33 75 74 25 1080 50P 1920 x 1080...

Reviews: