16
Copying a user
Touch the line of the user to be copied.
(Example: user name “
Christopher
”)
Tap the “
Copy
” button.
A copy of the selected user will be created
automatically
(recognizable by the copy number added).
The user entry will be copied and can be selected as a user
during login of the
ST 755/ ST 760
.
Deleting a user
Touch the line of the user to be deleted.
(Example: user name “
Christopher
”)
Tap the “
Delete
” button.
Confirm the confirmation prompt on the display
with "
Yes
".
The selected user entry will be deleted.
9.5
Expert settings
Use the icon on the left to navigate to the
“
Expert settings
” screen.
In the expert settings, you can manually revise customer-specific
limits, test procedures or individual criteria of the visual inspection.
The data records of the customer-specific test questions and test
procedures can be managed via the "
Templates
" menu item and it
is possible to reset your appliance tester to the factory settings.
Moreover, you can update the GUI
(
G
raphical
U
ser
I
nterface)
or
firmware.
Customer-specific limits
The customer-specific limits can only be changed by
users with Admin authorization.
The manufacturer assumes no responsibility for
changed limits.
Changes of the customer-specific limits will affect
different test procedures!
Please observe the following descriptions of the
“
Reset
”, “Overwrite” and “Save” buttons.
The preset limits correspond to the test specifications
that have been applicable at the time of printing.
Administration and definition of the customer-specific
limits shall be at the discretion of the qualified
electrician carrying out the work.
Use the icon on the left to navigate to the “
Limits
”
screen.
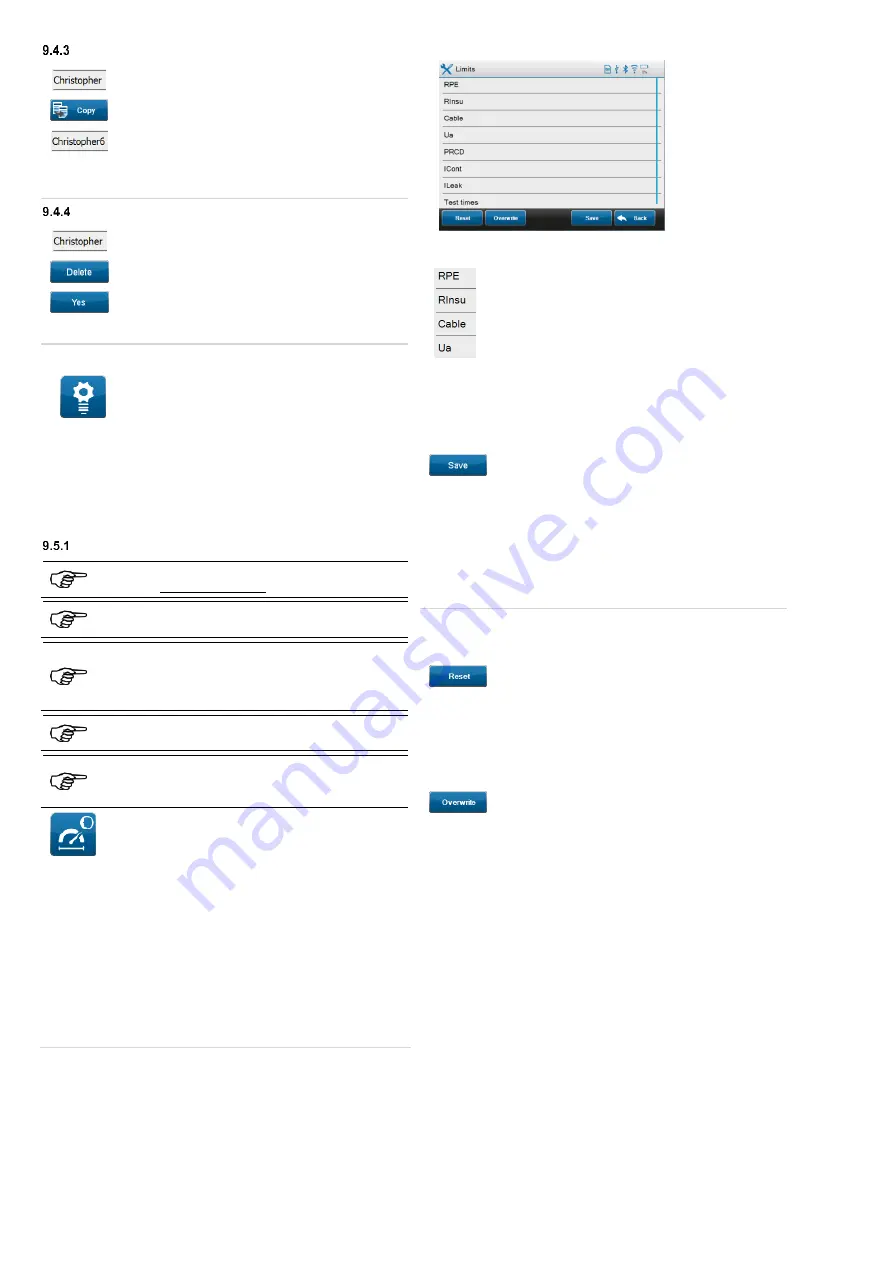
The following limits can be changed manually:
RPE
(protective conductor resistance, line length, line cross-section)
RInsu
(insulating resistance, testing voltage)
Cable
(cable specifications)
Ua
(max. output voltage and open-circuit voltage of welding circuit)
PRCD
(tripping current, tripping time, contact voltage)
ICont
(contact current values, differential current values)
ILeak
(protective conductor current values, leakage current values,
patient leakage current values)
Test times
(definition of all test times for individual tests)
9.5.1.1 Overview of the screen
9.5.1.2 Changing a limit
…
Touch the line of the individual test to be
changed.
Touch the line of the limit to be changed.
Edit the limit according to your specifications.
o
Cancel entry:
Touch the "
Hide keyboard
" soft key to hide
the soft keyboard and cancel the entry.
Confirm your entries by touching the
“
Confirm entry
” soft key.
9.5.1.3 Saving limits
After having made all required changes, you can
confirm your entries by tapping the “
Save
” button.
The changed limits are stored temporarily
(until the next restart of the
appliance tester)
.
The limits for the standard test procedures in the automatic
measuring mode will not be changed.
Newly created customer-specific test procedures receive the
standard limits from the device, but not the temporarily changed
limits.
9.5.1.4 Resetting limits
Tap the "
Reset
" button to reset all temporarily
changed customer-specific limits to the default
limits
(
factory settings
)
.
The temporary limits are applied to the manual
tests.
9.5.1.5 Overwriting limits
Tap the "
Overwrite
" button to set all changed limits
permanently as new default limits.
The change applies after confirmation of the
"
Overwrite
" button and affects all
newly created
customer-specific test procedures
and all
manual
tests
!
The limits of the
automatic test
will not be changed.


