BellSouth GH9457 Owner'S Manual Installation And Operating Instructions Download Page 1

PAGE

.4

2

G Hz

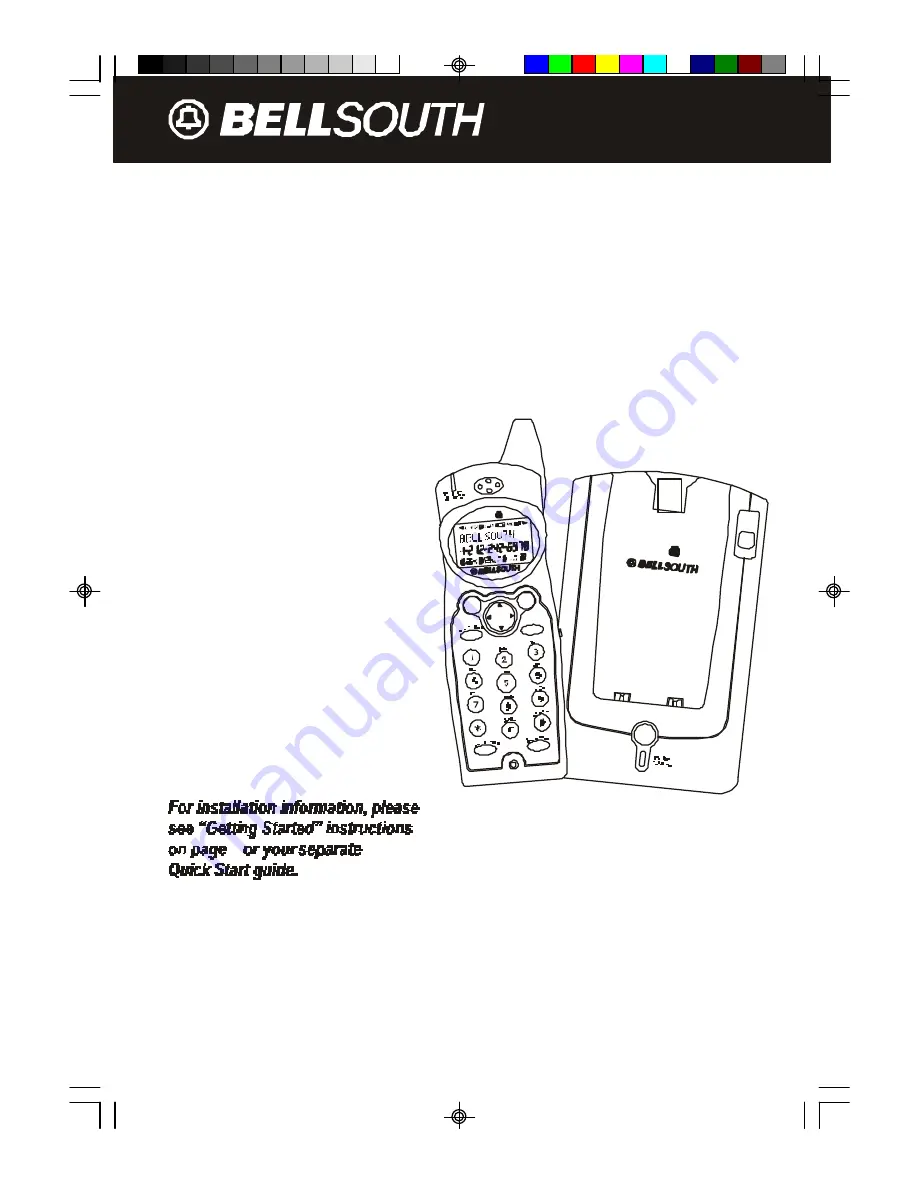
2.4 GHz CORDLESS CALLER ID 
TELEPHONE WITH CALL WAITING

50 CHANNEL AUTOSCAN

Model GH9457

PLEASE READ THIS

MANUAL CAREFULLY

BEFORE USE.

KEEP FOR YOUR

REFERENCE.

OWNER'S MANUAL
INSTALLATION AND
OPERATING
INSTRUCTIONS

5

© 1995, 2002 BellSouth Corporation

.4

2

GHz

TALK

DIR

M ENU

SAVE

R

EDIAL

Summary of Contents for GH9457

Page 1: ...ONE WITH CALL WAITING 50 CHANNEL AUTOSCAN Model GH9457 PLEASEREADTHIS MANUALCAREFULLY BEFOREUSE KEEP FOR YOUR REFERENCE OWNER S MANUAL INSTALLATION AND OPERATING INSTRUCTIONS 5 1995 2002 BellSouth Cor...

Page 2: ...TANDBY mode Security Ensures greater privacy because a built in security code with 65 536 combinations prevents use of your telephone line by another nearby cordless telephone Dependable Battery Recha...

Page 3: ...nd will be heard Blocked Calls You can mark the name and number of an unwelcome caller in the DIRECTORY When that number calls in the caller s name will appear on the DISPLAY and the ringer will be di...

Page 4: ...5 HEADSET JACK Pg 11 4 MENU VOICE MAIL BUTTON Pg 13 20 25 6 TELEPHONE KEYPAD Pg 16 18 20 21 24 25 8 FLASH BUTTON Pg 13 14 16 18 20 25 EDIT 16 CHARGE CONTACTS HANDSET Controls HANDSET Controls 1 items...

Page 5: ...at a slow rate when receiving a Message Waiting signal if you have subscribed to a Voice Mail message service from your local telephone company See page 13 10 BATT LOW INDICATOR Appears on the LCD Scr...

Page 6: ...ELEPHONE LINE CONNECTION JACK Pg 5 6 8 29 3 TONE PULSE SELECT SWITCH Pg 6 29 2 POWER IN CONNECTION JACK Pg 5 6 5 CHARGE TERMINALS 4 BASE UNIT ANTENNA Pg 5 6 9 29 30 7 IN USE CHARGE LED INDICATOR 5 PAG...

Page 7: ...TERMINALS periodically with a damp cloth 6 Button Press to page the HANDSET 7 IN USE CHARGE LED Indicator IN USE Lights up to indicate that theHANDSET is in TALK mode and blinks when an extension tele...

Page 8: ...ge Waiting 13 One Touch Voice Mail Dialing 13 Caller List 14 Viewing the Caller List 14 Placing a Call from the Caller List 14 Storing Caller ID Records into the DIRECTORY 15 To Delete a Single Record...

Page 9: ...the PBX Number 23 G Changing the Flash Time 23 H Changing the Pause Time 24 I Programming One Touch Voice Mail Dialinbg 24 J Deleting Message Waiting Indication 25 K Setting the Area Code 25 Security...

Page 10: ...ls 10 Do not cover the slots and openings on this telephone This telephone should never be placed near or over a radiator or heat register This telephone should not be placed in a built in installatio...

Page 11: ...re It may explode Check with local codes for possible special disposal instructions 3 Do not open or mutilate the BATTERY PACK Released electrolyte from a BATTERY PACK is corrosive and may cause damag...

Page 12: ...Manual 5 3 Insert the small plug on the end of the AC ADAPTOR into the POWER IN CONNECTION JACK at the back of the BASEUNIT 4 Plug the AC ADAPTOR into a 120V AC wall outlet USE ONLY WITH CLASS 2 POWER...

Page 13: ...witch to the PULSE position C If you are not sure which system you have set the TONE PULSE Select Switch to the TONE position Press the button on the HANDSET to get a dial tone and press any button on...

Page 14: ...ing section on page 29 You are now ready to use your new BellSouth Cordless Telephone Belt Clip Installation With the back of the HANDSET facing up insert one side of the BELT CLIP HOOK into the match...

Page 15: ...ce Wall Mounting You may choose to put the BASE UNIT of your cordless telephone on a wall 1 With the back of the BASE UNIT facing up insert the hooks of the MOUNTING BRACKET with the position as shown...

Page 16: ...perience interference This is a normal occurrence with 2 4 GHz phones and should not be interpreted as a defect in the product Preparing for Use Before you can use your cordless telephone you must cha...

Page 17: ...tton or place theHANDSETon theBASE UNIT to hang up 2 Later press the button again 3 Listen for a dial tone 4 Press the REDIAL button This will automatically redial the last telephone number you called...

Page 18: ...can utilize a headset not included to be connected to your HANDSET for you to enjoy hands free communication Insert the small plug on the end of the headset into the HEADSET JACK at the right side of...

Page 19: ...SHIFT RIGHT button to view a name of more than 11 digits OR Caller s telephone number will appear if the caller s name is not available OR UNAVAILABLE will appear when Caller ID information is not ava...

Page 20: ...or you from your telephone company if you have subscribed to Voice Mail message service and if you have requested Visual Message Indication from your local telephone company MSG WAITING will appear on...

Page 21: ...l go through the calls from the last call received to the first Pressing the SCROLL UP button will allow you to view the calls from the first call received to the last 4 If the name or number is more...

Page 22: ...information you can delete a single call record or all the call records To Delete a Single Record 1 Press the SCROLL UP or DOWN button to find the record you wish to delete 2 Press the DEL CHAN butto...

Page 23: ...ress the EDIT FLASH button to create a new phone book entry 3 Enter the name you wish to store using the TELEPHONE KEYPAD to buttons to enter the name see page 17 for detail you can store up to 15 let...

Page 24: ...ss Press Press Press Press Press Press Press 1 Space 1 Space 1 2 A B C a b c 2 A B 3 D E F d e f 3 D E 4 G H I g h i 4 G H 5 J K L j k l 5 J K 6 M N O m n o 6 M N 7 P Q R S p q r s 7 8 T U V t u v 8 T...

Page 25: ...r in the DIRECTORY 1 Press the button 2 Press the SCROLL UP or DOWN button to find the record you wish to edit 3 Press the EDIT FLASH button The entry will display with a flashing prompt over the firs...

Page 26: ...will generate a special ring sound after the Caller ID information is received When you are saving the name and number into the DIRECTORY add a symbol at the beginning of the name by pressing the but...

Page 27: ...Off Turn the first ring of the phone OFF so that it does not ring until Caller ID information has been displayed Particularly useful when using the priority and blocked call features or the private a...

Page 28: ...ill begin flashing 3 Press the SCROLL UP or DOWN button to toggle between HI LOW and OFF 4 When the setting you desire is displayed press and hold the button to save the setting A long beep will sound...

Page 29: ...nu 2 Press the button to go to the TIME set programming option 3 Press the EDIT FLASH button to change the setting The month will begin flashing 4 Use the dial pad to enter the month The date will beg...

Page 30: ...he button to go to the PBX NUMBER programming option 3 Press the EDIT FLASH button to change the setting OFF will begin flashing 4 Press the SCROLL UP or DOWN buttonto customize the digit to match you...

Page 31: ...hing 4 Press the SCROLL UP or DOWN button to select the desired time delay 5 When the setting you desire is displayed press and hold the button to save the setting A long beep will sound to confirm th...

Page 32: ...to go to the AREA CODE programming option 3 Press the EDIT FLASH button to change the setting will begin flashing 4 Press the TELEPHONE KEYPAD buttons to enter the three digit area code that your pho...

Page 33: ...d the BASEUNIT may not be possible in any of the following situations 1 After a power failure 2 After relocating the BASE UNIT by disconnecting the AC ADAPTOR 3 After replacing the HANDSET BATTERY PAC...

Page 34: ...K needs to be recharged Charge the BATTERY PACK at least once every 90 days of non use to avoid battery failure When the BATTERY PACK can no longer be charged replacement of the BATTERY PACK will be n...

Page 35: ...BATTERY PACK for 12 hours Changing the BATTERY PACK ATTENTION The telephone that you have purchased contains a rechargeable BATTERY PACK The BATTERY PACK is recyclable At the end of its useful life un...

Page 36: ...picked up from electrical products in the home or electrical storms Generally this noise is a minor annoyance and should not be interpreted as a defect in your system See Technical Information on page...

Page 37: ...rcuits activate a relay to connect the cordless telephone to your telephone line These electronic circuits operate in the radio frequency spectrum While several protection circuits are used to prevent...

Page 38: ...y be required However when advanced written notice is not possible the telephone company may temporarily discontinue service without notice if such action is necessary under the circumstances The tele...

Page 39: ...ance with the instructions may cause harmful interference to radio communications However there is no guarantee that interference will occur in a particular installation If this equipment does cause h...

Page 40: ...sumes no responsibility for any special incidental or consequential damages This warranty gives you specific legal rights and you may have other rights which vary from state to state Some states do no...

Page 41: ...received which was not made for BellSouth Products or which is not defective as determined by our test procedures will not be repaired and will be returned C O D freight To Obtain Warranty Service Pro...

Page 42: ...Notes 35...

Page 43: ...r attachment of screws to the wall when mounting this telephone on the wall 1 Cut out this page 2 Use this template to determine the distance between screws when mounting this phone on the wall The tw...

Page 44: ...st reception be sure to raise or reposition the BASE UNIT ANTENNA IMPORTANT If you live in an area which receives frequent thunderstorms we strongly recommend plugging your AC ADAPTOR into a surge pro...

Page 45: ...GH9457 Made in China LD STOP Make certain you receive the best performance from your telephone Read this manual first...

Reviews: